I got up this morning and started working on doubleweave again. And I really think I’m getting it!
(Warning: this post is fairly long and technical. If you aren’t interested in doubleweave, you might as well skip it now.)
Pat had shown me how to create a drawdown by creating an image in Photoshop, then filling in the various components of the drawdown with the particular doubleweave pattern that I wanted, then using the Fabric Analysis tool of my weaving software to create the actual drawdown.
Hmm. That sounds complicated. Let me try to explain:
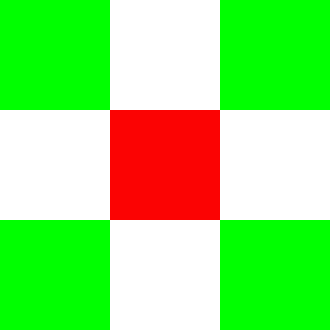
First, you start with some pattern you want to create (it will help if you can design the pattern so that it can be woven on your loom):
Next, you select the colors using the Photoshop Magic Wand tool, and fill it with the appropriate pattern presets. In this particular case I designed for a 2/2 twill on top and a 1/3 twill on bottom for the green squares, warp B and weft B on top. Its drawdown looks like this:
And selecting the green squares and “filling” with that pattern produces this:
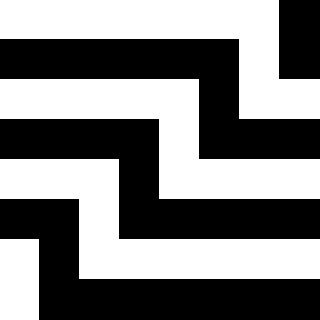
Next I filled the “white” (actually transparent in my original diagram) with the drawdown for a 1-3 twill on top, 1-3 twill on bottom, warp A and weft A on top. That drawdown looks like this:
And, after filling the white squares, the diagram now looks like this:
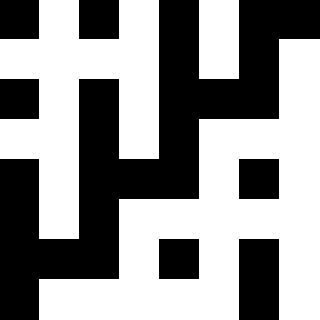
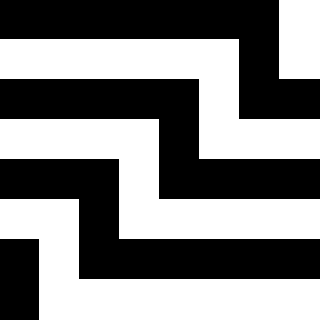
And, finally, I filled in with a 1-3 twill on top, warp A and weft A showing, 1-3 twill on bottom (warp B and weft B). That drawdown looks like this:
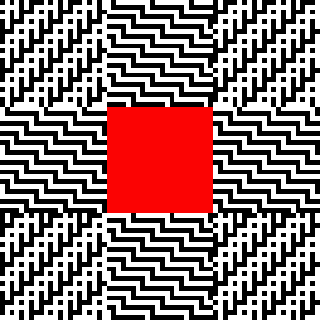
And here is the completed diagram:
Now, what we have here is either a maze of abstract art, or a very exciting diagram about to be transformed into a Real Live Drawdown:
Let’s open the .bmp file associated with this puppy using our weaving software (in my case, Fiberworks PCW) – I’ve uploaded it here so you can pull it down if you like – and see what happens.
After opening the .bmp in Fiberworks, I used the Analysis -> Make Drawdown tool to automatically create a file. Turns out it can be done with only two blocks (16 shafts and treadles):
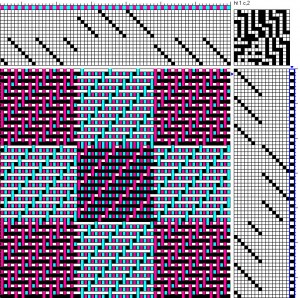
(I should say that I added the colors in, you have to make the warp and weft colors alternate if you want to get the full color effect.)
And, after shuffling shafts and treadles around to produce a divided parallel threading (to make the tie-up easier to read):
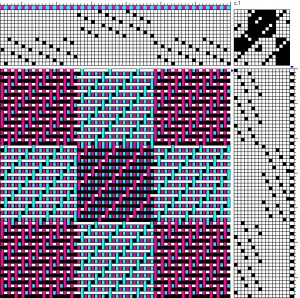
Presto! Instant conversion.
Needless to say, this method works best if you limit your original drawing to whatever you know you have the shafts and treadles to weave. Otherwise it’s pretty easy to generate a drawing that you don’t have the shafts to weave. But it’s a very nifty trick, no? Kudos to Pat for coming up with it, and explaining it to me.
Next on the agenda: figuring out how to use doubleweave presets in the liftplan to create more organic effects.



Lots of meat in this post. Thanks for the post and process descriptions – I’m eager to try it for myself.