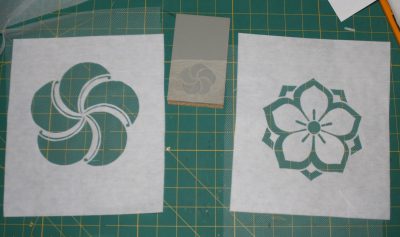
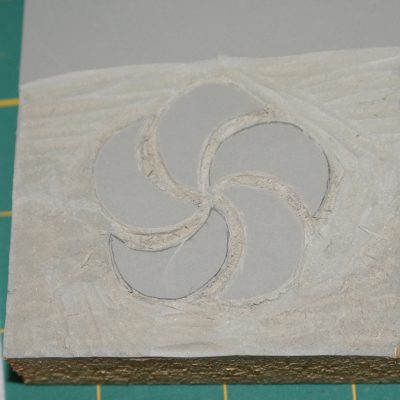
I cut two stencils and a stamp yesterday:


The stencils, which are cut according to the instructions in Jane Dunnewold’s Art Cloth (a superb book!), are two layers of fusible interfacing, cut simultaneously, and then sandwiched around a piece of nylon net. The layers are then fused together. The nylon net holds and stabilizes the cut-out sections of interfacing, making it possible to have cut-out designs in the finished piece. (If you look at the right-hand stencil, you can see that the flower in the center is floating entirely free – something you can’t do with ordinary stencils!)
There are some things to watch for. I didn’t get the interfacing completely aligned in the first stencil, resulting in some “blurry” areas that are not overlapped. For the second stencil, I aligned the sections perfectly and then used the tip of the iron to spot-fuse a few spots in each section before fusing the entire thing. This ensured that the layers did not shift.
The stencils are not finished yet; they need a layer of latex house paint, followed by ironing to set the paint, before they are ready to use.
The stamp is carved from a lino print block using linoleum carving tools. I was kind of nervous about it initially, but it carves easily, even without any experience. The block is actually 3″x5″, which is too large for my needs, so I’m going to cut it down to about 3″x 3″ and save the rest of the block for future prints.
The silkscreens are not ready yet and won’t be for at least another two days – I need to finish sealing the wood (in retrospect, I should have done that BEFORE putting on the screens), then duct tape the outside, let it cure for 24 hours, then apply the photo emulsion and let it dry. Then I need to do an exposure test on the emulsion. That will also take awhile, so any silkscreening will likely happen next weekend. C’est la vie, I guess.
My weaving friend Janet was kind enough to send me the real instructions for soy wax crayons. It requires soy wax, Synthrapol (a detergent), and dyes, all of which I have, so I will be making another batch of soy wax crayons today. You’re supposed to let them harden for a day before using, but I may cheat and accelerate the process using the freezer. I figure that at worst, I’ll just have to make another batch of crayons, and as they use up very little wax/dye, that’s not a big deal.
