Tien Chiu

  • Home
  • About
    • Honors, Awards, and Publications
  • Online Teaching
  • Gallery
  • Essays
  • Book
  • Blog
  • Dye samples
You are here: Home / All blog posts / Katazome workshop, day 1
Previous post: Design decisions
Next post: Katazome workshop Day Two

July 15, 2012 by Tien Chiu

Katazome workshop, day 1

The first day of the katazome workshop was both exhausting and wonderful.  I learned a lot.

Most of the katazome-making process is detailed on John Marshall’s website, so I won’t go into a lot of detail, but here are some shots of the katazome-in-progress:
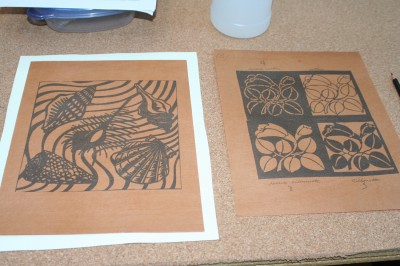
The initial images for my stencils

It took me three or four hours to cut the stencils, mostly because I had chosen such complex designs.

Here are the finished stencils at the end of the day, ready to use:
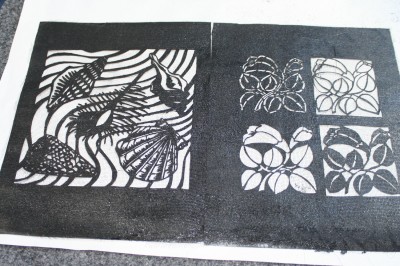
finished stencils - cut out, stabilizing mesh applied, and painted
finished stencils – cut out, stabilizing mesh applied, and painted

Somewhere in there we mixed up the resist paste, a mix of water, very finely ground rice bran, and glutinous rice flour – later we mixed in calx and glycerine.  (For a recipe and details on the process, see John Marshall’s website – link at the beginning of this blog post.)
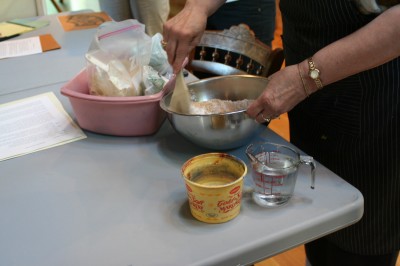
mixing the resist paste

Here is what it looked like once it was steamed:
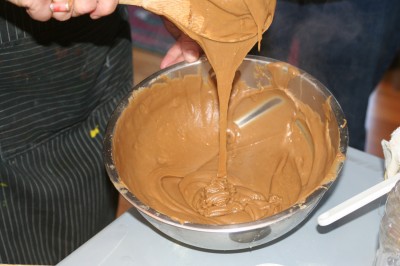
the steamed paste
the steamed paste

You could think “diaper goo” but I prefer to think “chocolate mousse”.

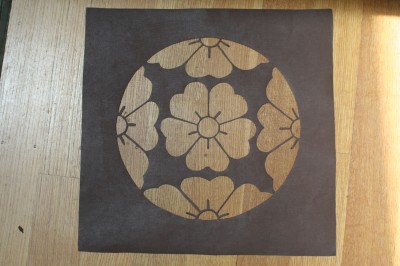
Because our own stencils weren’t completed in time, we used some of Karen’s stencils to lay down paste on pretreated fabric.  I used a butterfly stencil:
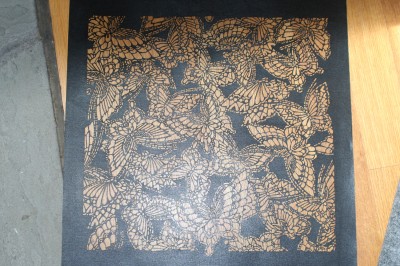
pre-cut butterfly stencil

And a flower stencil:

flower stencil
flower stencil

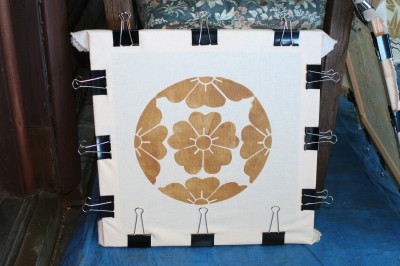
And here is what it looks like with the paste applied:
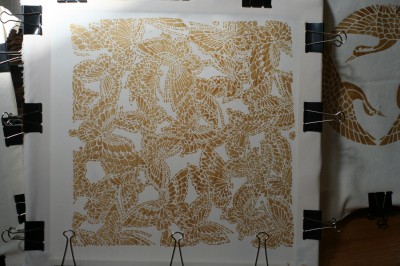
butterfly stencil paste
butterfly stencil, pasted
flower stencil, pasted

Because the paste is a resist, the areas that appear in brown will actually be white in the finished piece, and the white areas will be colored (in whatever manner we want to color it).

Can’t wait to learn about the rest of the process!

Share this post!

  • Tweet
  • More
  • Email
  • Share on Tumblr
  • Print

Filed Under: All blog posts, textiles, surface design Tagged With: katazome

Previous post: Design decisions
Next post: Katazome workshop Day Two

Trackbacks

  1. Visiting with John Marshall | Tien Chiu's Blog says:
    August 19, 2013 at 7:36 am

    […] dyeing. I took a katazome class from Karen Miller awhile back, and posted about the class here and here. (My finished pieces from the class are here.) Basically, you start by carving a stencil, […]

Subscribe to Blog via Email

Information resources

  • Dye samples
    • Procion MX fiber-reactive dye samples on cotton
    • How to "read" the dye sample sets
    • Dye sample strategy - the "Cube" method
  • How-Tos
    • Dyeing and surface design
    • Weaving
    • Designing handwoven cloth
    • Sewing

Blog posts

  • All blog posts
    • food
      • chocolate
    • musings
    • textiles
      • dyeing
      • knitting
      • sewing
      • surface design
      • weaving
    • writing

Archives

Photos from my travels

  • Dye samples
    • Procion MX fiber-reactive dye samples on cotton
    • How to "read" the dye sample sets
    • Dye sample strategy - the "Cube" method
  • Travels
    • Thailand
    • Cambodia
    • Vietnam
    • Laos
    • India
    • Ghana
    • China

Travel Blog

Entertaining miscellanies

© Copyright 2016 Tien Chiu · All Rights Reserved ·


Loading Comments...