This past week has been pretty challenging. Tuesday we had a major review for my project at work, the culmination of several weeks’ frenzied preparation. Thankfully, it went well! But the following day, I got smacked down by a nasty cold. (Thank goodness it didn’t hit on review day! That would have been disastrous.) Since then I’ve been in various stages of recovery, but am finally back to full energy. Yesterday, I cleared all the clutter out of the dining room, scrubbed it down, and put down the anti-fatigue floor mats for chocolatiering. I dug out our sweet potato crop, including one monster bigger than a football! I did the laundry, made chicken soup, finished drafting a chapter of the book, and somehow still found time to go see a movie. So yep, I’m back to normal. 🙂
So where am I in the land of chocolate? Ahead of the game, believe it or not. This week was all about cleaning and prep work, so I scrubbed down the kitchen, washed the sheet trays, and cleared out the dining room. (The dining room is where the chocolates get made, and I have two other people helping this year, so good, clean working space is essential.) I also finished tweaking all the recipes, adjusted my ingredients spreadsheet, and put together my shopping list for the year. Checked to make sure I had enough candy cups, boxes, pads, shipping boxes, shipping tape, etc. Printed out all my box labels. I am ready for the great chocolate onslaught!
I’ve also prepared my chocolate transfer sheets. Many people have asked me how I get chocolates that look like these:
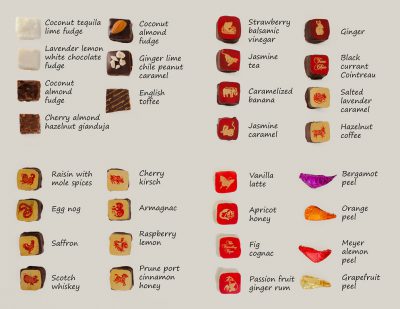
I do it using acetate transfer sheets. They’re like decals. You screen print a thin sheet of acetate (plastic) with a design in colored cocoa butter. Then, after you’ve dipped a center in molten chocolate, you immediately put the acetate sheet on the chocolate, with the cocoa butter side facing down. The cocoa butter melts into and bonds with the warm chocolate, and when the chocolate cools and you peel away the transfer sheet, the cocoa butter design shows on top.
Like this:
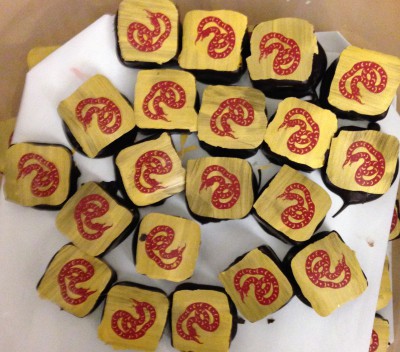
Mine are a little more complicated than usual, though. I start with single-color transfer sheets and then paint the backgrounds with colored cocoa butter. Why? Because I like the organic look of hand-brushed backgrounds. Screen printing doesn’t allow for subtle shading, and I like the translucent look and the visible “hand of the maker” in the background:
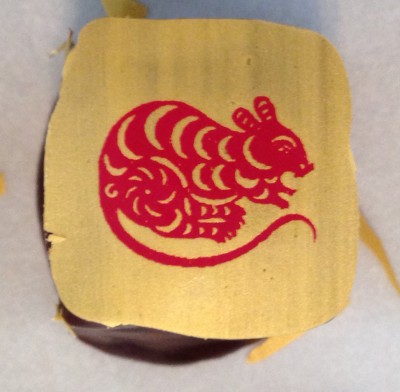
The other nice part is that I can get metallic colors – you can’t do that in screen printed cocoa butter, I’m guessing because the sparkly bits gum up the mesh. So I have lovely metallic gold and metallic red backgrounds on my chocolates.
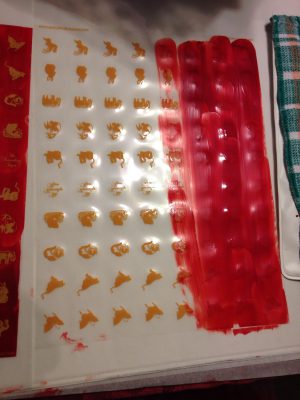
Here are a few shots of the hand-brushing process. I start with a sheet of solid color designs. To the right is my workstation – brush, melted colored cocoa butter, and a towel laid over a heating pad to keep the melted cocoa butter from cooling and hardening.
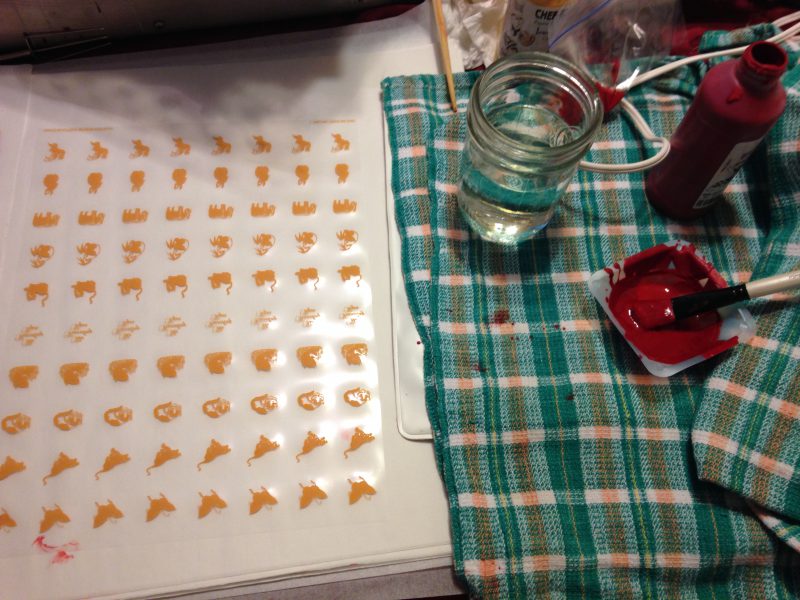
Before I could get started, of course, help arrived:
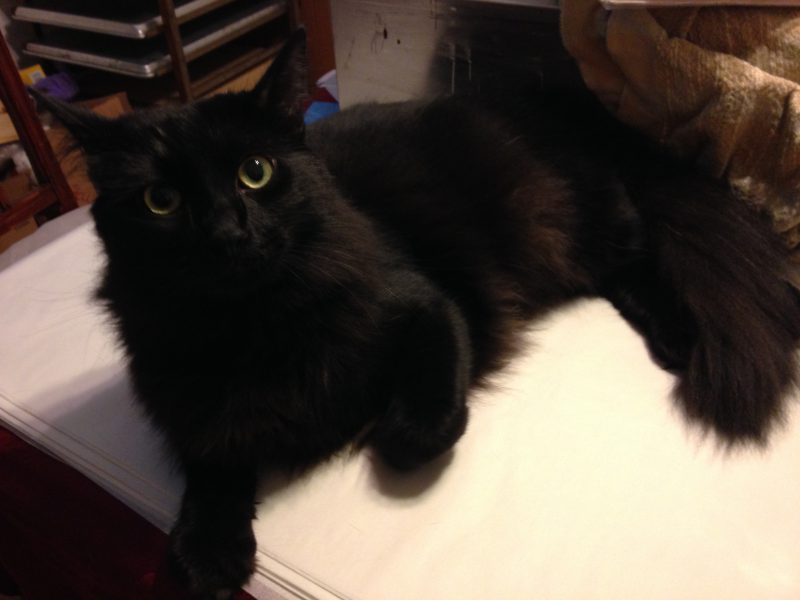
Helpless in the face of feline adorability, I stopped work and petted Fritz for several minutes, including a full-on belly rub! (Cats are the center of the universe, after all.) Eventually His Royal Highness bored of the adoration and wandered off, and I could get back to work. Fortunately, I had had the forethought to line my workspace with parchment paper, so removing the inevitable cat hair was as easy as peeling off the top sheet. One does learn certain tricks with cats around!
Here’ a half-painted transfer sheet. Painting the sheets can be a trifle tricky: the melted cocoa butter will melt and smear the screen printed design if you aren’t careful. Also, the cocoa butter “dries” (hardens, actually) really fast, and contracts on cooling, so you have to weight the sheets under something flat to prevent curling.
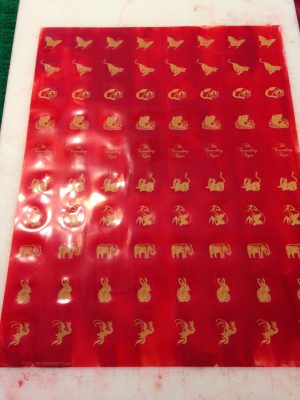
Here’s a completely painted transfer sheet, showing the lovely variations from the brush strokes:
After the sheets are fully “dry” (hardened), they need to be cut. Because the cocoa butter is prone to shattering, I can only stack three sheets at a time when cutting. I cut the sheets into approximately 1″ squares using a rotary cutter and a clear quilter’s ruler:
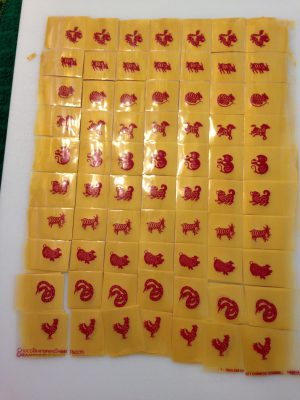
Then I sort them by design (there are ten designs on each sheet) and put them in plastic baggies for later use.
Here’s a finished transfer sheet:
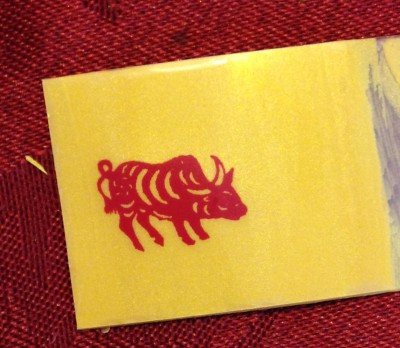
The whole process takes six or so hours, start to finish, and results in about 2400 individual squares. Yes, I make a lot of chocolates during chocolate season!
And that has been pretty much it for the last several days. Hopefully, now that I’m back to full energy, I’ll be able to get a bit more done!
Mike has not been idle, either. He installed new knobs on all the cabinets and drawers yesterday, and they’re so wonderful I just had to share them:
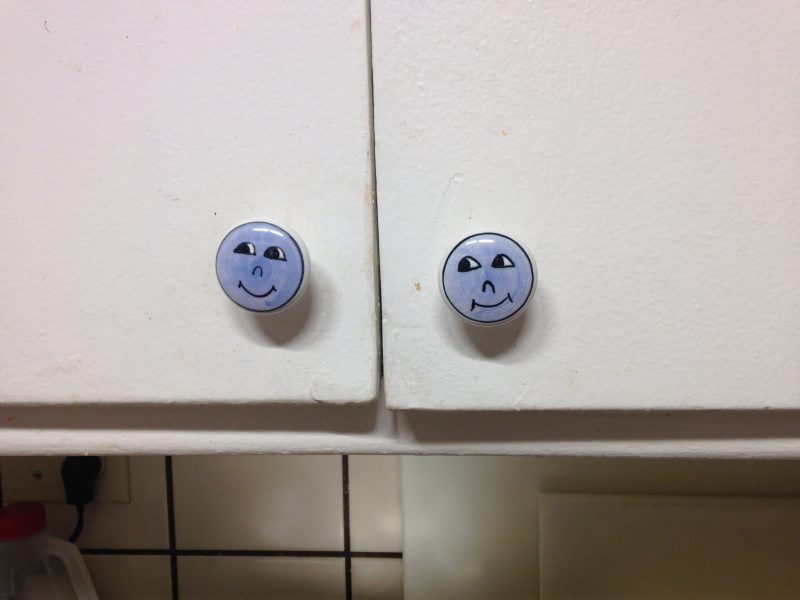
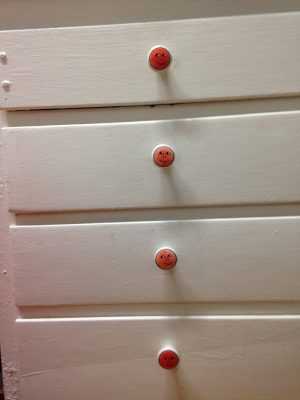
They make the kitchen a much brighter place – I smile every time I see them.
Mike has also replaced the window blinds. You may recall that certain cats (mostly Fritz) had more or less destroyed the original blinds:
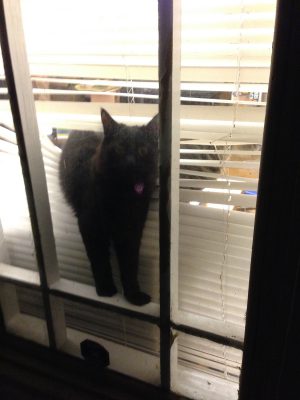
Well, now we have vertical blinds, which are so much nicer, especially if you’re a cat:
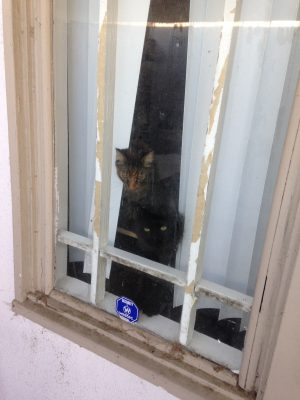
Now two cats can look out at once! And so much more comfortable and convenient than having to stick your head through those horizontal slats.

You mean cat hair is not a condiment ??? 😉
Feel better ! kathyo