Tien Chiu

  • Home
  • About Tien
  • C.V.
  • Online Teaching
  • Works
  • Essays
  • Travels
  • Book
  • Blog
  • Dye samples
You are here: Home / Archives for All blog posts / textiles / weaving

June 24, 2025 by Tien Chiu Leave a Comment

Two weeks and counting

It’s now exactly 2 weeks to USPA Drug Tested Nationals.

I’m doing my final training this week (next week will be a rest week). It’s tough! I’ve been coming back from the gym exhausted.

This week I’m practicing lifting heavy, and trying to figure out how much I can realistically lift in competition. So the weights are at 90-95% of my estimated maximum. That’s HEAVY.

As the weights get heavier, form becomes much more important. Being off by even half an inch can make a lift fail.

For example, here’s a video of me deadlifting 295 pounds last week, clean and sweet.

And here’s a video of me failing to deadlift 315 lbs:

If you look closely at the second video, you can see that, just as the lift starts, my shins hit the bar and it swings forward, away from me. Not much, well under an inch. But that teeny diversion is the difference between success and failure. (It’s not a strength issue; I’m perfectly capable of lifting 315 pounds.)

(I was going to write something about the precision and discipline that I’ve learned from powerlifting, because it’s a much more interesting sport than you might think, but honestly, I’m just too tired. Wait ’til after Nationals!)

My favorite lift right now is bench press. The weights are FLYING!

Here I am benching 165 pounds:

It took effort, but not significant struggle. Extrapolating, I should be able to lift 175 pounds in competition. That’s a HUGE improvement over last year, when my max lift was only 165.

I have two personal goals for Nationals:

  1. Lift a total of 800+ pounds across the three lifts. My total from my last competition was tantalizingly close – 793 lbs – but not quite there. Fingers crossed.
  2. Break the California state record for bench press, which is currently 77.5 kg, or 170.9 lbs. Fingers crossed.

I have three stretch goals:

  1. Break the California state record for squat, which is currently 140 kg/308.6 lbs. This is do-able on a good day, but my squat form has been a bit squiggly lately, so I’m not sure I can do it.
  2. Break the California state record for deadlift, at 155 kg/341.7 lbs. This is a bigger stretch, but not impossible.
  3. Break the California state record for meet total, which is currently 810.2 lbs.

With luck I’ll come back with at least one state record!

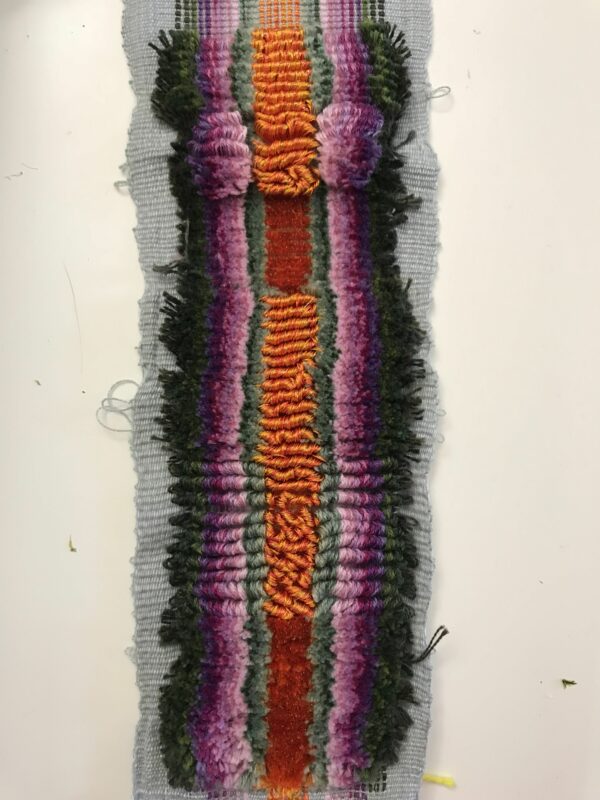
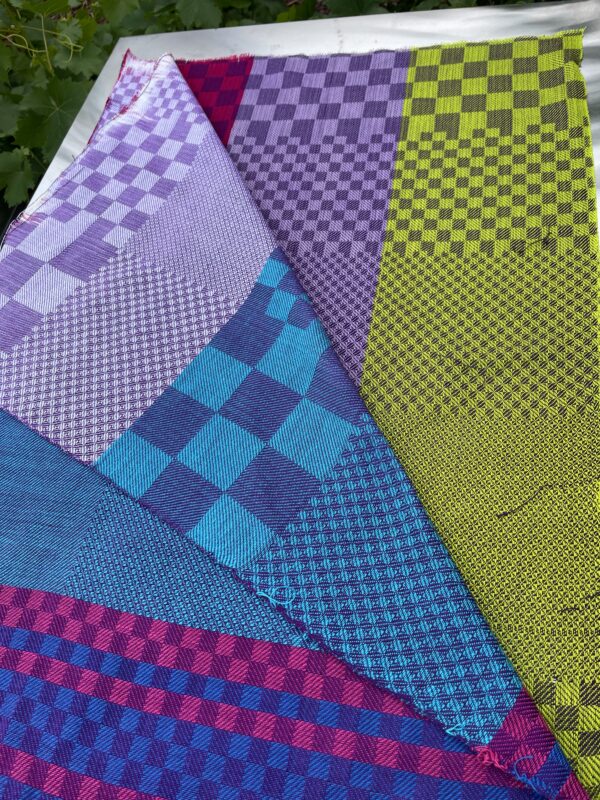
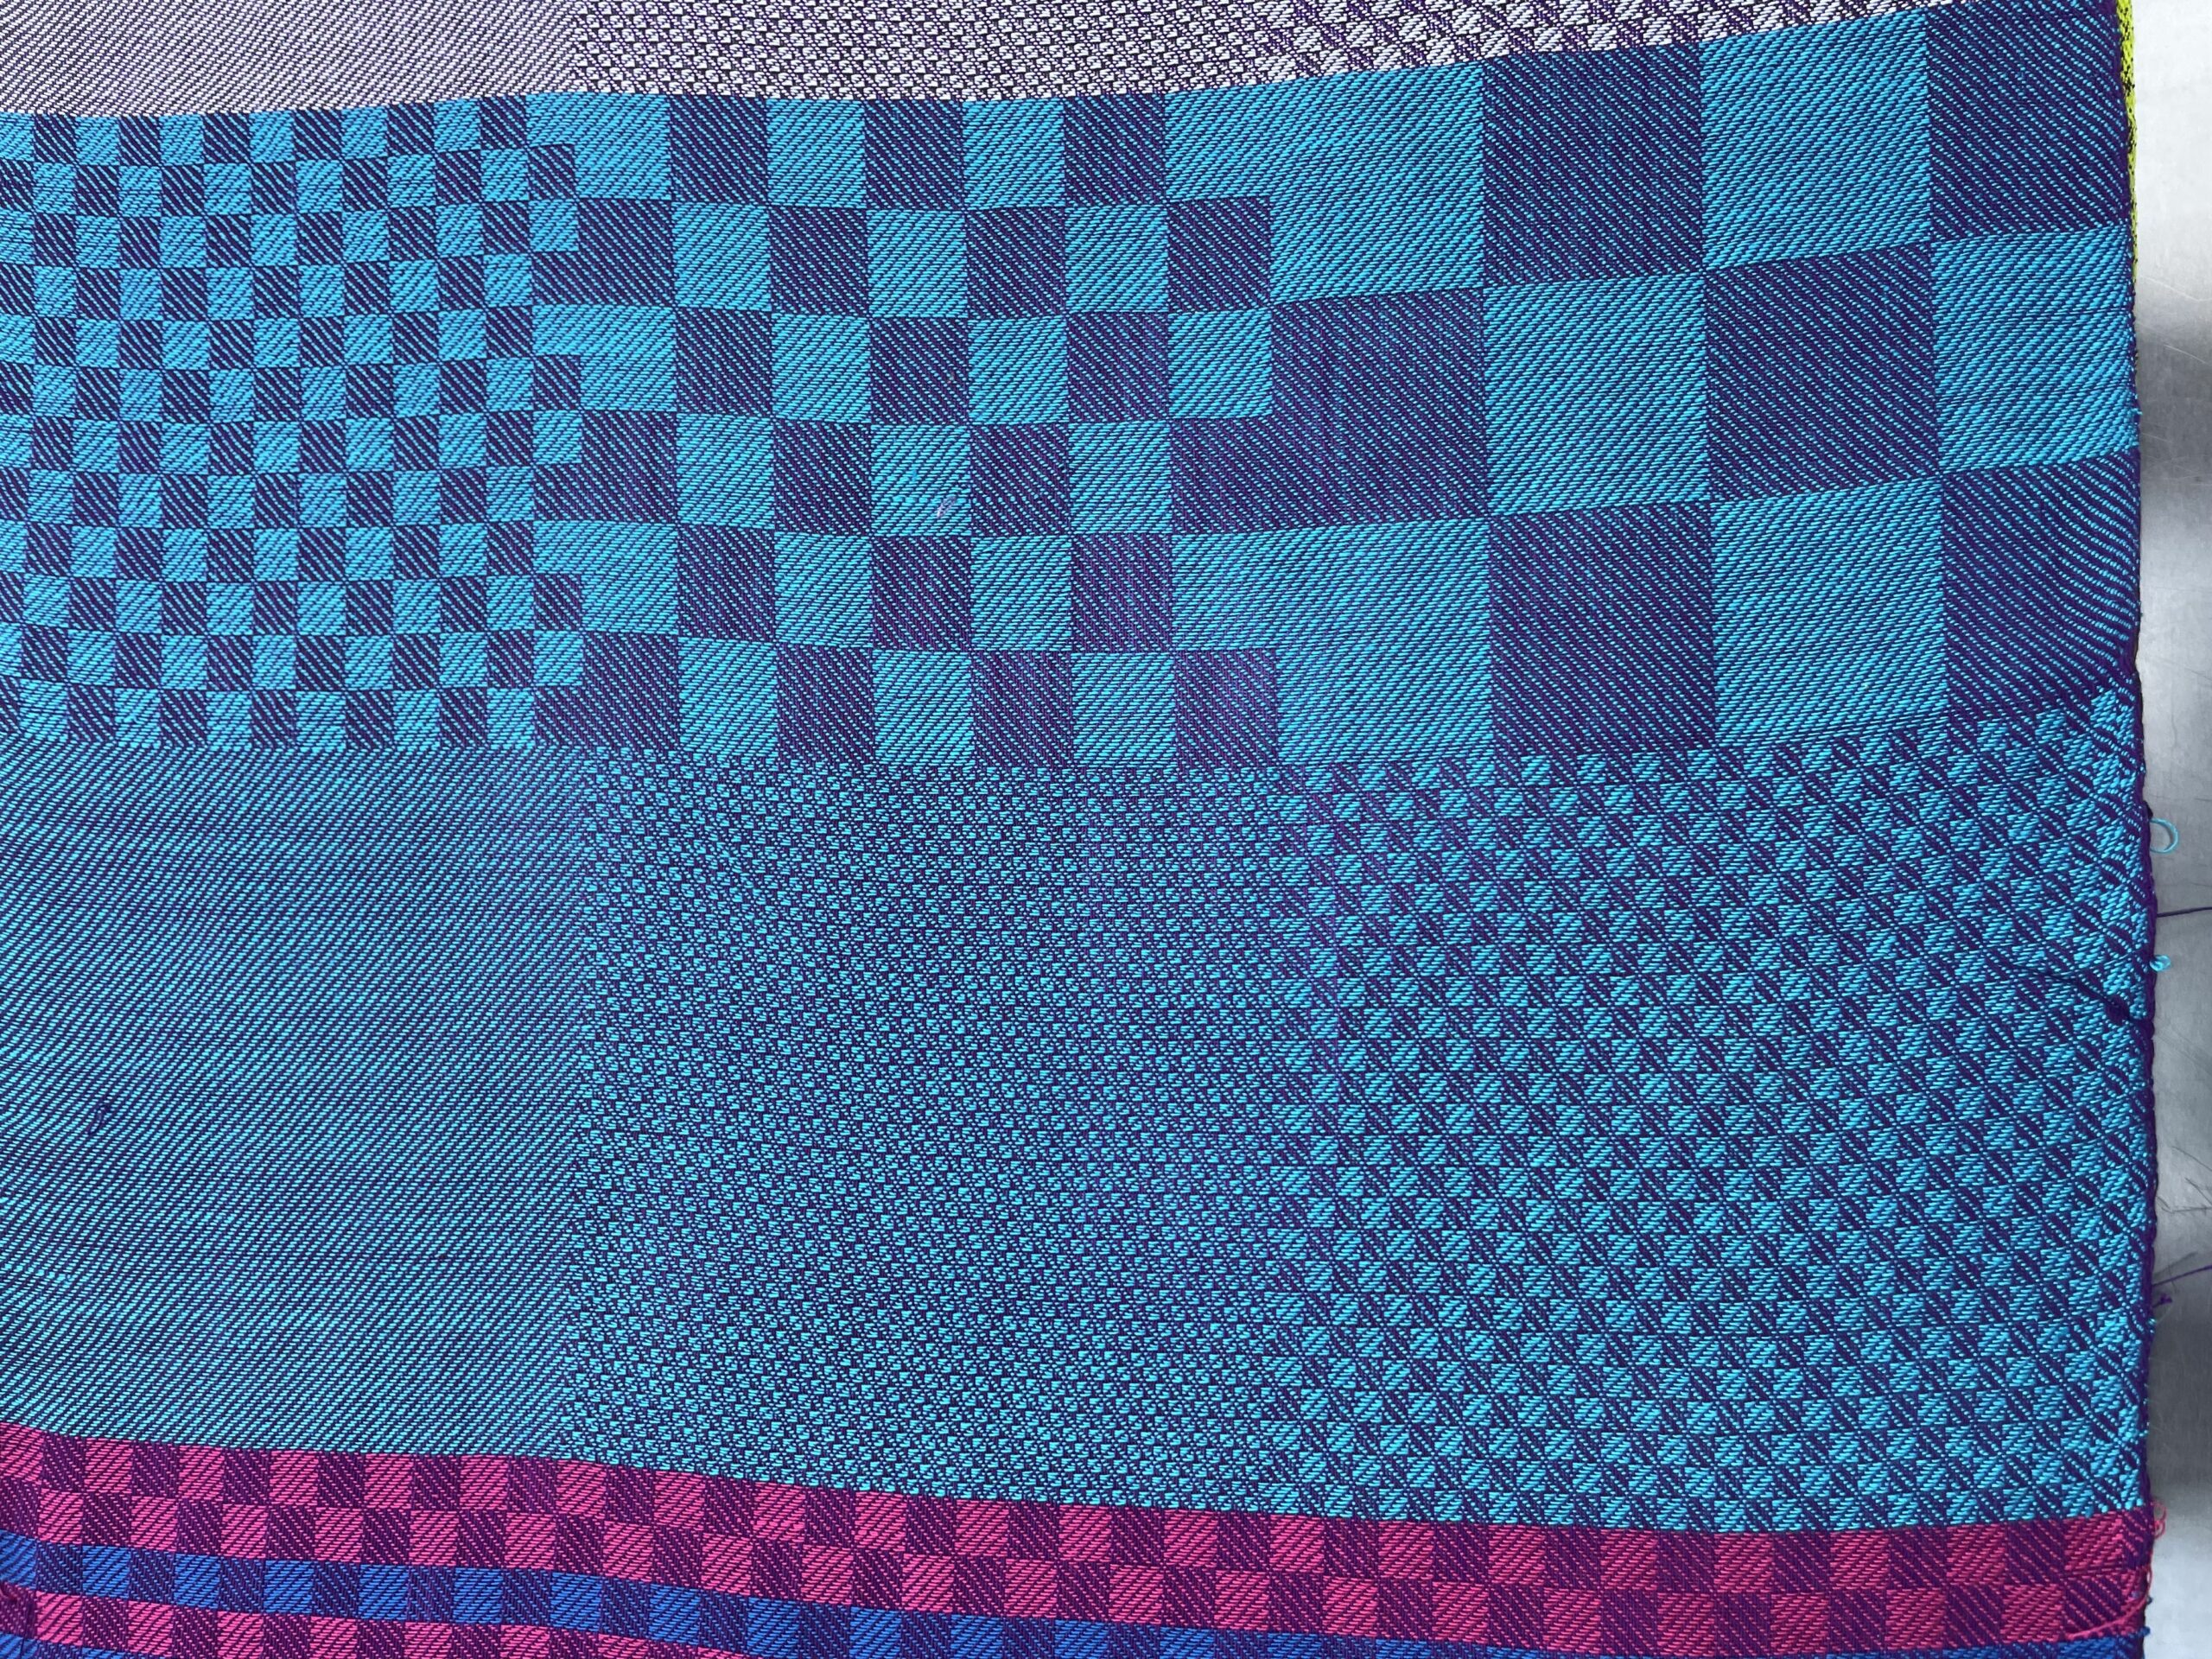
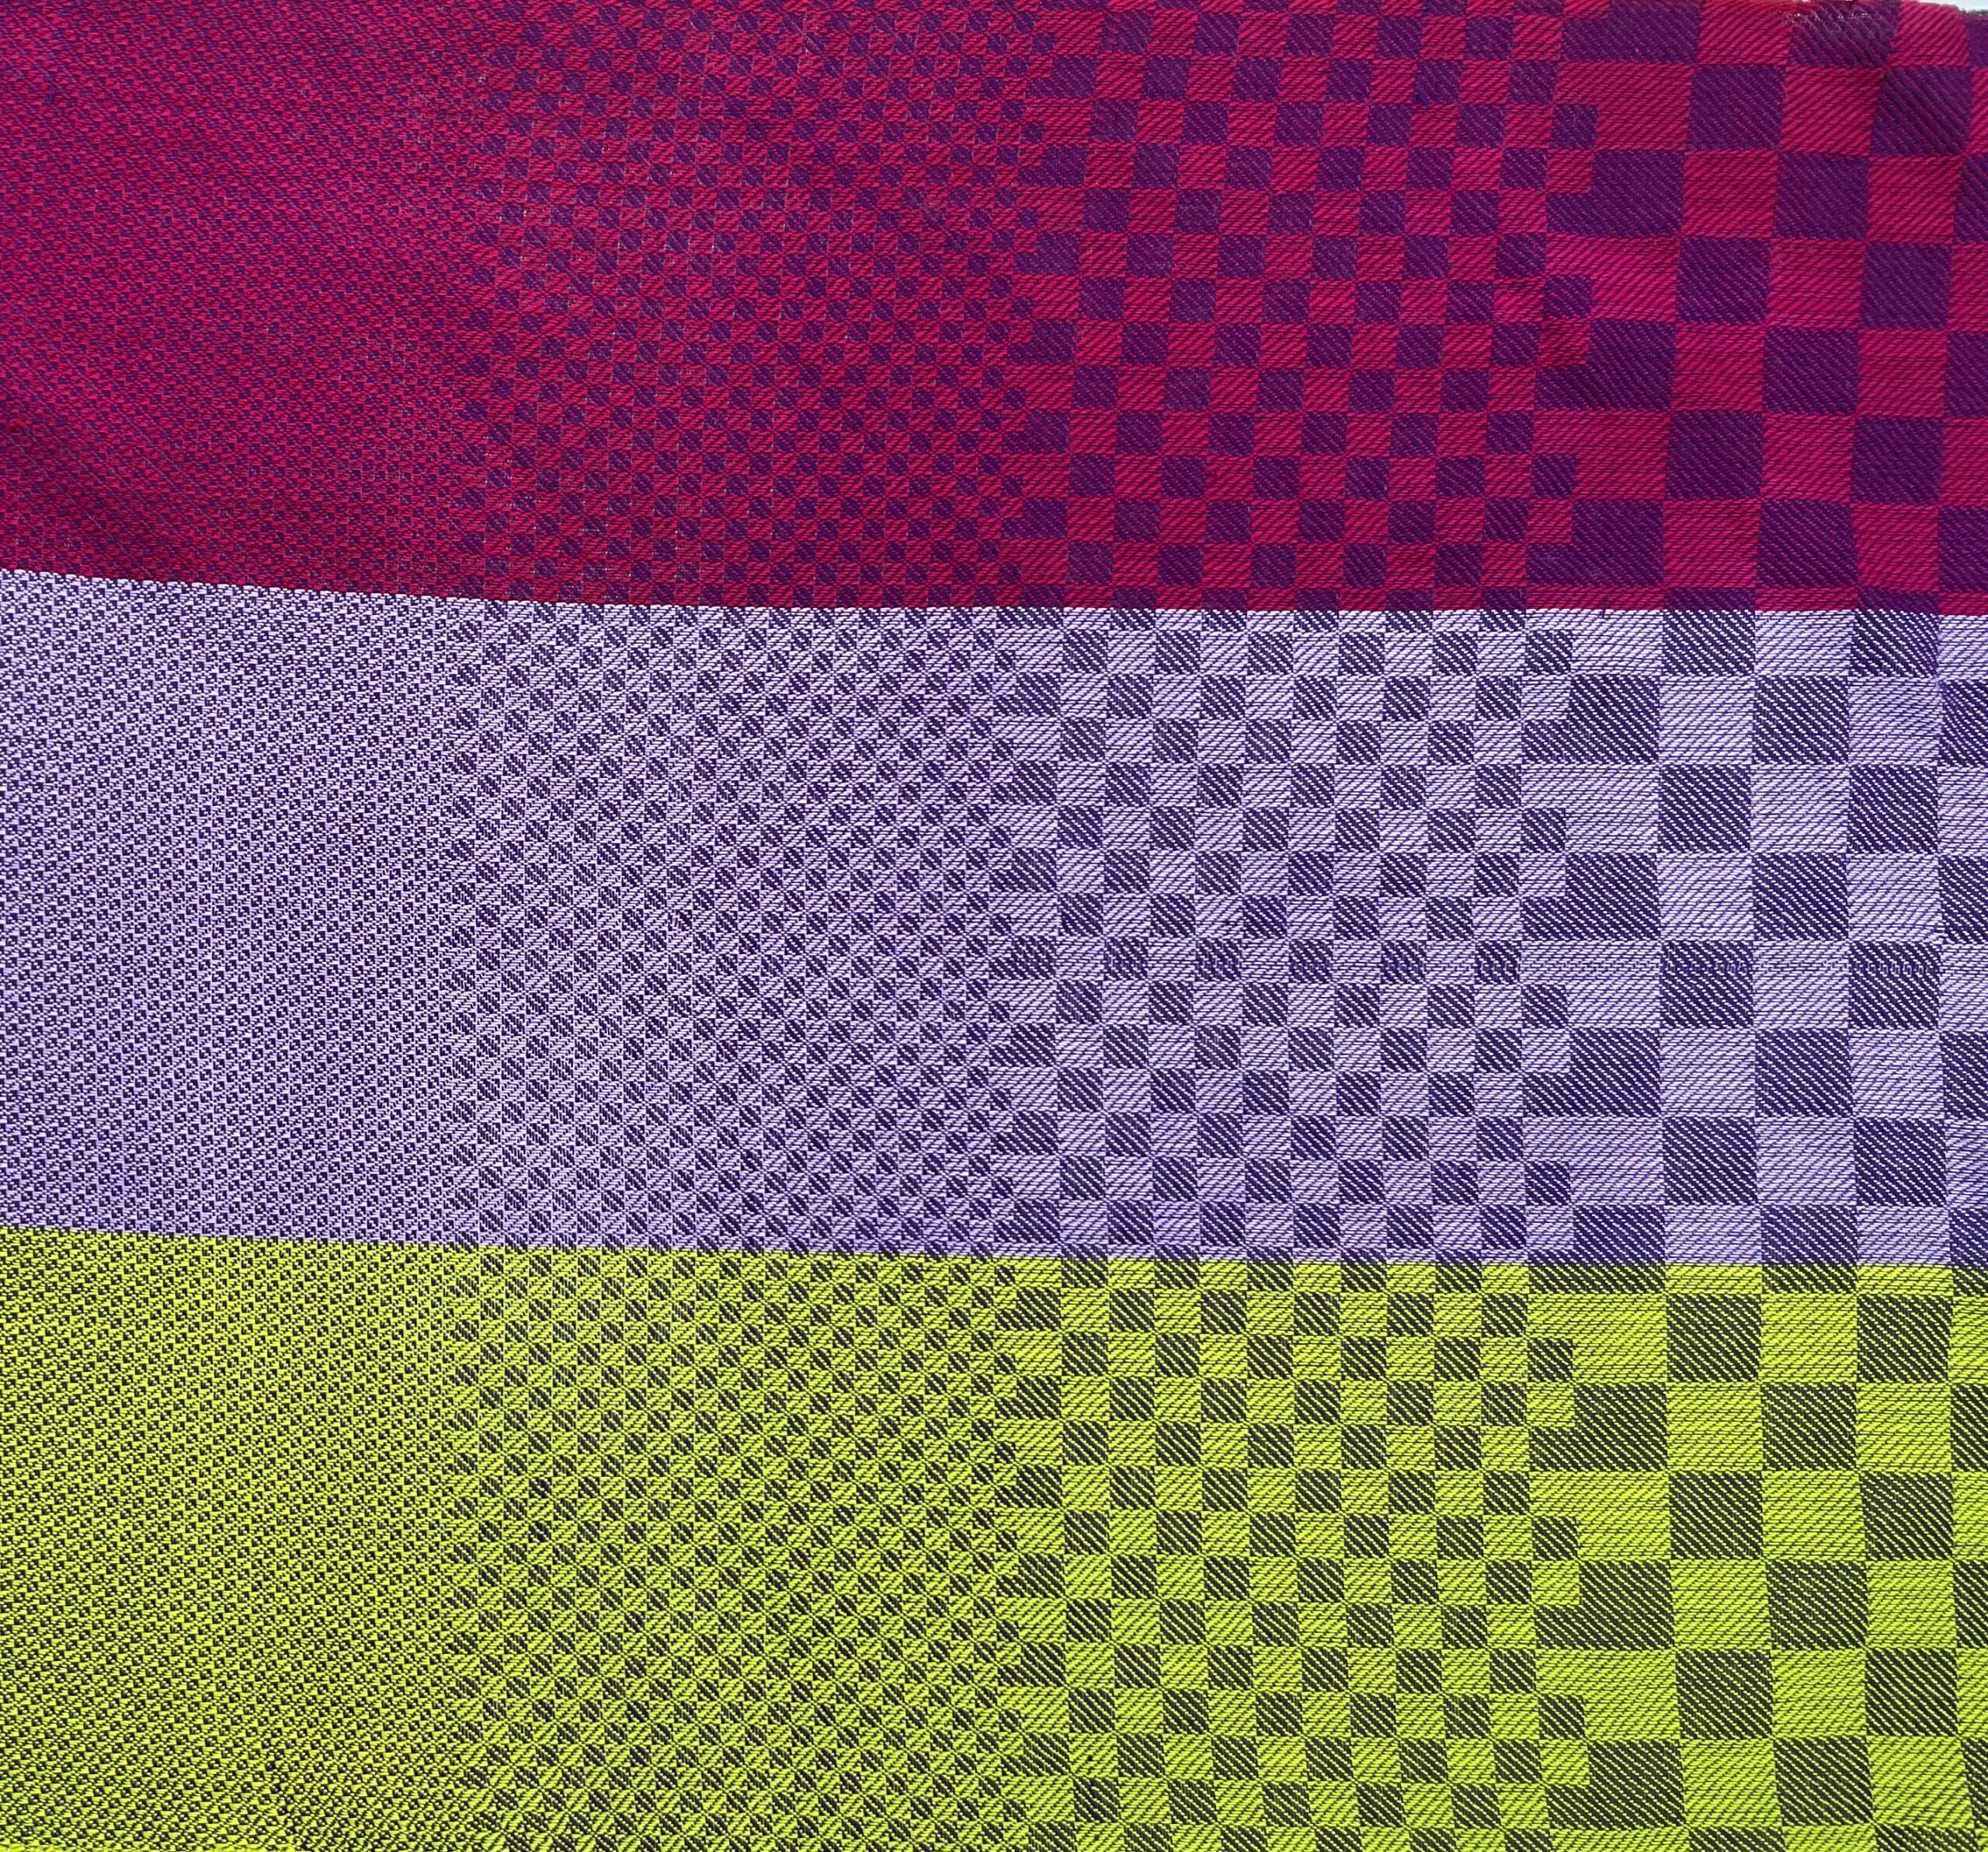
In fiber news, I’ve made considerable progress on the phoenix scarf. I’ve spun over 1000 yards of yarn on my drop spindle, and should be able to finish the last 300 yards within the next two weeks. I’ve started weaving samples on the jacquard loom using commercial yarn. Here’s a quick peek so far:

I’m weaving the sample in 60/2 silk, which is about 15,000 yards per pound. That’s about the same size as my handspun yarn, so it should give me a pretty good idea of how the math will work out. The warp in this sample is bright magenta, but the actual scarf will be woven on dark blue warp instead.

If I haven’t spun enough yarn by Nationals, my plan is to take my spindle with me to Las Vegas. Hey, if an Olympic diver can knit in the stands, I can spin at a powerlifting competition!

Filed Under: All blog posts, powerlifting, textiles, weaving

June 4, 2025 by Tien Chiu 2 Comments

Phoenixes, packing, and meet prep

I’m making slow progress on spinning the phoenix yarn. I started getting repetitive strain injury symptoms in my right hand, so I took a few days off and did some active recovery work (stretching, band flossing, etc.) before starting up again. And I’m going fairly slowly, about half an hour a day.

Here’s today’s skein. I’m getting out of the orange section and into some lovely golds!

orange to gold yarn on niddy noddy

And here is the full gradient so far:

gradient yarn (several skeins lined up)

To jog your memory, I’m spinning these braids of silk fiber:

Gold and yellow are yet to come!

Move-wise, I’ve finally started packing my stuff. The move is still two or three months away, but I hate last-minute panics, and I’m planning to sell some things, so better to start sooner. I found a phenomenal iOS app called Boxes that is teeeeeeerrific not just for packing but for anything that involves labeling and inventorying. You create “spaces” (categories) first, then put boxes into each space. For each box, you can do a list of items, and add photos of each item. Then you can add tags (“weaving supplies”, “yarn,” etc.) And then, you can print a label with all the box info on it AND a QR code so you can scan the box and instantly bring up all your notes, pictures, etc. on your smartphone or tablet.

I think this is phenomenal even if you aren’t moving. It would be perfect for inventorying things for homeowner’s insurance, for example, or just to know where the heck you put that widget 10 months ago.

So I am gleefully packing up and photographing yarn. I’m not going overboard on inventorying everything, but I am taking photos and putting in general descriptions.

I’ve packed five small moving boxes so far, mostly silk and metallic threads. I’m guessing another 10 boxes at least to contain everything. Maybe more. I have at 400+ pounds of yarn! Don’t ask where it all came from, please. (I suspect it of multiplying when I’m not looking.)

Powerlifting-wise, I’m now only five weeks out from Nationals (SQUEEEEEEEE!!!!!!). The final week is typically a rest week, so I have four training weeks left to go. So my coach is pivoting me from general strength training to meet prep. That means that instead of doing 3-5 reps in my first (heaviest) set, I’m doing one HEAVY single-rep set before backing down and doing more work at lighter weights.

Here’s what a typical exercise entry in my training spreadsheet looks like now:

Translating the shorthand, it says to do 1 rep at a weight heavy enough that I could only do two additional reps if I continued.

Once I input that weight into the Set 1 row, the program estimates the maximum weight I can lift, and puts that in the bottom row.

Then I multiply that max weight by 80% and lift that weight (rounded to the nearest five pounds) for four reps, doing a total of four sets of four reps each.

The practical difference is that now, instead of doing an initial set of 3-5 reps at 140 pounds in bench press, I’m now doing a single rep at 160 pounds. That is roughly a 15% increase in weight from my usual training, and puts me up around 90-95% of my max lift. That is HEAVY.

This shift from lighter weights/more reps to heavy singles is prepping my body and my central nervous system for an all-out effort. It’s also giving the opportunity to perfect my form at heavy weights. You can get away with less than perfect form when you have lighter weights, but as you near your max, you have to be much tighter and more focused on getting everything perfect, or the bar won’t come up.

(You won’t hurt yourself if you fail, though – the rack’s safety arms will catch the weight. Powerlifting, and weightlifting generally, actually has one of the lowest injury rates of any sport.)

Here’s what 160 lbs x 1 rep in bench press looks like right now. Significant effort, but not a real struggle. I am hoping to hit 172 lbs at USPA Nationals to break the California state record for my age/weight class.

Filed Under: All blog posts, powerlifting, textiles, weaving Tagged With: phoenix scarf

May 31, 2025 by Tien Chiu 7 Comments

Try to love the questions themselves

I’ve run into a snag on the phoenix project. I started predrafting my fiber to loosen it up and also to allow me to spin directly from the end of the roving. However, the change in fiber prep method has also changed the diameter of my “default” yarn. Instead of 7,000 yards per pound as it was before, it’s now averaging almost 10,000 yards per pound. That’s about 30% thinner than it was! That will definitely be a problem for my scarf design.

Here’s a picture of my three skeins so far:

Skein 1 (the dark brown one) was spun using my earlier method (spinning off the fold), and is 7100 yards per pound.

Skeins 2 and 3 (top two) were spun using the second approach (predrafting fiber and then spinning off the end), and average about 10,000 yards per pound.

This makes nice hash out of all my calculations. At this point there are two things I could do:

(1) spend some time figuring out how to spin a consistent 7,000 ypp yarn, then start over

(2) keep going, and accept that the yarn is going to be much finer than anticipated (and possibly different diameter from skein to skein).

I’m thinking that I will just keep going.

This is a bit of a departure for me. Usually I start with a vision, then plan and execute a project around the vision. Lots of side trips and changes along the way, but I always keep the vision in mind. I also like to keep tight technical control over my work.

But this project is a phoenix project, meaning it isn’t about achieving a goal. In fact, it is very specifically NOT about achieving a goal. It’s about letting go of all the old goals, ideas, and relationships, opening up to possibility, and eventually discovering new things (and a new life!) to replace what went before.

So I think I’m going to do something very out of character: embrace process over product, and simply spin up the rest of the yarn without worrying about what it will become. I’ll play with some ideas, sure, but until I have a better idea of what is coming down the pike, there’s no point in planning too far ahead. So I’m just going to enjoy spinning for however long it takes to spin all four ounces. At that point the future will be less murky and I can decide what comes next.

This meandering matches my plans for my future. I have no idea where I’m going to live six months from now. In fact, I am working very hard at NOT figuring out where I’m going to live six months from now. This is extremely uncomfortable for me, because I am the sort of person who likes to have everything decided. I was a professional project manager – being decisive was my job for twenty years.

But I want to hold open space to rediscover things, to allow Future Me to have possibilities and choices that are different from what Past and Present Me would choose. So I am going to shake things up by resolutely refusing to commit Future Me to anything right now. It is rare that life gives us a chance to do a complete reset. I have had that privilege a few times, and I don’t want to waste that opportunity now.

This reminds me of one of my favorite quotations:

“You are so young, so much before all beginning, and I would like to beg you…to have patience with everything unresolved in your heart, and to try to love the questions themselves as if they were locked rooms or books written in a very foreign language.

Don’t search for the answers, which could not be given to you now, because you would not be able to live them.

And the point is, to live everything. Live the questions now. Perhaps then, someday far in the future, you will gradually, without even noticing it, live your way into the answer.”

– Rainier Maria Rilke, Letters to a Young Poet, Stephen Mitchell translation

So with the phoenix, I am planning to sit with the project now. Walk and spin for forty days, or however long it takes. See what it wants to become.

I think there will be lots of potential, though. Here are the color gradients in the most recent two skeins. Beautiful, and full of becoming.

Filed Under: All blog posts, musings, textiles, weaving Tagged With: phoenix scarf

July 23, 2024 by Tien Chiu Leave a Comment

Weaving faces

I’ve spent the last week or so working on the cyborg design. It’s technically very challenging. That’s because weaving a realistic human face is not easy!

While we humans have only vague ideas of what most objects look like, we are VERY familiar with human faces. In fact, our brains are physically wired to recognize and “read” human faces. That means that, if you want to produce a convincing human face, you need to be spot on about things like skin color, facial features, and proportions.

So I’ve been doing a lot of digital swatching to come up with yarn colors.

The first step in this swatching is to come up with a starting palette. I sampled the colors in the image I’m weaving, looking for colors that would mix into the colors I wanted.

Here’s the image I’m weaving. (The head is human-looking on both left and right sides because I will be sewing on the cyborg parts later.)

image of human head

Then I selected five colors from the image. In the double satin structure I’m using, I can use multiple wefts together, so I constructed a set of swatches that shows all the mixes of 1-2 weft colors, like this.

(Top and left rows show the original color palette; the other rows show combinations of those colors.)

color swatches showing different weft combinations

That gave me some ideas of what the weft colors would look like when blended (in practice the blends are not nearly so neat), but didn’t account for the black warp color. Because of the structure, black would blend with the weft colors. I could have 20%, 40%, 60%, or 80% black on the surface, with the weft color making up the rest.

To simulate this, I added a black overlay in Photoshop, with black stripes at 20%, 40%, 60%, and 80% opacity. The overlay (by itself) looked like this:

black overlay to simulate effects of structure

Placing the black overlay over the extended color palette gave four shades for every weft color combination – 20% black, 40% black, 60% black, and 80% black, for a total of 15 x 4 = 60 possible colors.

final color swatches

However, if I tried to use 60 colors, especially nearly-identical colors, in a palette, I’d drive myself crazy (for a variety of technical reasons that I won’t get into here). So I winnowed them down to 18 colors:

simplified color palette

Then I told Photoshop to simplify the image to a version containing only those colors:

image flattened to 18 colors

It’s pretty good. You can see some graininess in the photo, especially around the tip of the nose, but it’s not bad.

I wasn’t entirely satisfied, though, as I felt the face didn’t have the glow of the original. Mixing in the black had darkened and reduced the saturation of the face. So I went back and created a new palette, with colors just a trifle more saturated and lighter than the previous set.

The new palette did significantly better – the version of the photo using that palette is below – so I decided to roll with it.

photo flattened to second color palette of 18 colors

(This is not what the final design will look like, however. Woven designs have MUCH lower resolution than digital images, so a lot of detail will be “lost in translation”.)

Now I needed to find yarns of the right colors to make up the palette. It would essentially be impossible to source these commercially: the colors would have to be nearly precise matches, and the odds of finding them in the limited commercial palette are essentially zero.

To the dye samples!!

I dyed 1500 samples of yarn in various Procion MX color combinations a while back – you can see them here. This gives me an exceptionally large palette to choose from – still doesn’t cover the entire color gamut, but I get quite a bit of selection when I flip through my books.

I was in luck! There were not one, but TWO palettes that looked like they might work:

dye samples compared to original palette

I think I could work with either of these. The bottom set of samples is truer to the colors of the original palette, but (like the original image) that palette doesn’t seem quite Asian enough for me. Too much pink and not enough yellow. The top set of samples has a more yellowish cast, which I think might mimic Asian skin better.

My plan is to dye all six colors, weave up samples, and see which I like best.

I had originally planned to weave using 20/2 silk, which is about the size I wanted, but there’s a hitch: silk dyes differently from cotton. The colors shift, sometimes dramatically. So if I wanted to dye silk, I’d have to do samples to test the dye formulas, adjust as needed, do more samples, etc. Time is short and silk is expensive, so I think I’ve decided to take the quicker path and use a cellulose fiber – probably mercerized cotton.

I’m still debating what size yarn to use, and will likely weave up samples in both 20/2 and 10/2 cotton. There are a lot of technical questions that will need resolving, so I think I’ll start by weaving samples to test yarn sizes. After that I’ll wind and dye my skeins, and start testing colors.

Meanwhile, of course, there’s the electronics to consider. I’m reading through Adafruit’s (lengthy) document about all the different LED products they carry, and am thinking about how to design the cyborg half as well.

And, of course, continuing my powerlifting workouts. In my fantaaaaaaabulous new belt, which arrived last week! I think it’s amazing, and can’t wait to wear it at my meet in San Diego on August 23.

phoenix belt, stretched out lengthwise
phoenix belt, curved as if being worn

It will go very nicely with my powerlifting competition gear:

Tien on the powerlifting platform

Because if you’re going to look like a squashed sausage (“I look good in a wrestling singlet,” said no human ever), you might as well look like a FABULOUS squashed sausage!

Filed Under: All blog posts, powerlifting, textiles, weaving Tagged With: AI

July 15, 2024 by Tien Chiu 3 Comments

Weaving and weightlifting

Major progress on the AI weaving project! And also one or two right-angle changes.

I finished weaving the tiger. It came out beautifully:

Woven tiger

This design uses four wefts, all brushed mohair/silk yarn (it feels SOOOO yummy!). One weft is orange, one black, and the two remaining wefts are both white (I wanted to get better coverage).

I also wove up a sample with a fifth weft – .75 mm strands of optical fiber! Optical fiber conducts light from end to end with very little light leakage in between – unless, of course, you scratch it up with a knife or sandpaper, in which case the scratched part glows.

(The idea is not original to me. I’d done a piece (of sorts) waaaaaay back when, about ten years ago, in collaboration with Laurie Carlson Steger, who showed me how. She did all the hard parts – I wove an image of a rocket launch and wove in the optical fiber (with her help), but she did all the knife-work to make the piece glow in all the right areas.)

I tested both knife and sandpaper. In the video below, the bright area in the center is scratched with a razor blade, while the bright area on the right is gently sanded with 80 grit sandpaper. That allows the light to leak out wherever I want a glow.

The video shows some of the tricks that you can play with the light. In the video, out of sight, I’m waving a small pocket flashlight over the ends of the strands, which creates a play of light in the glowing spots as the light waxes and wanes over the end of each fiber.

Since each fiber has the potential to be lit up separately from all the others, I’m thinking it would be fun to mount some LEDs at the ends of some optical fibers, to make the design glow or flash or ?? in the specific areas I want. I’m not clear yet on exactly what kind of pattern I want – that depends in part on what can practically be done. So one thing on the list is simply getting a bunch of LEDs and experimenting.

I’m collaborating with a Stanford EE graduate student on this. The plan is for me to do the weaving and Clarissa to do the electronics design and prototyping – it’s going to be really exciting to work with (and hopefully learn from) her.

Now to the right-angle turn in the project. I was noodling on the design of the piece, and what I wanted to say with it. I realized that the tiger, while cool, really didn’t capture the ambiguity I was looking for. Because the ambiguity isn’t between AI and animals, it’s between AI and humans.

Back to DALL-E to get a human face!

After fiddling with (and getting frustrated by) DALL-E for a while, I had an image that seemed like a good start:

DALL-E cyborg face

I couldn’t seem to convince DALL-E to modify the image to include the entire head – no matter what prompt I used, it wanted to cut off the top of the hair. I did manage to get one image that showed an entire head, though, and the hair was a similar style.

So off to Photoshop and its AI-based Generative Fill. I grafted the top of the other head onto the first image. It didn’t match, of course, so I selected the area and typed into the Generative Fill, “Blend the two photos together seamlessly”. I also flipped the image horizontally.

And here’s what came out:

DALL-E image with top of head added in Photoshop

I’m not going to weave this as a straight-up image. Instead, I’m going to duplicate the left side of the face and put it over the cyborg-y bits, and weave the whole thing as a human face. Then, once the weaving is done, add the circuitry over the top of the face (basically, embroidering it on). I haven’t figured out how I’m going to do the metal bits, as the image is flat. Maybe 3D-print something of the right shape and paint it over? So many possibilities!

The idea behind the piece is the blurred line between AI generated art and human-generated art, and also the blurred line between AI (which often seems human) and humans. I haven’t yet got an official title, but am thinking “Am I AI?” might not be bad.

Still debating materials. I am leaning towards silk weft, both because it will add luster and because 20/2 silk is close to the size I want for the weft. 10/2 cotton (same as the warp) will likely be thicker than I want because I will be working with 4-5 wefts and 2 warps per “pixel” of the design.

Another possibility is a silk/cashmere blend which is either 6000 or 7000 yards per pound, a little thinner than I want, but if I can figure out how to juggle 5-6 shuttles, would also allow me to have more weft colors and hence more nuance in the design. The additional cashmere content might add a little peach-fuzziness to the face, which would be nice.

Still thinking over all the variables!

In other news, I have a new keyboard! I have been having finger issues on my right hand, so my friend Morgan gifted me with a Svalboard Lightly, the successor to the Datahand. It’s one of the most unique keyboards out there, and is completely customizable:

Pink Svalboard Lightly

Basically, you put your fingers in the finger wells and type by pressing the center button and/or flicking your fingers up, down, left, right. Thumb has four options: knuckle, nail, finger pad, and up. Those by default are either very commonly used keys (space, enter), keys used in combination with other keys (Control, Alt, etc.) or mode-shift keys (shifting the keyboard from alphabet to numbers/symbols).

You can completely customize the fit by sliding and tilting the finger-wells (and moving the palm rests around), and you can also reprogram the keys to whatever you want. I’ve decided to move away from the traditional QWERTY layout and go with a “modern” configuration called DH Neu, which is designed for ease of typing. I’ve also programmed in some single keys to do common commands, e.g. CTRL-C, CTRL-V, CTRL-X, so I don’t have to do combinations.

I’ve only been using it for a little while, and am still learning to type with it, but it’s WAY more comfortable than any other keyboard I’ve used. It’s not cheap, but you have carpal tunnel or other RSI issues from typing, it’s likely a great tool for you. It has helped people avoid surgery.

I’m in the process of installing two trackballs, one on each side, so I never have to remove my hands from the keyboard to mouse about. Most people use the left trackball to scroll and the right trackball to mouse the cursor around – I’m looking forward to exploring them more. I currently switch between an ergonomic mouse (right hand) and a trackball (left hand) because otherwise I develop RSI problems, so this could be a very efficient and comfortable approach for me.

In powerlifting and health news, I’ve dropped eight pounds since setting a new protein target of 150 grams/day. This is recommended if you want to build muscle (0.8-1 gram of protein for every pound body weight), but it also seems to be making me less hungry, so I’m losing about a pound a month without any effort. This is great! But it’s also put me into a different weight class for competition, which means I will need to re-qualify for Worlds in November. So I’ve signed up for a meet in San Diego in late August – there aren’t any locally that would suit.

And I will be FABULOUS for that meet, of course. I’ve ordered a custom Pioneer belt, with an embroidered design on the back. It’s almost done, and I can’t wait! They sent me a picture of the embroidery a few days ago:

Red suede with embroidered phoenix

The embroidery will be on the back, and the color will go nicely with my red, yellow, and orange wrestling singlet. Hey, if I’m going to look like a squashed sausage in a skin-tight body suit, at least I’ll look like a FABULOUS sausage. Because it’s not a powerlifting meet, daaahhhhling, it’s a fashion show. LOL!

To close, I’ve been experimenting with ice-dyed tie dyes. You tie the shirt, put it on a grid, put powdered dye and soda ash over it, and then pile ice on top. As the ice melts, the dye seeps into the shirt. The colors can “break” into their component parts, giving really interesting results.

Here’s my favorite so far. It may actually be my favorite of all the tie-dyes I’ve ever made. It looks like batik combined with silk painting, but it’s actually an ice-dyed tie dye. The white lines are created by clamping the folded shirt with curved hemostats (a technique I found on YouTube). I’ll definitely be doing more of these!

Tie-dyed shirt that looks like a batik flower

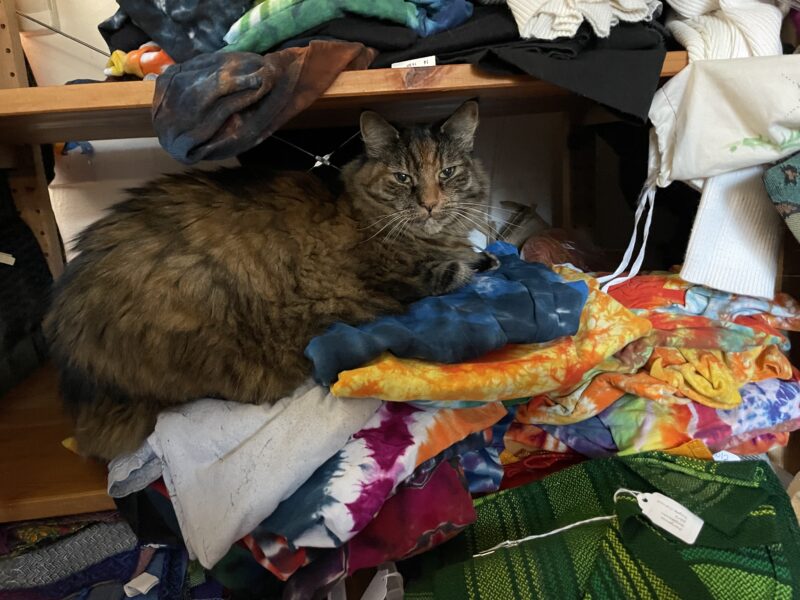
And, because no blog post would be complete without a cat, here’s the first “take” of the photo. Thanks Fritz!

Cat on tie-dyed shirt

Filed Under: All blog posts, computer stuff, powerlifting, textiles, weaving Tagged With: cyborg tiger

  • « Previous Page
  • 1
  • 2
  • 3
  • 4
  • 5
  • …
  • 228
  • Next Page »

Archives

Tags

aids lifecycle outfits autumn splendor book cashmere coat cats celtic braid coat color study cross dyeing design design class devore doubleweave doubleweave shawls drawing dye samples dye study group gradient colors house infinite warp jacquard loom katazome knitted blanks kodachrome jacket ma's memorial mohair coat network drafted jacket/shawl project network drafting painted warp phoenix rising phoenix rising dress phoenix rising kimono phoenix rising reloaded pre-weavolution project sea turtles taquete tie-dye tied weaves tomatoes velvet weaving drafts web design website redesign wedding wedding dress woven shibori

Categories

  • Africa
  • aids lifecycle
  • All blog posts
  • All travel posts
  • Asia
  • Bangkok
  • Belize
  • Cambodia
  • Central America
  • Chai Ya (Wat Suon Mok)
  • Chiang Mai
  • Chiang Rai (Akha)
  • China
  • chocolate
  • computer stuff
  • creating craft
  • Creative works
  • cycling
  • Delhi
  • Dharamsala
  • drawing
  • dyeing
  • Fiber Arts
  • finished
  • food
  • garden
  • Ghana
  • Guatemala
  • Hanoi
  • Ho Chi Minh City
  • Hoi An
  • India
  • Khao Lak
  • Knitting
  • knitting
  • Ko Chang
  • Laos
  • Luang Namtha
  • Luang Prabang
  • markleeville death ride
  • meditations on craft
  • mental illness
  • musings
  • Phnom Penh
  • powerlifting
  • Rewalsar (Tso Pema)
  • sewing
  • Siem Reap (Angkor Wat)
  • Southeast Asia
  • surface design
  • textiles
  • Thailand
  • travel
  • Vangvieng
  • Vientiane
  • Vietnam
  • Warp & Weave
  • weaving
  • Weaving
  • weavolution
  • writing

© Copyright 2025 Tien Chiu · All Rights Reserved ·

Loading Comments...