Before you apply katazome paste, you will want to stretch out your fabric so it doesn’t move while pasting. Traditionally, this is done by applying pure glutinous rice paste to a wooden board, letting it dry, then spritzing it with water (to make it slightly tacky) and laying the fabric on the rice paste. The rice paste is sticky enough to hold the fabric.
John Marshall suggested two alternatives. The first was what he uses, indoor-outdoor carpeting with pins to help hold the fabric. The second is simply pinning to a padded table.
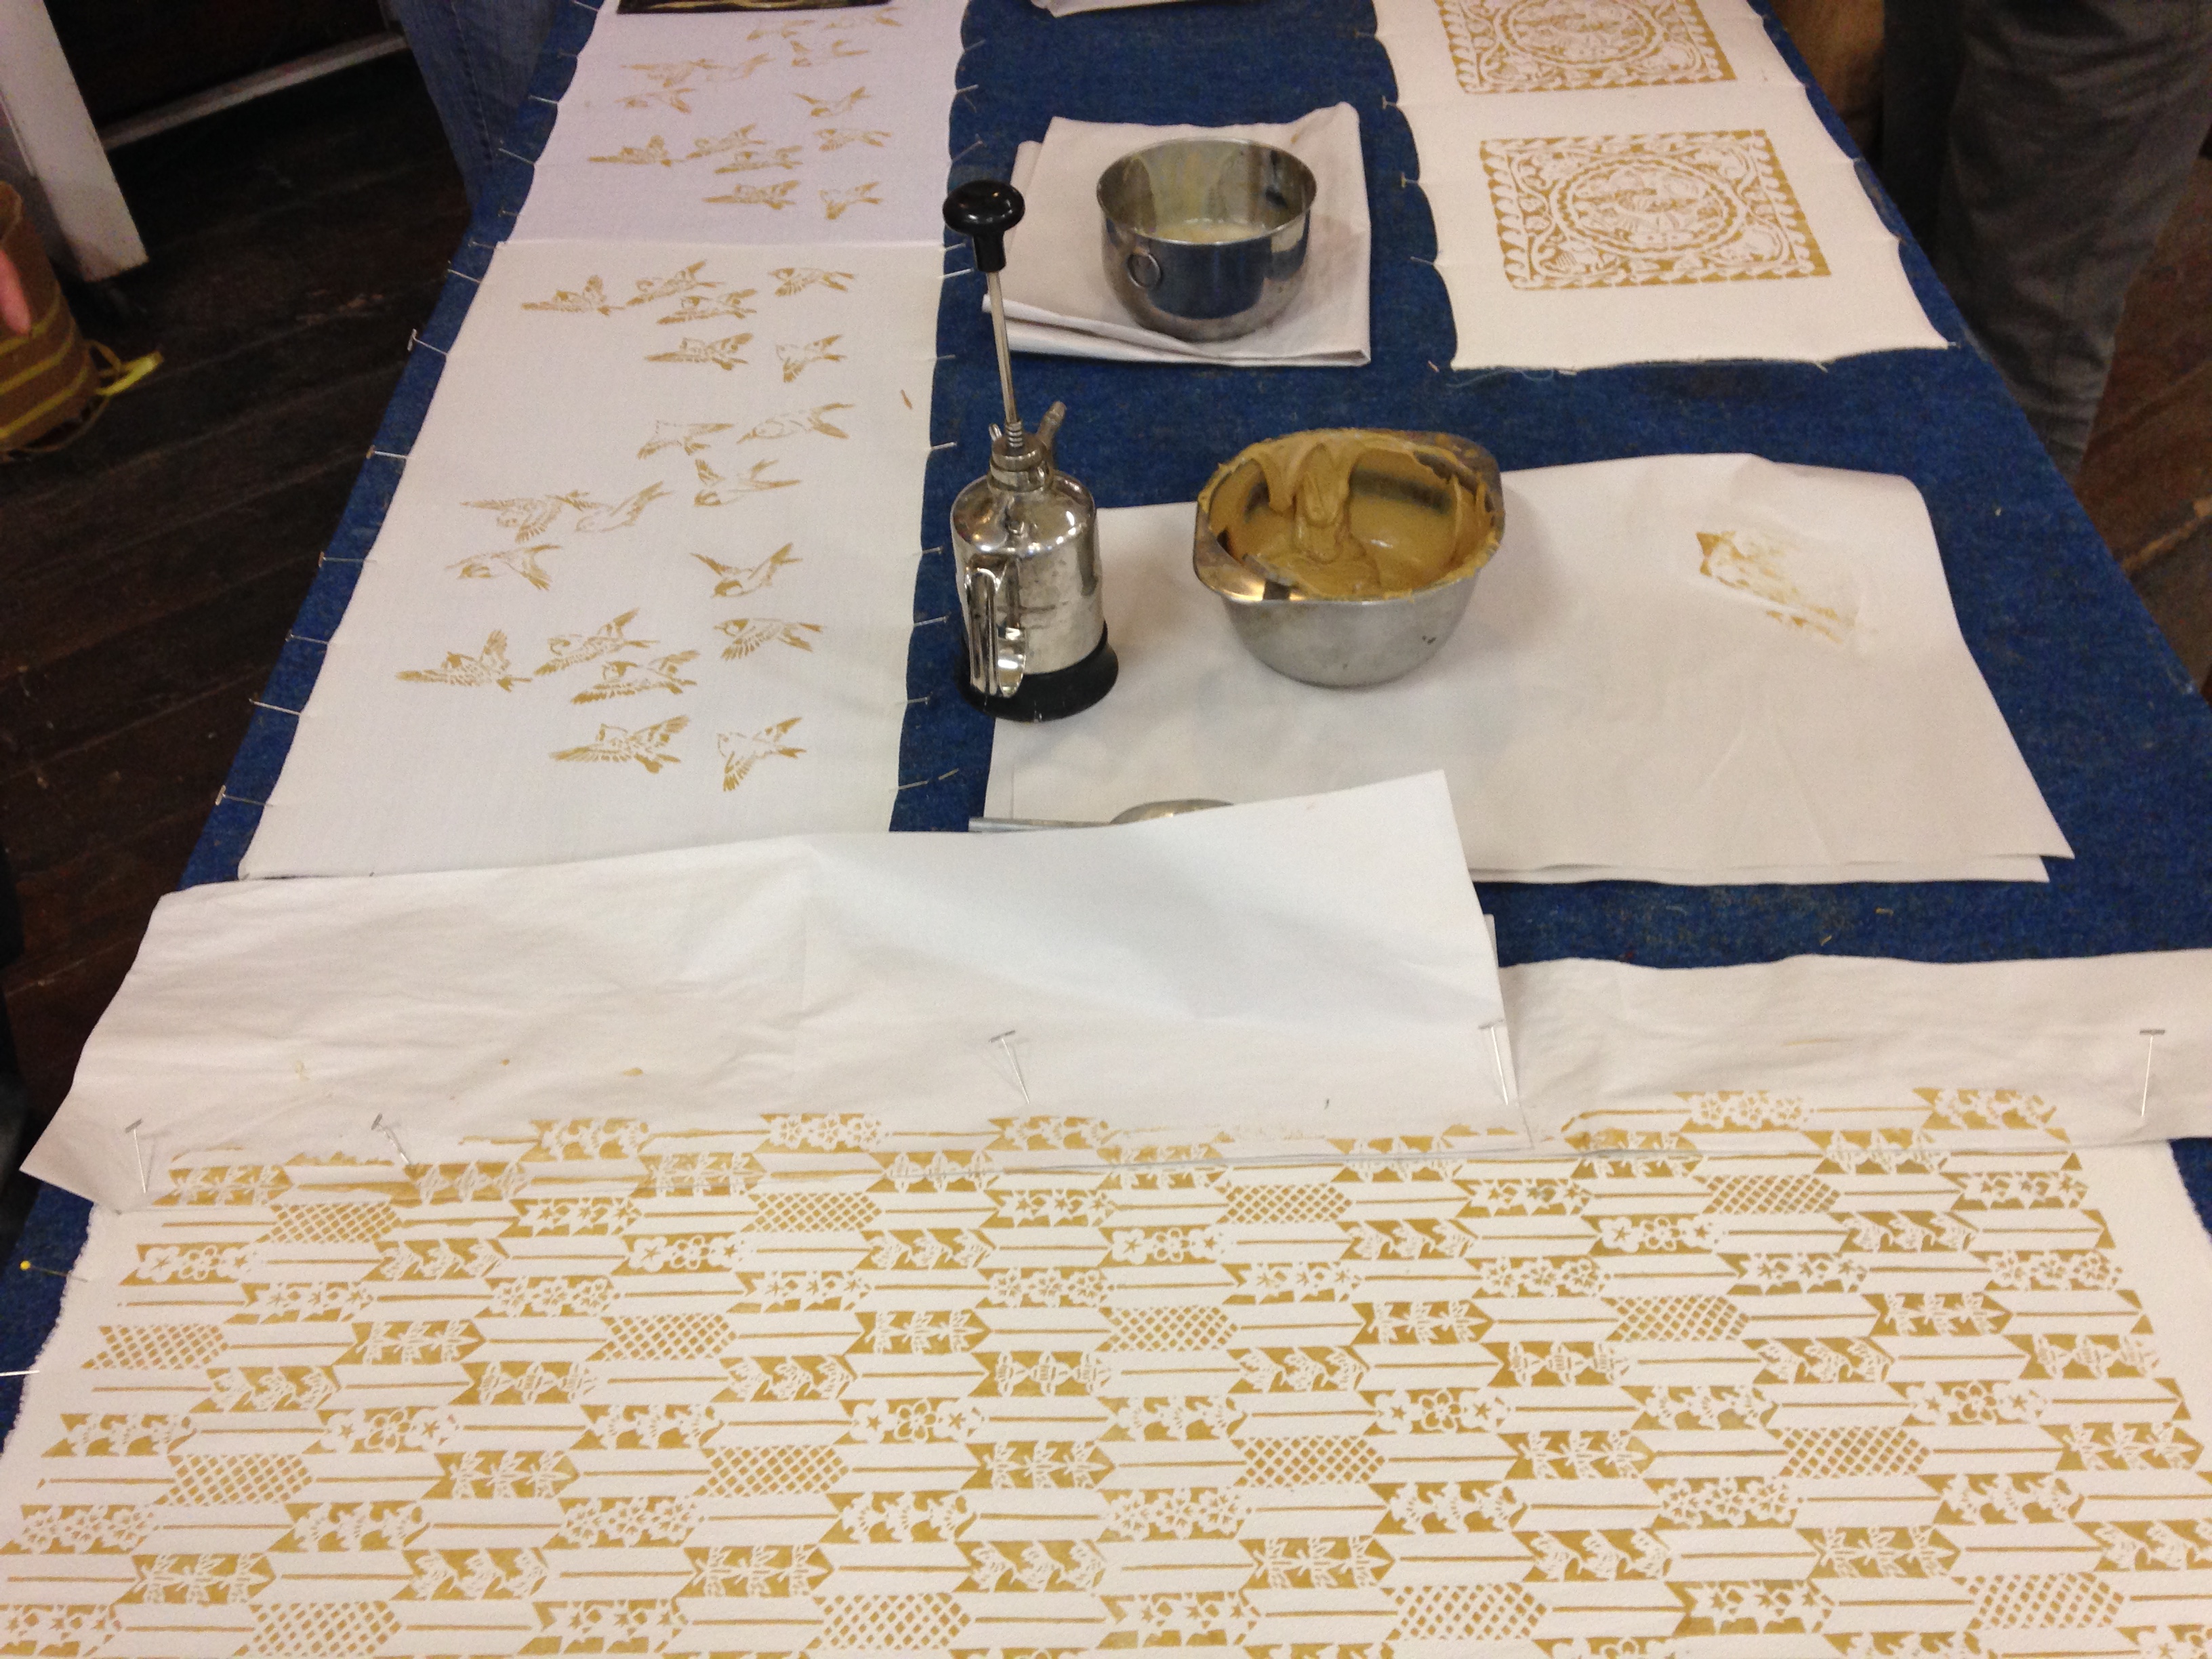
Here is a stretched-out piece of cloth on John’s indoor-outdoor carpeting table. It’s been pasted already, but you can see how it’s stretched out with pins and further held by the carpeting.

While you’re pinning out your fabric, put your stencil(s) in to soak. (This is for stencils carved from shibugami paper or synthetic stencil paper; if you are using an alternative, use your best judgment and/or experiment with a small piece to make sure it doesn’t fall apart.) Soak the stencil in water for half an hour to strengthen it and to help it lie flat.
You will also want to soak your hera, a wooden spatula used for applying paste. Heras are available from John Marshall, but a credit card will also work, though it’s a bit more awkward. (John also suggests simply cutting your own hera shape from a wooden shingle, though I haven’t tried that.) You don’t need to soak a credit card, of course!
After half an hour of soaking, take your stencil out of the water and blot it dry. Lay the stencil netting side up on the cloth where you want the image, then pick up some paste with your hera and put it on the side of your stencil, staying within the edge. (It is easiest if you put the paste on the opposite side from your dominant hand.) Put your nondominant hand down on the stencil, then draw the hera across the stencil moving directly away (lengthwise or crosswise) from your nondominant hand. Moving directly away, lengthwise or crosswise, from the hand holding the stencil prevents it from shifting; a common cause of paste smearing is moving diagonally across the stencil. (The netting holds tautly on the straight or crosswise grain, but will stretch on the diagonal.) Press just hard enough that you can hear the hera zip-zipping across the netting. You want to force the paste into the crevices of the fabric, but you don’t want to press so hard that you injure the stencil.
After you have finished the first round of pasting, go back and paste a second time, this time using less pressure and allowing the paste to build up a little. Here is a fully-pasted stencil:

You can see that there is a little extra paste on the surface, but not too much. If you have blobs or lots of excess paste, clean it up by scraping it gently off with your hera.
Once you are done pasting the stencil, spritz it lightly and evenly with water and then carefully lift the stencil, holding it at two adjacent corners (i.e. not on the diagonal) so it doesn’t twist. (John recommends a tool called a dahlia sprayer, used by book conservationists, for the spritzing, but if you don’t do katazome often, an ordinary spray bottle will do.) Check the back of the stencil to see if there is paste adhering to the back of the stencil; if there is, either wipe it off gently, or wash the stencil and blot it dry again before using.
If your stencil is too large for the fabric, you can pin a piece of newsprint over the fabric edge to prevent the paste from going onto the table. Here you can see the newsprint at right:

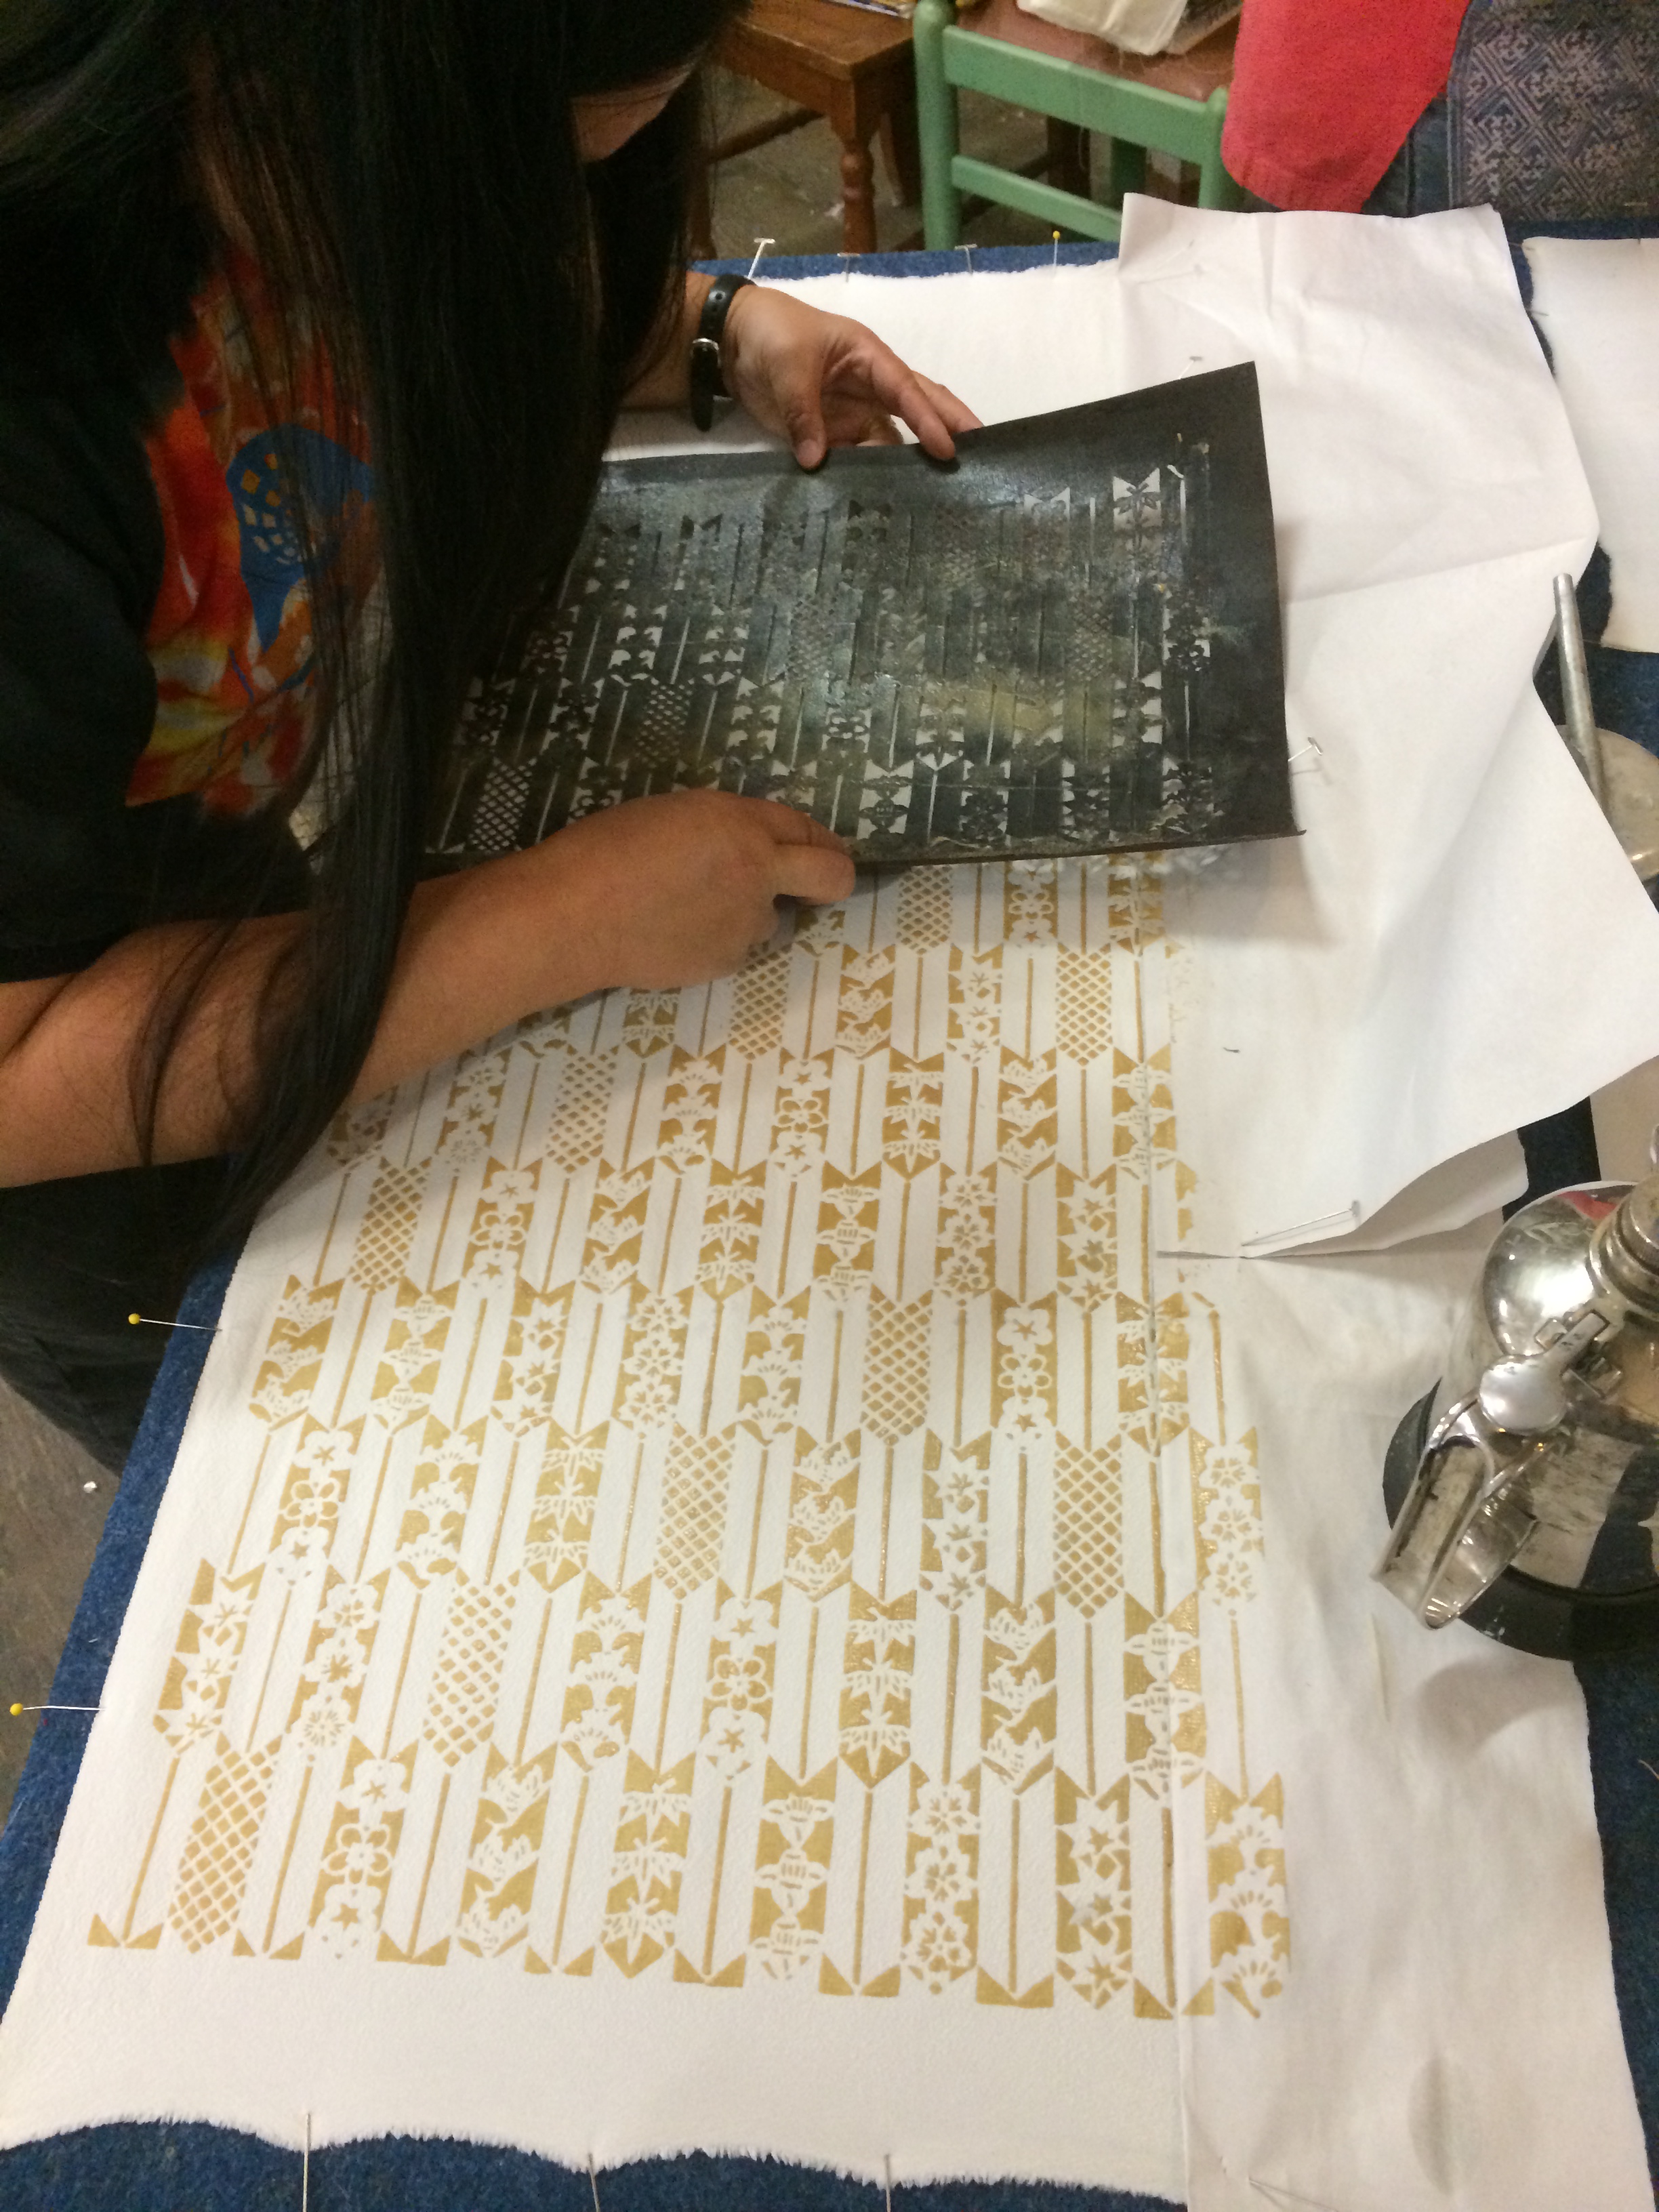
If you are using a stencil that repeats edge to edge, look for the registration marks. (If there are no registration marks, look to see where the stencil repeats – there should be a little overlap.) Spritz the back of the stencil in the area that will overlap the previously pasted region; that will help keep the previously laid paste from adhering to the back of the stencil.
Place the stencil on the cloth so the registration marks line up, being careful not to drag paste from the previously-used stencil onto the cloth. In this photo, I am lining up registration marks:
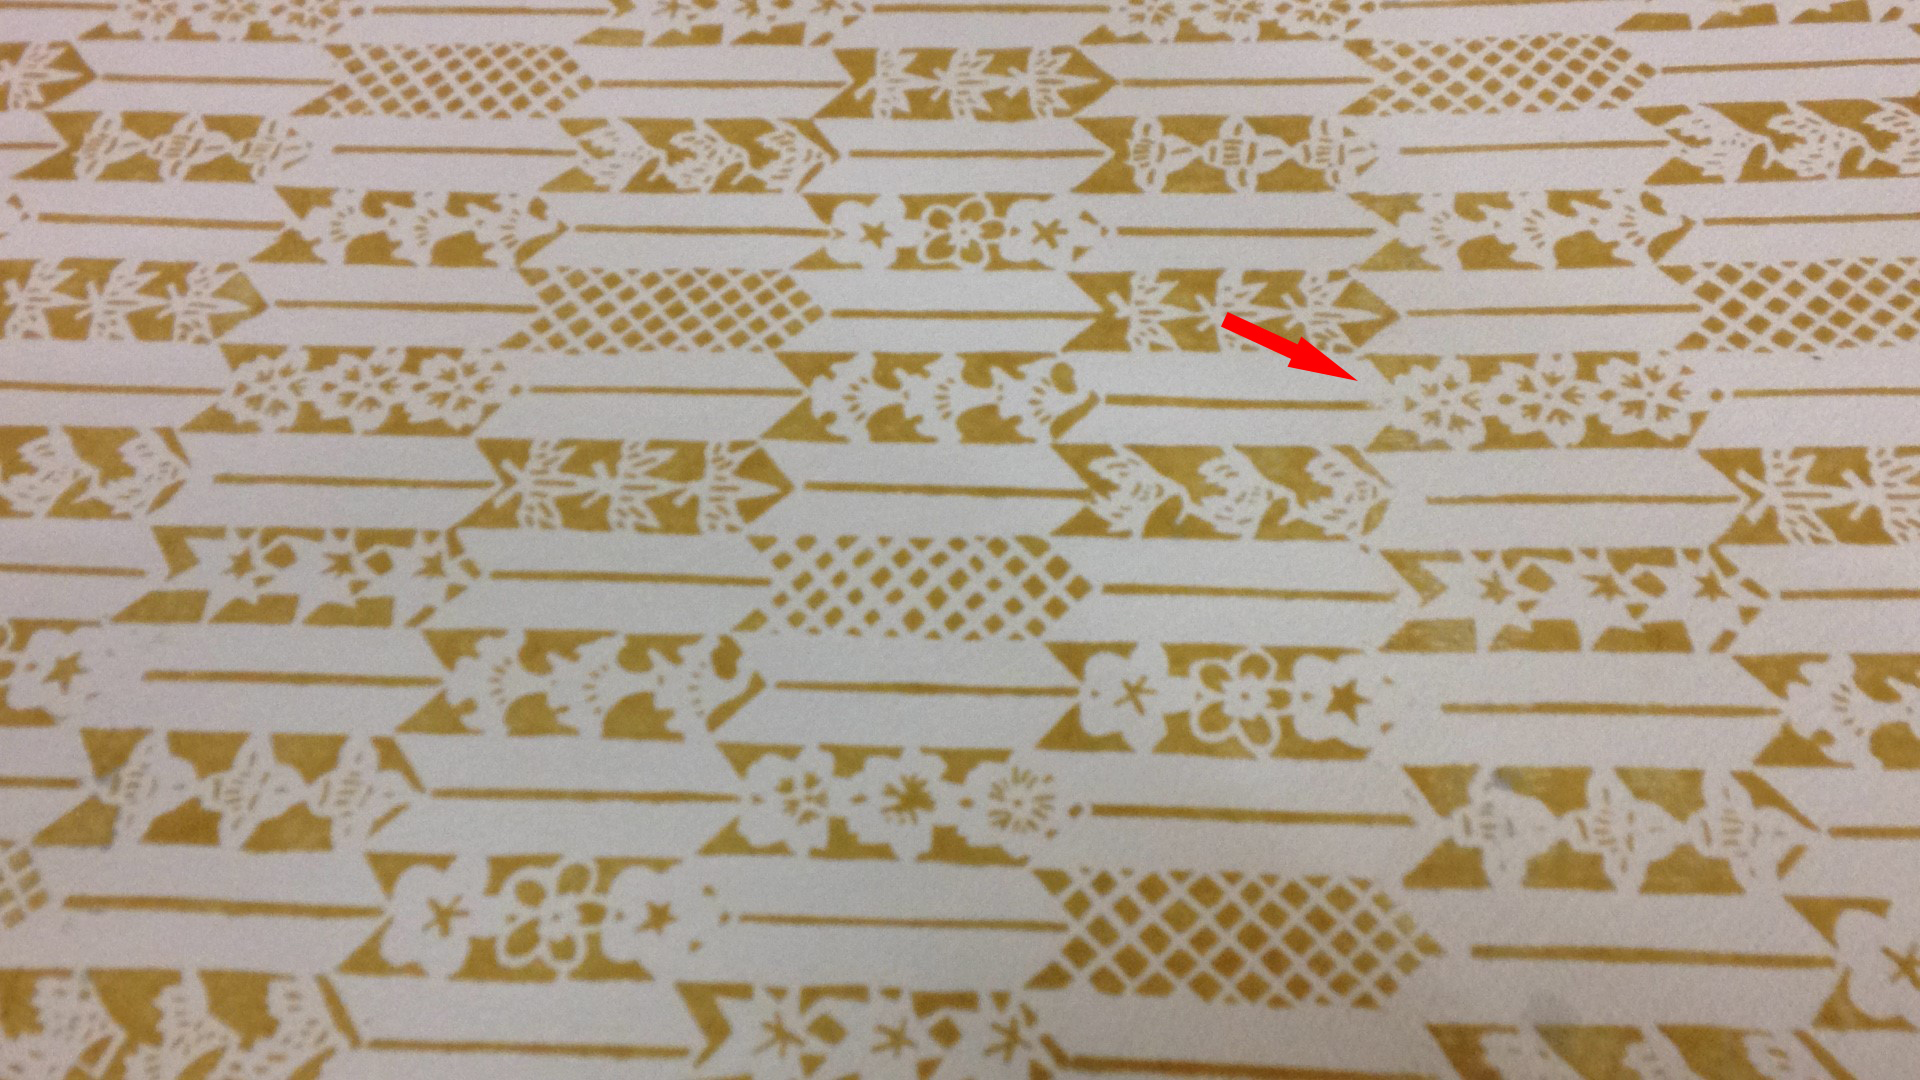
Apply paste, being careful to apply paste up to the registration marks but no further. (If you apply paste over previously pasted regions, you will get paste on the back of your stencil, and risk smearing the paste already laid down.) This is admittedly a bit tricky. You can see one of my pasting errors here:
Repeat the process as often as needed to arrive at the finished cloth:
Once you are done pasting, soak your stencils in warm water for 20-30 minutes with the paste-covered side down; the paste will mostly dissolve, making the stencils very easy to clean. Blot dry and dry under a heavy flat object so it stays flat.
Keep the fabric pinned as it dries; otherwise the drying paste will pull the fabric into crinkles, making it impossible to apply soy milk evenly later. Here’s an example of what happens if you don’t stretch the cloth:
Let the paste dry completely. It should not only feel dry, but should not feel cool to the touch – if it does, that means there’s still moisture in the paste.
Once the paste is fully dry, you are ready to move on to the next step.
