This page describes the traditional method of applying pigments to cloth using soy milk as a binder. You can also use acid dyes with citric acid and steam, or fiber-reactive dyes, or thinned-out acrylic paint, but as I haven’t done that, I can’t comment on those methods. However, there is a good book titled Japanese Stencil Dyeing, by Eisha Nakano and Barbara B. Stephan, that goes into those methods in detail.
Begin by making fresh soy milk. (You cannot use store-bought soy milk for soy milk/pigment dyeing; the additives and sterilization process make it much less effective.) I’m not going into the process in detail, but basically you soak soybeans in water until fully swelled, then grind them in a blender with about 1 part beans to 3 parts water, then strain them through a fine cloth. John Marshall has more detailed instructions on his website.
The next step in soy milk/pigment dyeing is to stretch out the cloth. This is done using clamps called harite, and bamboo sticks with a point at each end, called shinshi. John Marshall sells both on his website, but also has instructions for making your own harite, as they are quite expensive. John doesn’t recommend making your own shinshi, but if they aren’t in your budget, the book Japanese Stencil Dyeing has suggestions for making your own. Harite should be the full width of your cloth (or wider); shinshi should be about 20% wider than your cloth, and you will need about one shinshi for every 6 inches of fabric (though there is considerable flexibility here).
Before stretching your cloth, soak the shinshi in water for 30 minutes. That will make them flexible and help avoid cracking.
To stretch out the cloth, begin by clamping it into the harite. Press the edge of the cloth over the points, like this:
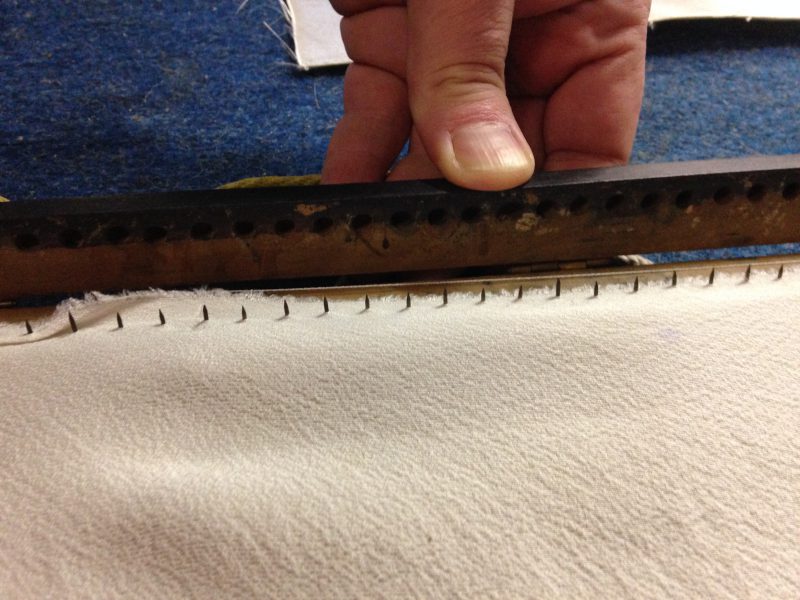
Close the harite, then wrap the cord around the end to keep it taut. If you wrap clockwise on one side, and counterclockwise on the other, the wrappings won’t unroll. In this photo, you can see how the rope wraps over on one side and under on the other:
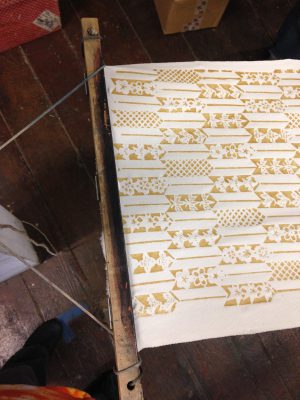
Attach the harite on both ends of the cloth to a pole or something else taut enough to hold the cloth suspended. Make sure whatever you’re attaching it to is strong, as the fabric will shrink and pull in as it dries.
Now it’s time to attach the shinshi. Simply place one needle-pointed end in the top edge of your fabric, and the other in the bottom edge. The bamboo will flex and hold the fabric taut. Here is a photo of the shinshi applied to fabric:
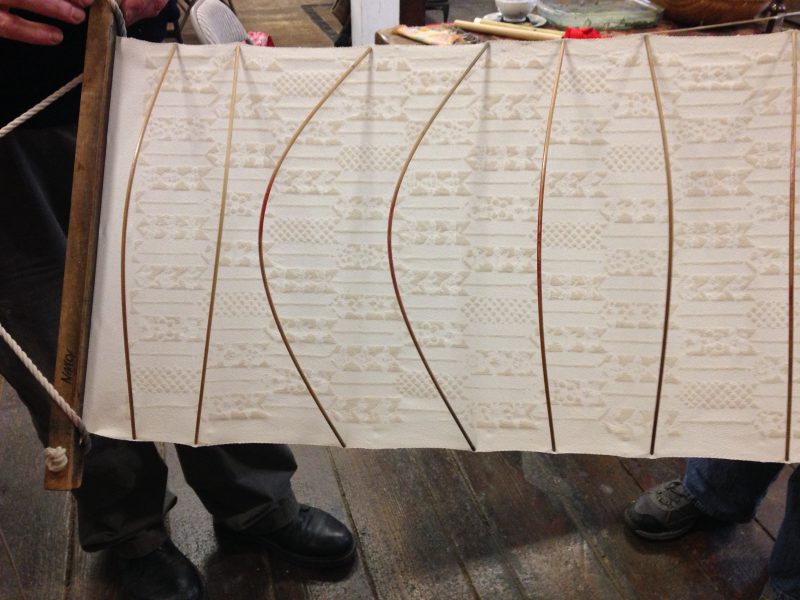
The harite hold the cloth taut lengthwise; the shinshi hold the cloth taut crosswise.
Now that the fabric is stretched, tighten the rope attaching the harite to the poles just until you hear a slight crackling noise. That noise is the paste cracking; stop as soon as you hear it. Tightening further will crack the paste off the fabric and allow dye/pigment into the pasted areas.
The stretched cloth should now look something like this:
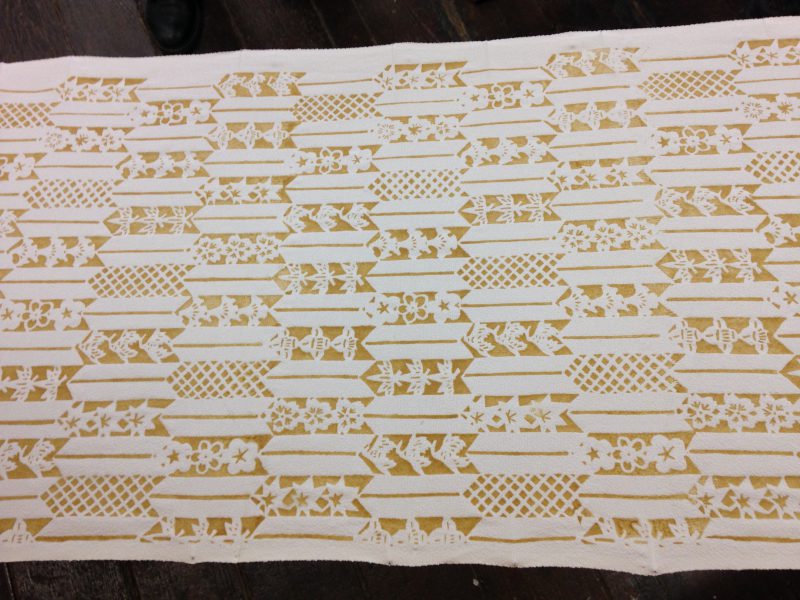
It is nice and taut, perfect for painting.
Here’s a view of the entire setup:
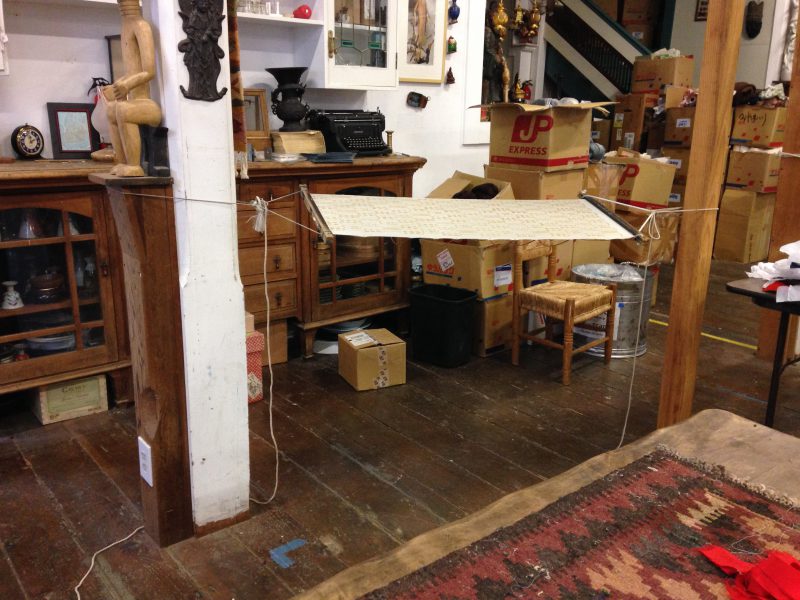
The next step is to apply soy milk across the entire fabric. Here’s a video of John Marshall applying the soy milk and explaining the process:
The soy milk acts as a sizing and as a binder. As a sizing, it helps prevent the pigments from flowing across the cloth, and especially under the edges of the paste. This gives you crisp lines. As a binder, it holds the pigments to the fabric.
The next step is to apply pigment. (John Marshall sells pigments, or you can use pigments from an art supplier. You can also make your own – instructions on John’s website.)
Mix pigments with soy milk to make a thin paint; if you have trouble getting the pigments to dissolve, add a little isopropyl alcohol to help break the surface tension. The pigments may tend to settle out of the soy milk; that’s fine.
Again, a video is worth a million words, so here are two videos of John explaining and demonstrating how to apply pigments.
Video part 1:
Video part 2:
Here is a photo of the fully painted katazome piece. (The paste has cracked off in a few places – imagine that the paste is still on.)
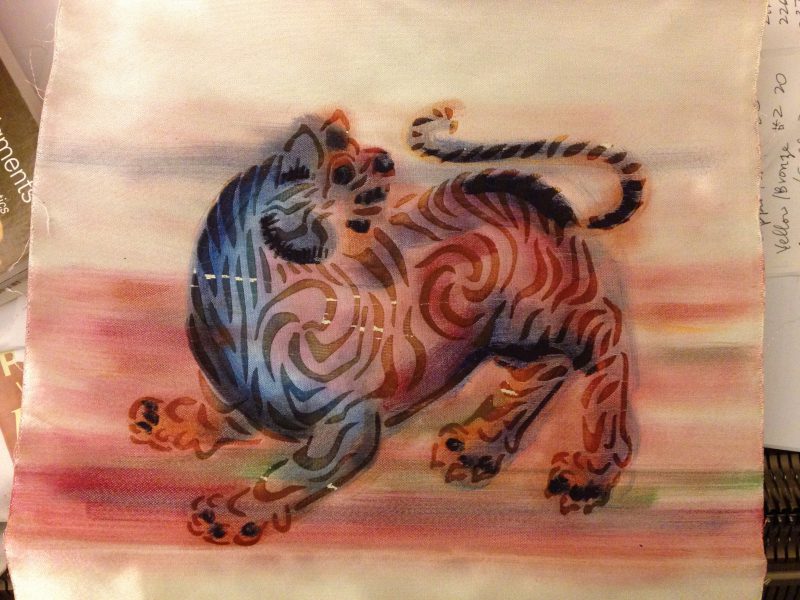
After finishing the painting process, let the fabric dry completely and then add another coat of soy milk.
Finally, let the piece cure before removing the katazome paste. (This is the hard part!) If you wash out immediately, the pigments will wash out with the paste. During the curing phase, the soy milk proteins denature and bind the pigment permanently to the fabric. The longer you let it cure before washing, the stronger the bond between the pigment and the fabric. John recommends a minimum of three weeks, but there is considerable flexibility in this. I’ve washed out after one week without having pigment come off, but if you are planning to wash the piece often, a longer curing period is probably better.
To remove the katazome paste, simply soak the piece in warm water for half an hour, or until the paste comes off very easily without scrubbing.
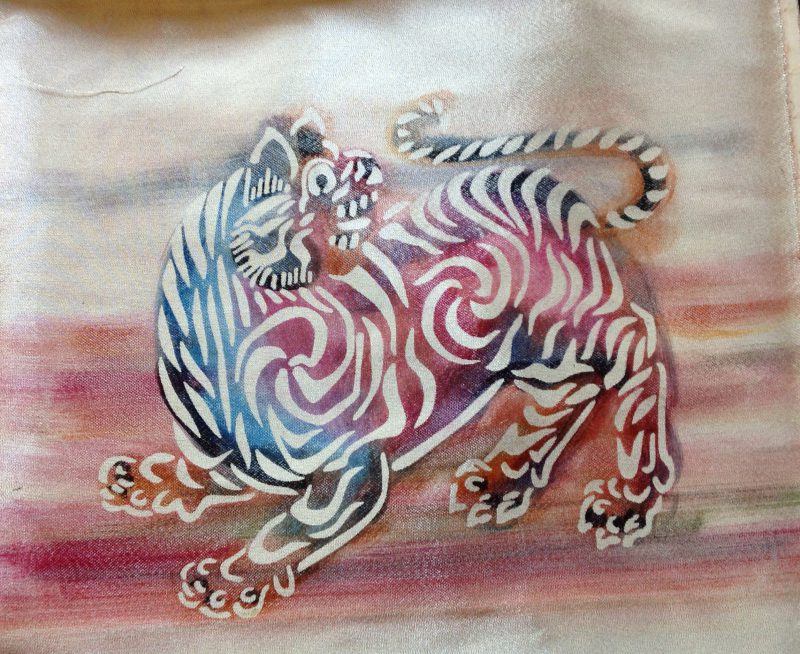
Here’s the finished tiger. (The lighting is different, so it looks lighter than the resisted version, but the actual colors have not changed significantly from the original.)
