Apologies for not posting earlier! I have been exhausted from laboring in the chocolate mines. It’s a difficult and dangerous job; first one has to locate a vein of chocolate, then blast out the surrounding rock, then refine the chocolate ore into pure molten chocolate, before it can be put into bonbons. 😉 But I have been persevering, and while the mining company refuses to allow photos in the mines due to the grueling nature of the work, I have some photos of the bonbon-making part of the process to share with you all.
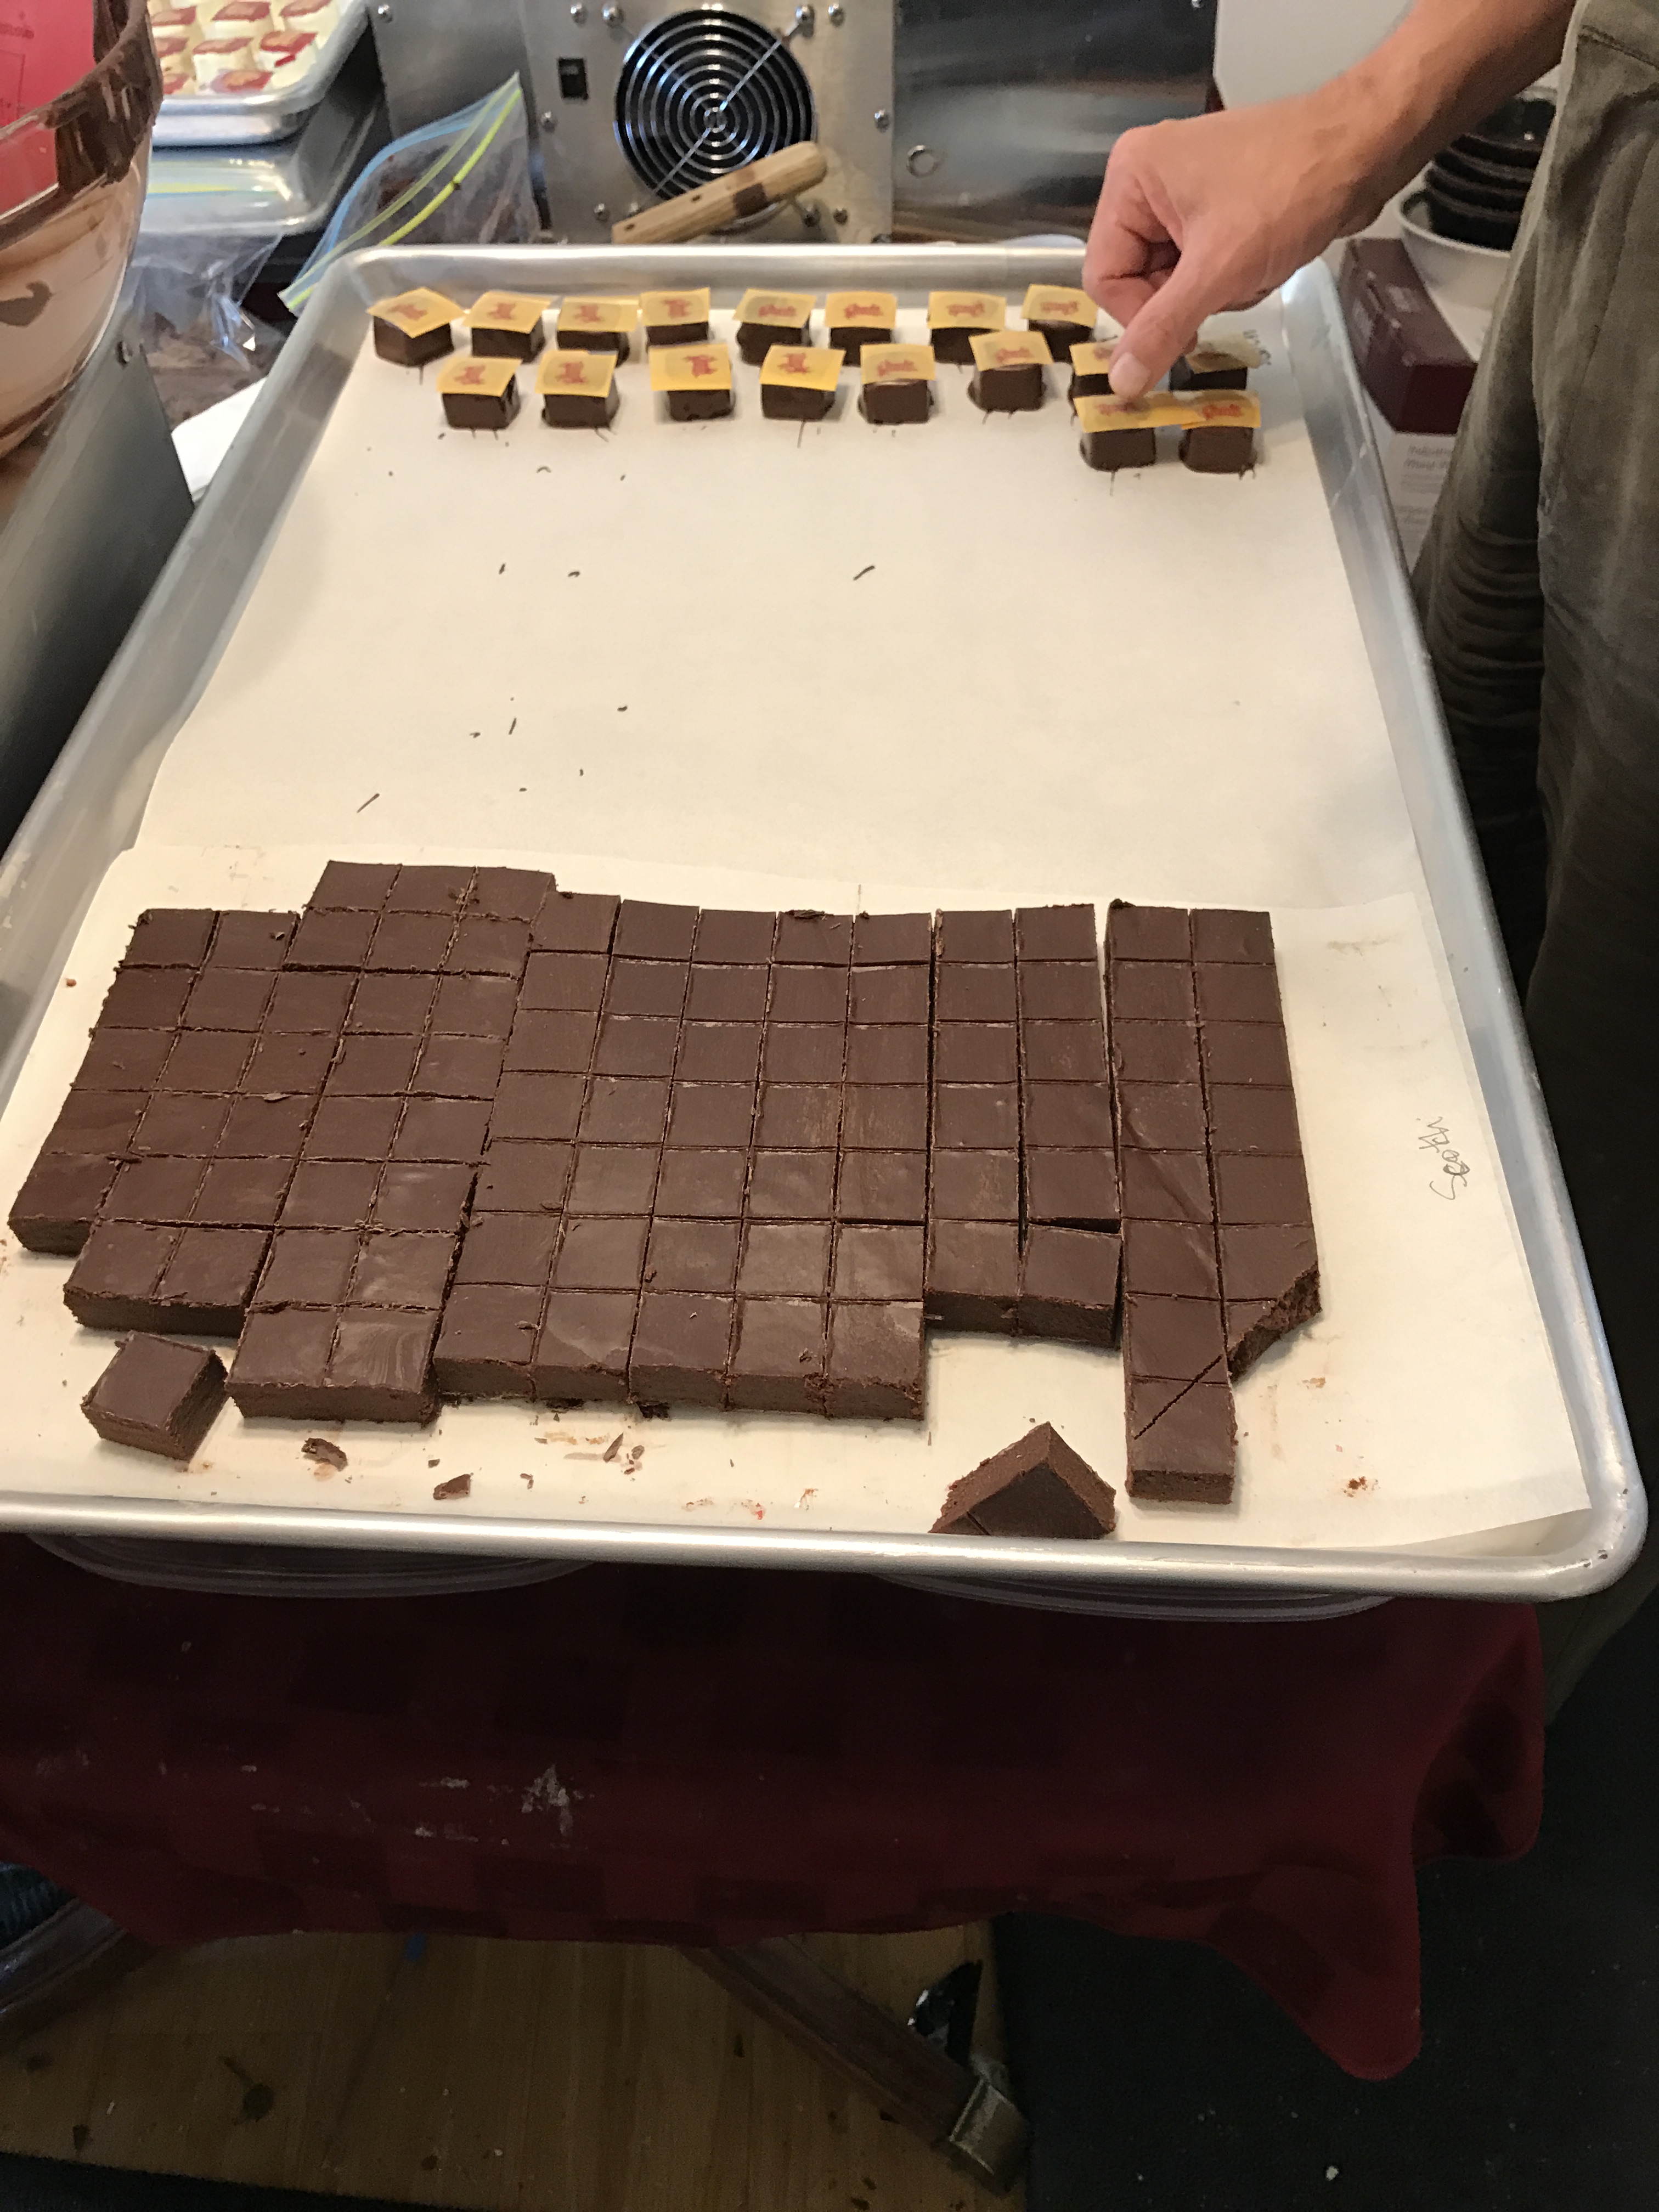
Here’s the beginning of the process: chocolate slag, left over from the day before, and scored into chunks so it can be conveniently remelted. (Cutting up a large chunk of chocolate is rather like trying to carve rock: one needs an icepick and hammer at the very least, and plastic explosives can come in handy for especially large pieces.)

Then one heats about 10 pounds of slag slowly, in a giant glass bowl, in the microwave, until you have a big crucible full of molten chocolate. This step is very dangerous; the rising fumes from the chocolate can be intoxicating, and a single misstep can have dire results. (Imagine trying to clean ten pounds of thick, slippery chocolate off the floor – especially after it hardens!)
Then one (carefully) pours the 10-pound melted chocolate into the giant bowl of the tempering machine, and sets the machine going. Here’s a video of the chocolate tempering:
(If you’re reading by email, you won’t see the embedded video, but you can watch it on YouTube.)
A short explanation of the tempering process:
Chocolate, like all precious metals, is actually composed of tiny crystals. In the case of chocolate, the cocoa butter can harden into five crystal forms, only one of which is stable at room temperature. The others slowly convert to the stable form over a period of hours to days, but it happens very slowly, and since the process is slow, you get large crystals of cocoa butter rather than lots of tiny ones. The result is a streaky, gray appearance, a crumbly texture, and an unpleasantly grainy mouthfeel. Kind of like this:

To avoid ugly, grainy bonbons, you temper the chocolate before using it. In the traditional method, you melt the chocolate until all the crystals are melted, then pour the molten chocolate onto a marble slab and scrapes it around until it begins to thicken. Then you quickly heat it to working temperature (about 88-90 F) to use it. The rapid cooling and scraping on the marble precipitates the formation of lots of small seed crystals; heating it back up to 88-90 degrees melts all the unstable cocoa butter crystals, leaving you only with the stable kinds.
I used to do it this way. It’s complicated, messy, and you can’t do a lot of chocolate with it, because after three or four ten-pound batches, the marble heats up and you can’t use it again until it cools. (Though it is rather fun scraping the chocolate back and forth over the marble slab with a pair of giant drywall tape knives; there’s the pleasure of making a huge mess and then cleaning it up again with a flick of the “knife”.)
The other method is to melt up the chocolate to 130 degrees, then cool it rapidly by dumping in hunks of previously-tempered chocolate. As the tempered chocolate melts, they seed the molten chocolate with the stable crystals, and all is well. The only problem is that one then has hunks of solid chocolate in one’s tempered chocolate, resulting in lumpiness.
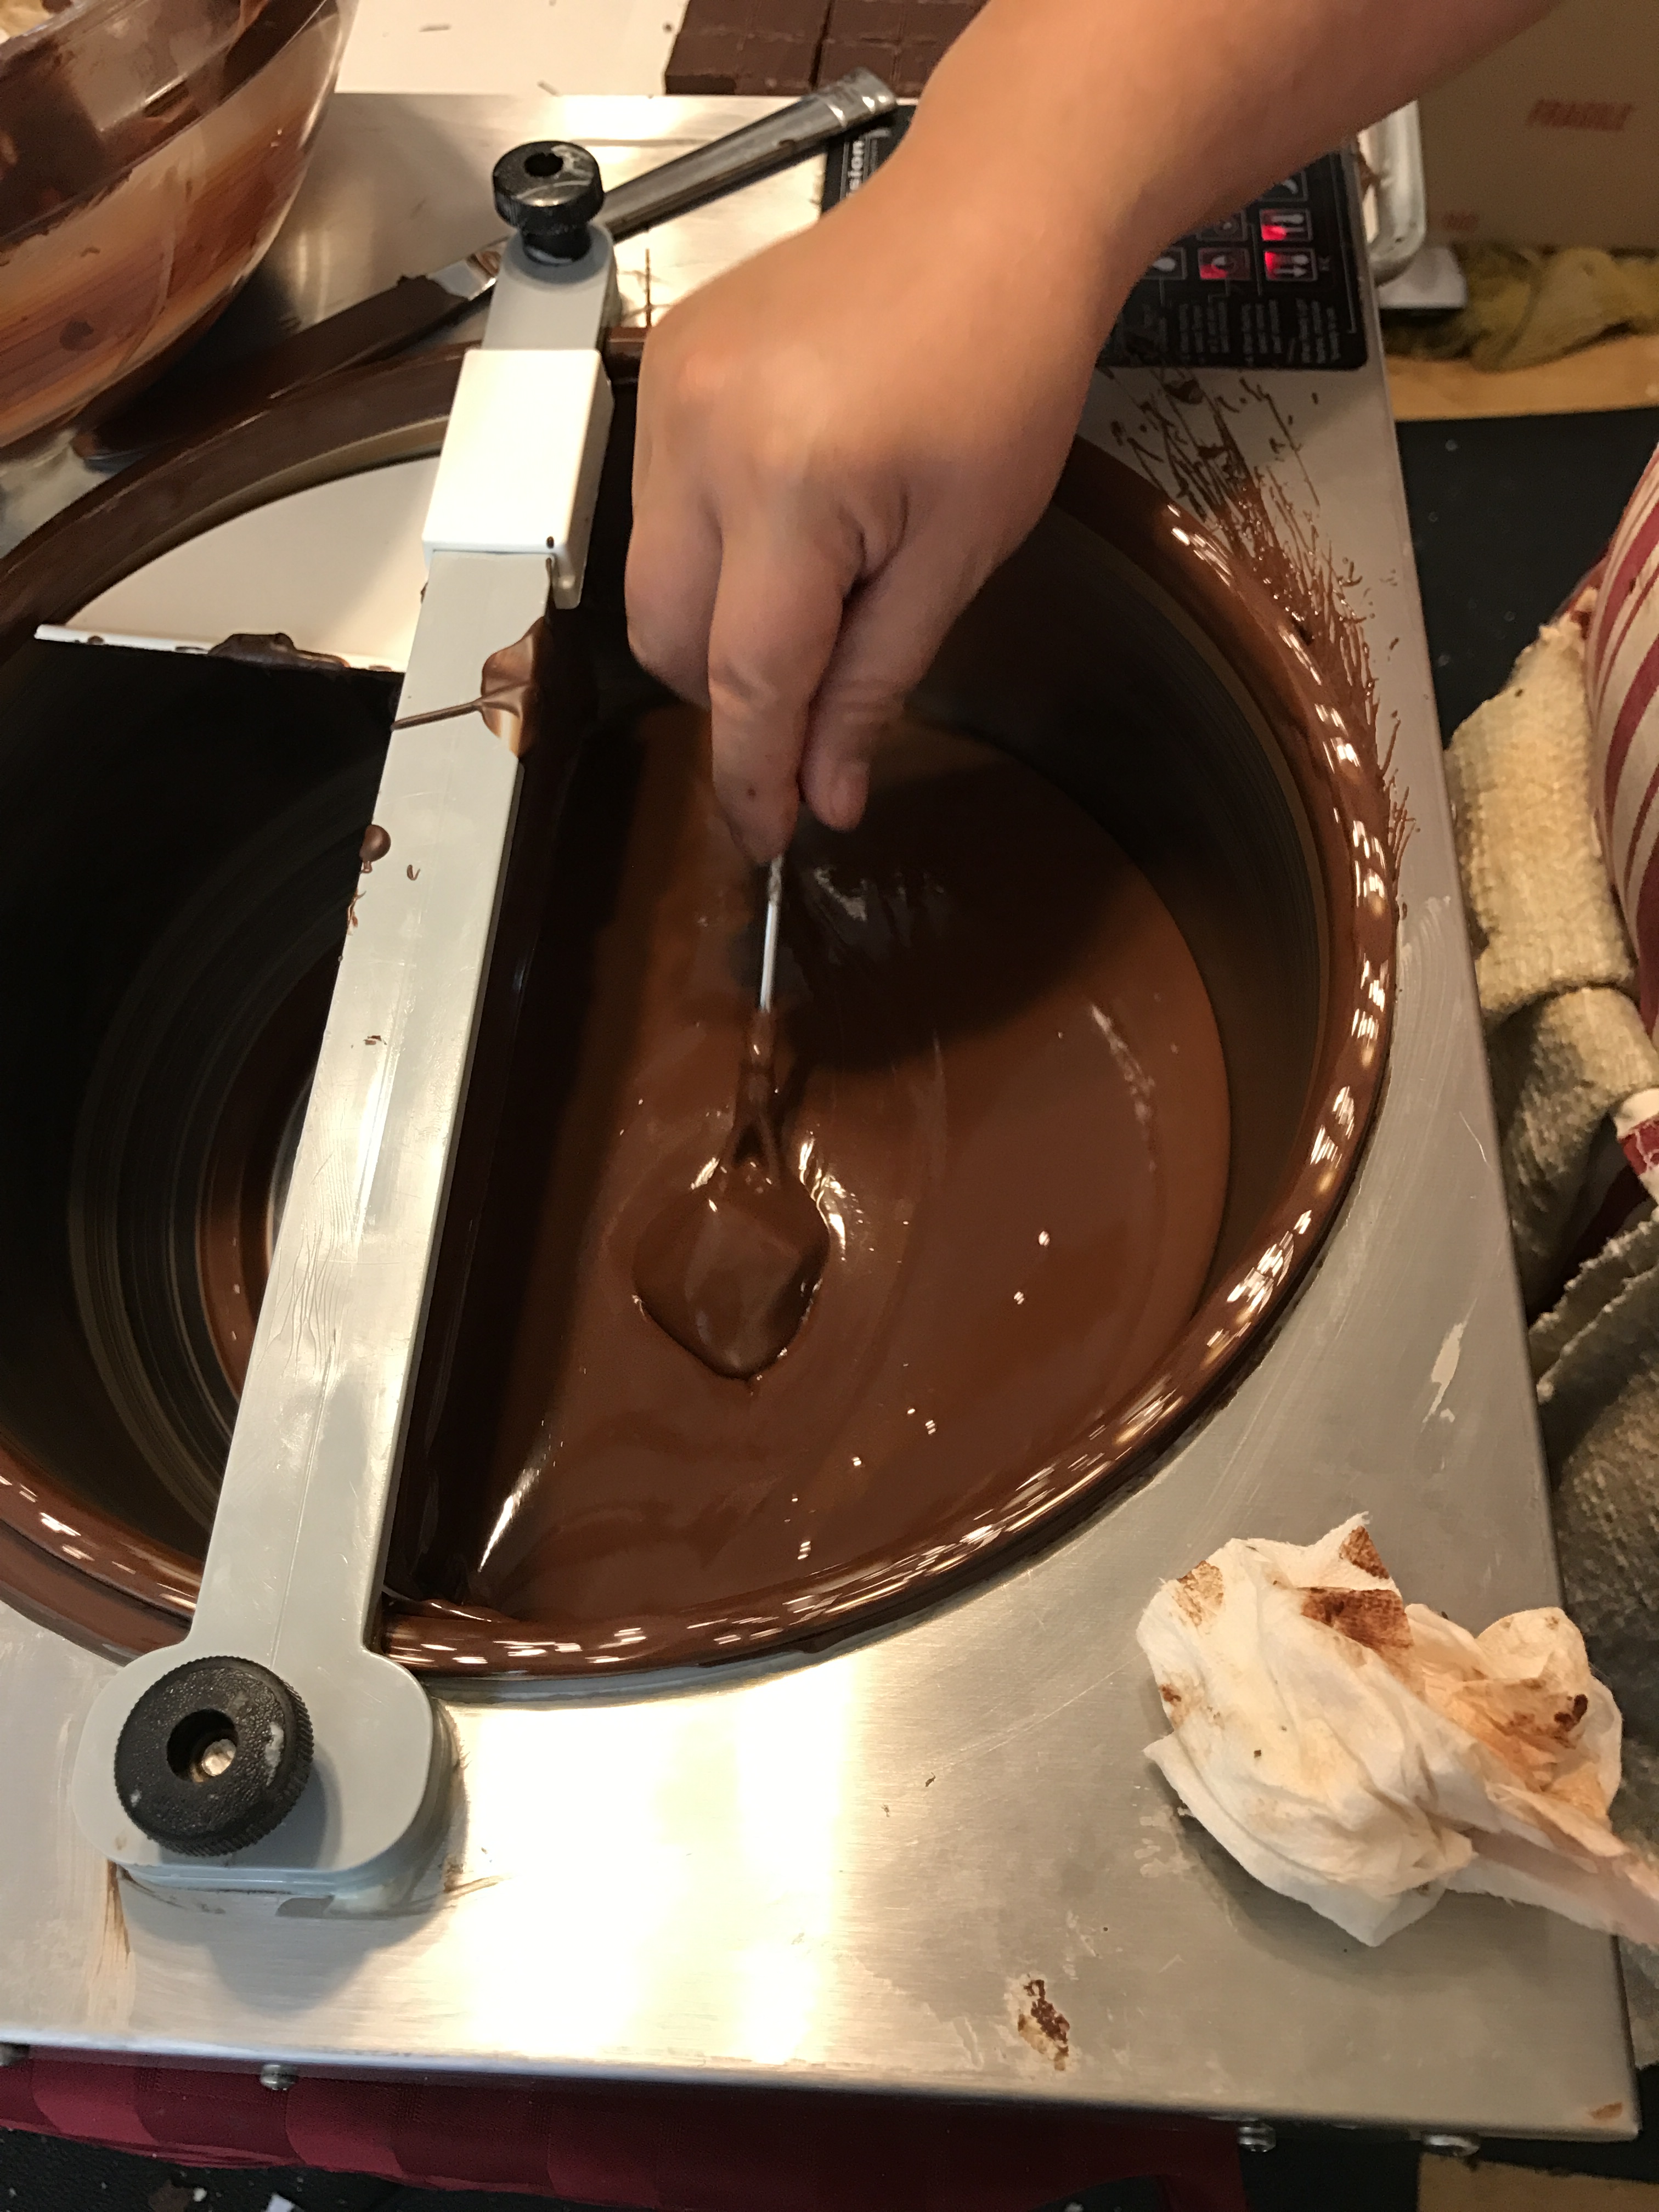
Enter the chocolate tempering machine. This groovy gadget has a bowl divided into two parts, with a partition that lets melted chocolate through, while keeping the solid chunks on one side. This allows you to “seed” your chocolate without getting chunks of solid chocolate into your melted chocolate. Here’s a pic of a tempering machine in action:

The molten chocolate stays on the front side, the solid chocolate stays on the back side. The bowl rotates to mix the chocolate, and a thermocouple embedded in the plastic divider senses the temperature, allowing the machine to heat or cool to keep the chocolate at the ideal working temperature.
Now that you’ve got a big bowl of tempered chocolate, you can start dipping your bonbons! Here’s a shot of some MacAllan 12 Scotch whiskey truffles being dipped:
I grab a center from the near side, and dump it into the melted chocolate. Then I dunk it using the dipping fork, and immediately pull it out of the chocolate with the fork, like so:
The center is covered with more melted chocolate than necessary, so I shake the chocolate a little, then tap the dipping fork on the side of the bowl (a little tricky, since the bowl is continuously rotating). Then I scrape off the bottom of the center as I take the chocolate out.
Here’s a pic of me cleaning off the excess chocolate (note the small ribbon of chocolate falling back into the bowl):

Then you slide the bonbon off onto the tray. The chocolate tends to run off the front side, forming a little puddle at the bottom, so to avoid having an unsightly “foot,” you push the bonbon forward ever so slightly as you deposit it. This hides the “foot” under the bonbon.
Here’s a chocolate being deposited onto the tray. In this photo, I’ve actually already pushed the chocolate a bit forward, so no foot is visible.
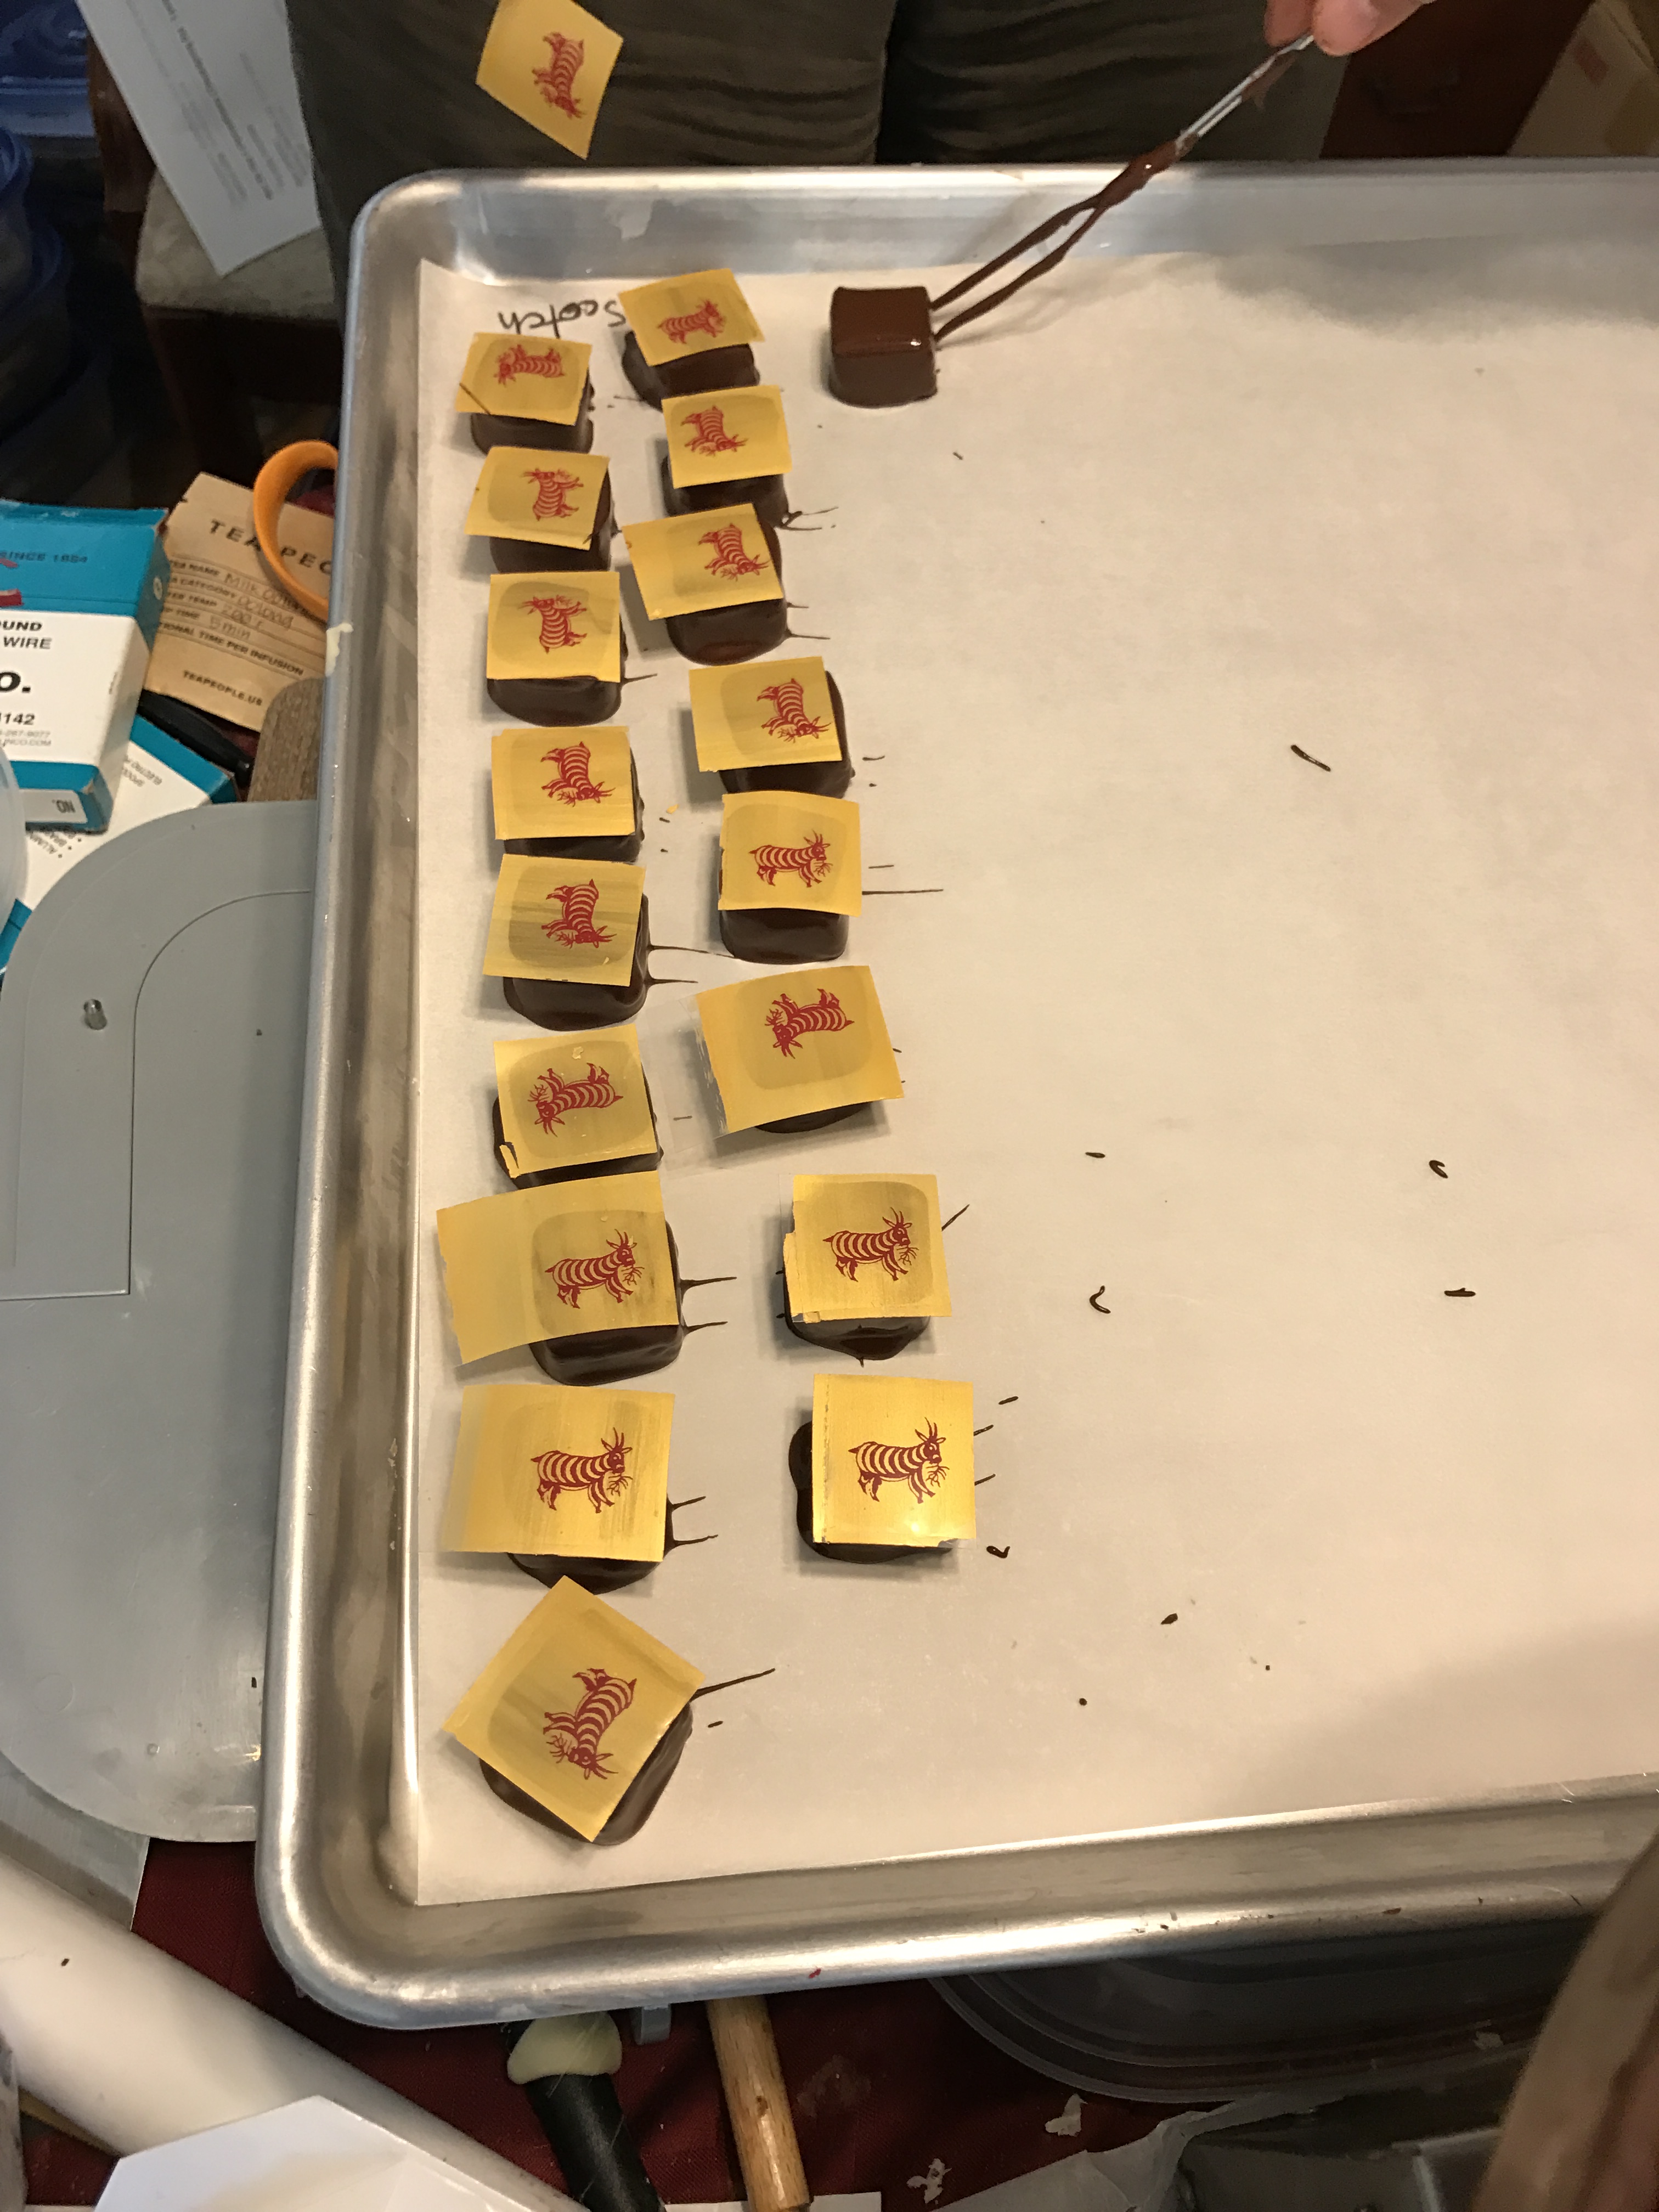
Once the chocolate is deposited onto the tray, it needs to be decorated. So we typically have two people at a dipping station: one person dips the chocolates, the other puts on the transfer sheets. This are sheets of smooth plastic screen printed with a design (I use Chinese paper-cut animals because I like the look), then hand-painted with subtly sparkly, colored cocoa butter to give a textured, glistening look to the backgrounds. It takes six or seven hours to paint the transfer sheets and another 6-7 hours to hand-cut the sheets, one by one, afterwards – so it is a royal pain but worth every instant, as it produces beautiful chocolates.
Here’s a friend putting on transfer sheets while I dip chocolates:
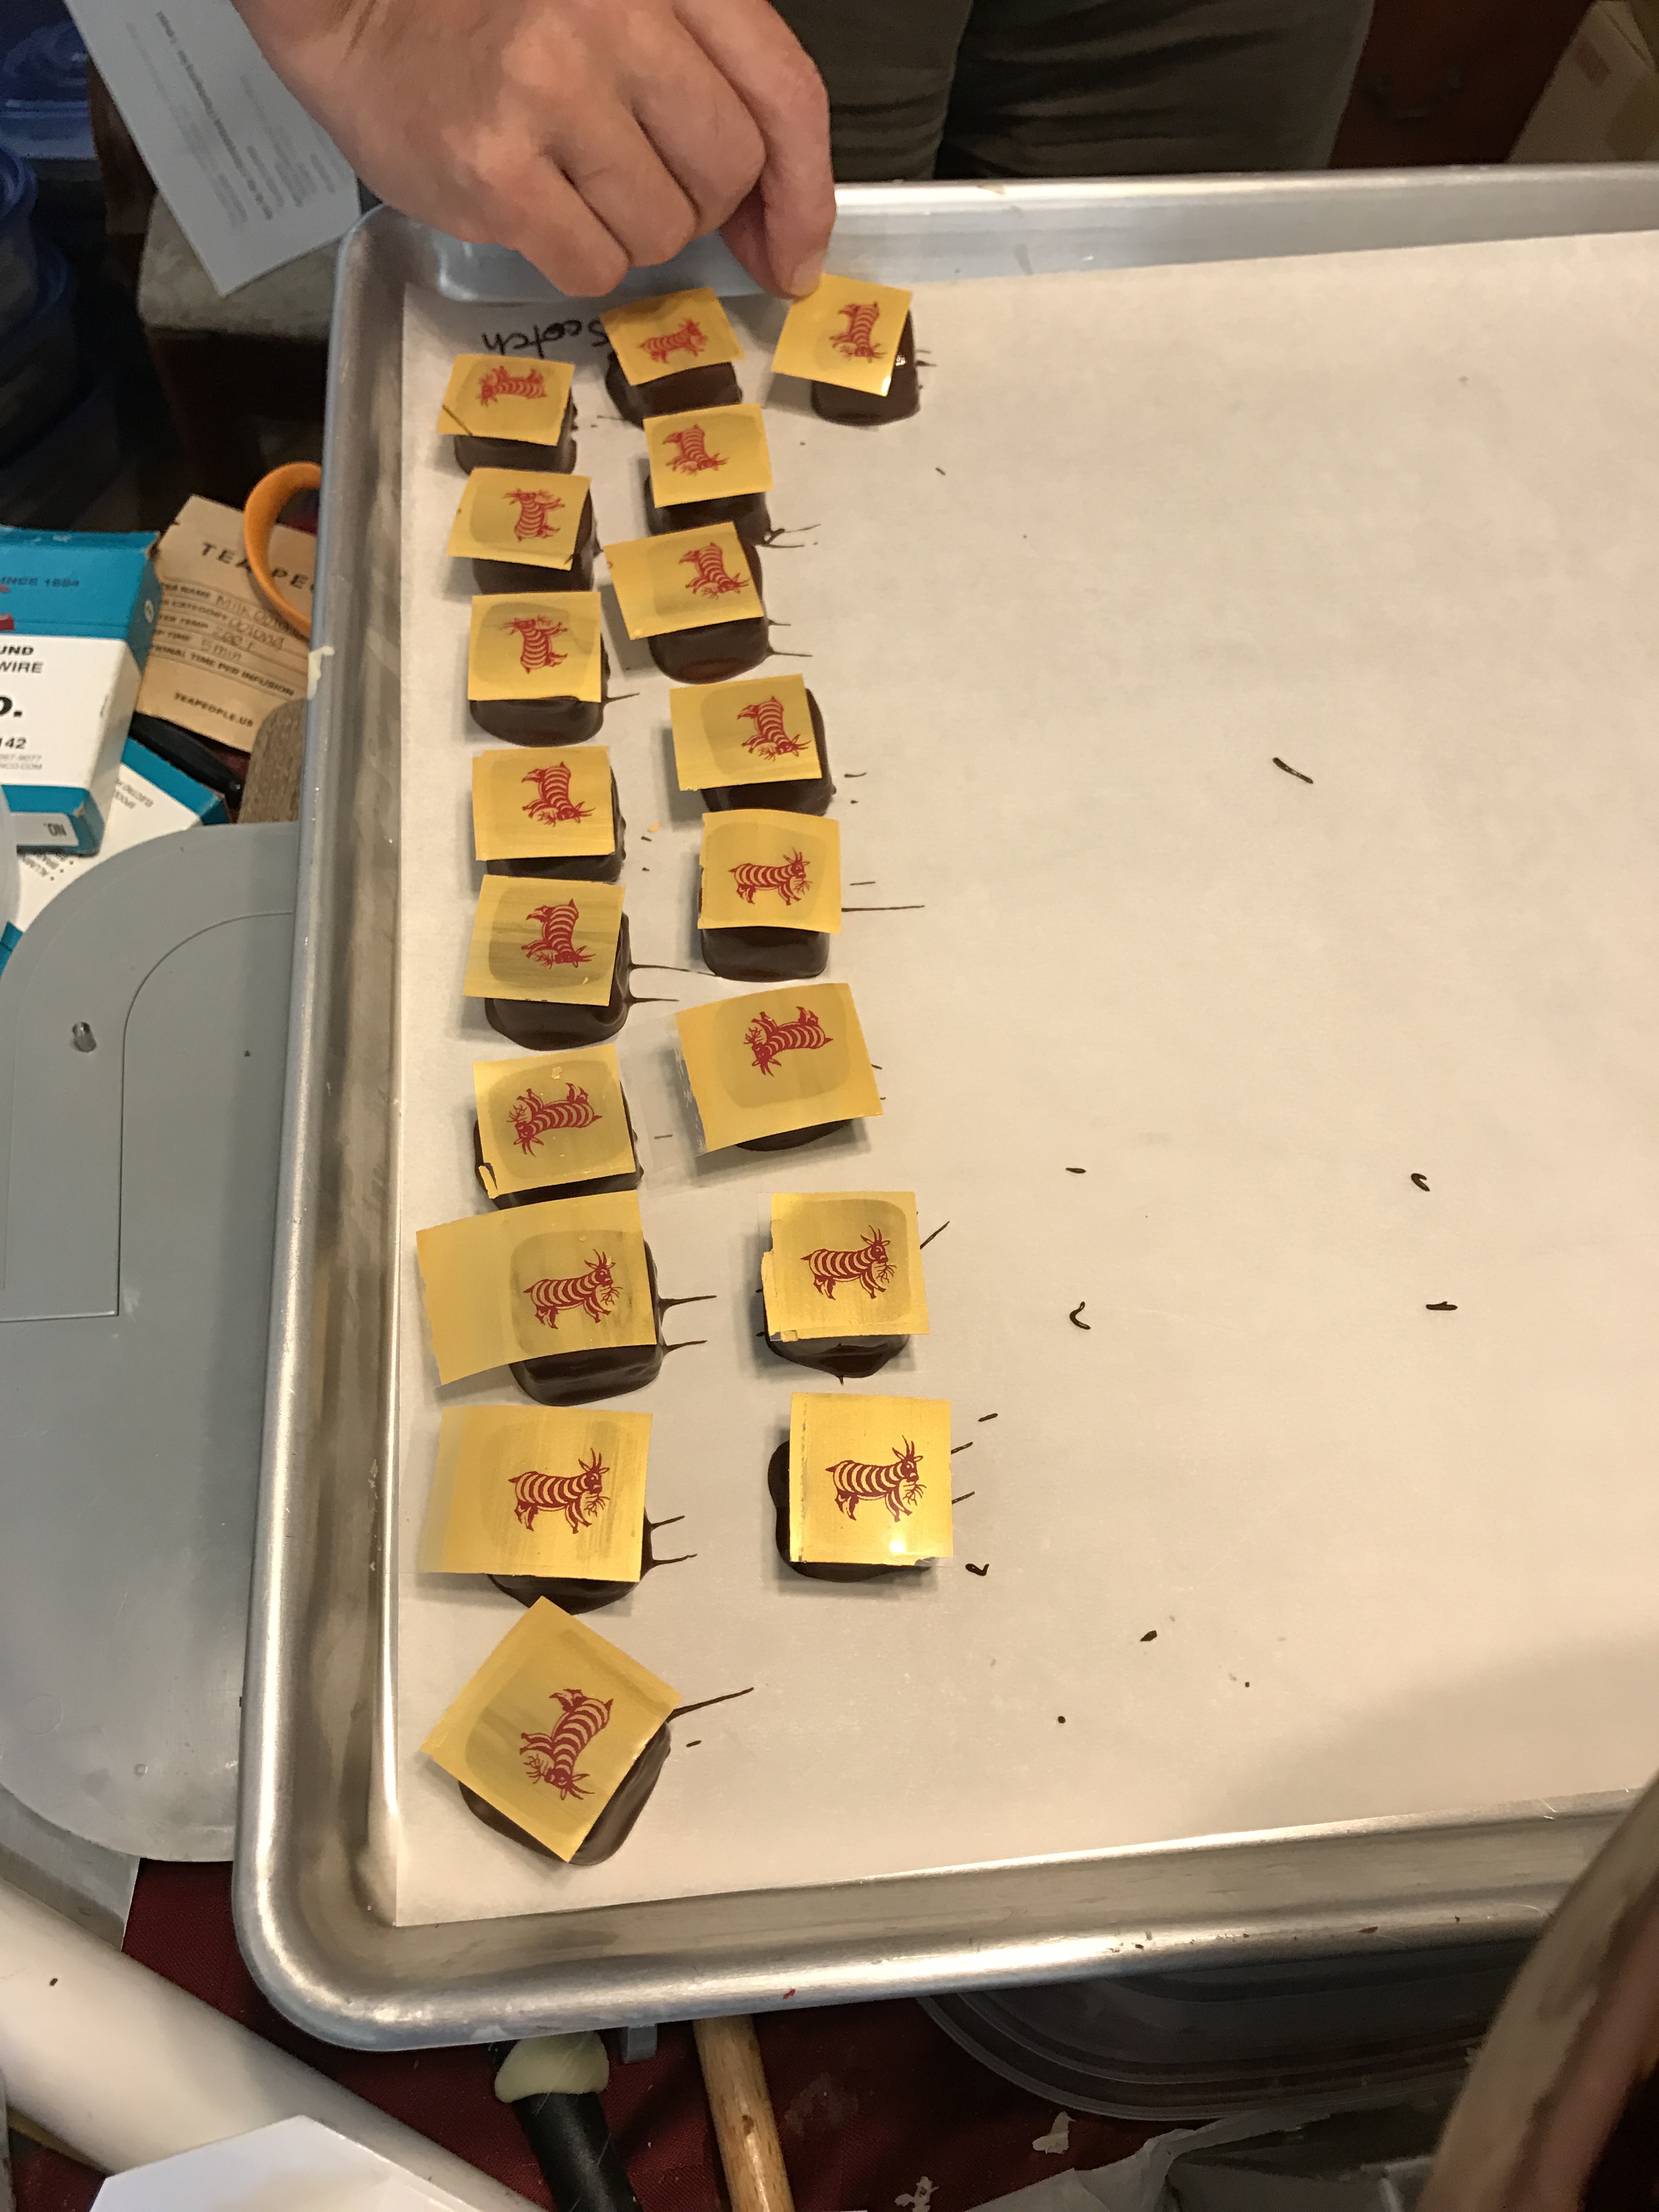
Applying transfer sheets looks simple but can be a bit of a challenge. To start, you need to apply the transfer sheet as soon after dipping as possible, because the transfer process relies on the heat from the melted chocolate to fuse the cocoa butter design to the chocolate. If you don’t apply it quickly enough, the transfer looks ragged or doesn’t work at all.
Then, you want all four corners clearly visible, so you need to press down evenly, but if you press down too hard, the chocolate on the top slides downward, resulting in an unsightly “foot”. The design also needs to be centered on the chocolate, so careful placement is important too. So, while not as tricky as dipping chocolates, this does require skill and a delicate touch.
You keep doing this until you have an entire tray full of dipped chocolates:

Once the chocolate has hardened sufficiently (several hours to a day depending on room temperature), you peel away the transfer sheets, trim off the colored cocoa butter by running a gloved finger around the edge of each and every bonbon, trim away any “feet”, and put the chocolates away. This takes about half an hour per tray – which doesn’t sound like much, but adds up to 18 hours over the course of making 36 flavors.
And then you’re left with gorgeous, tasty, finished bonbons:


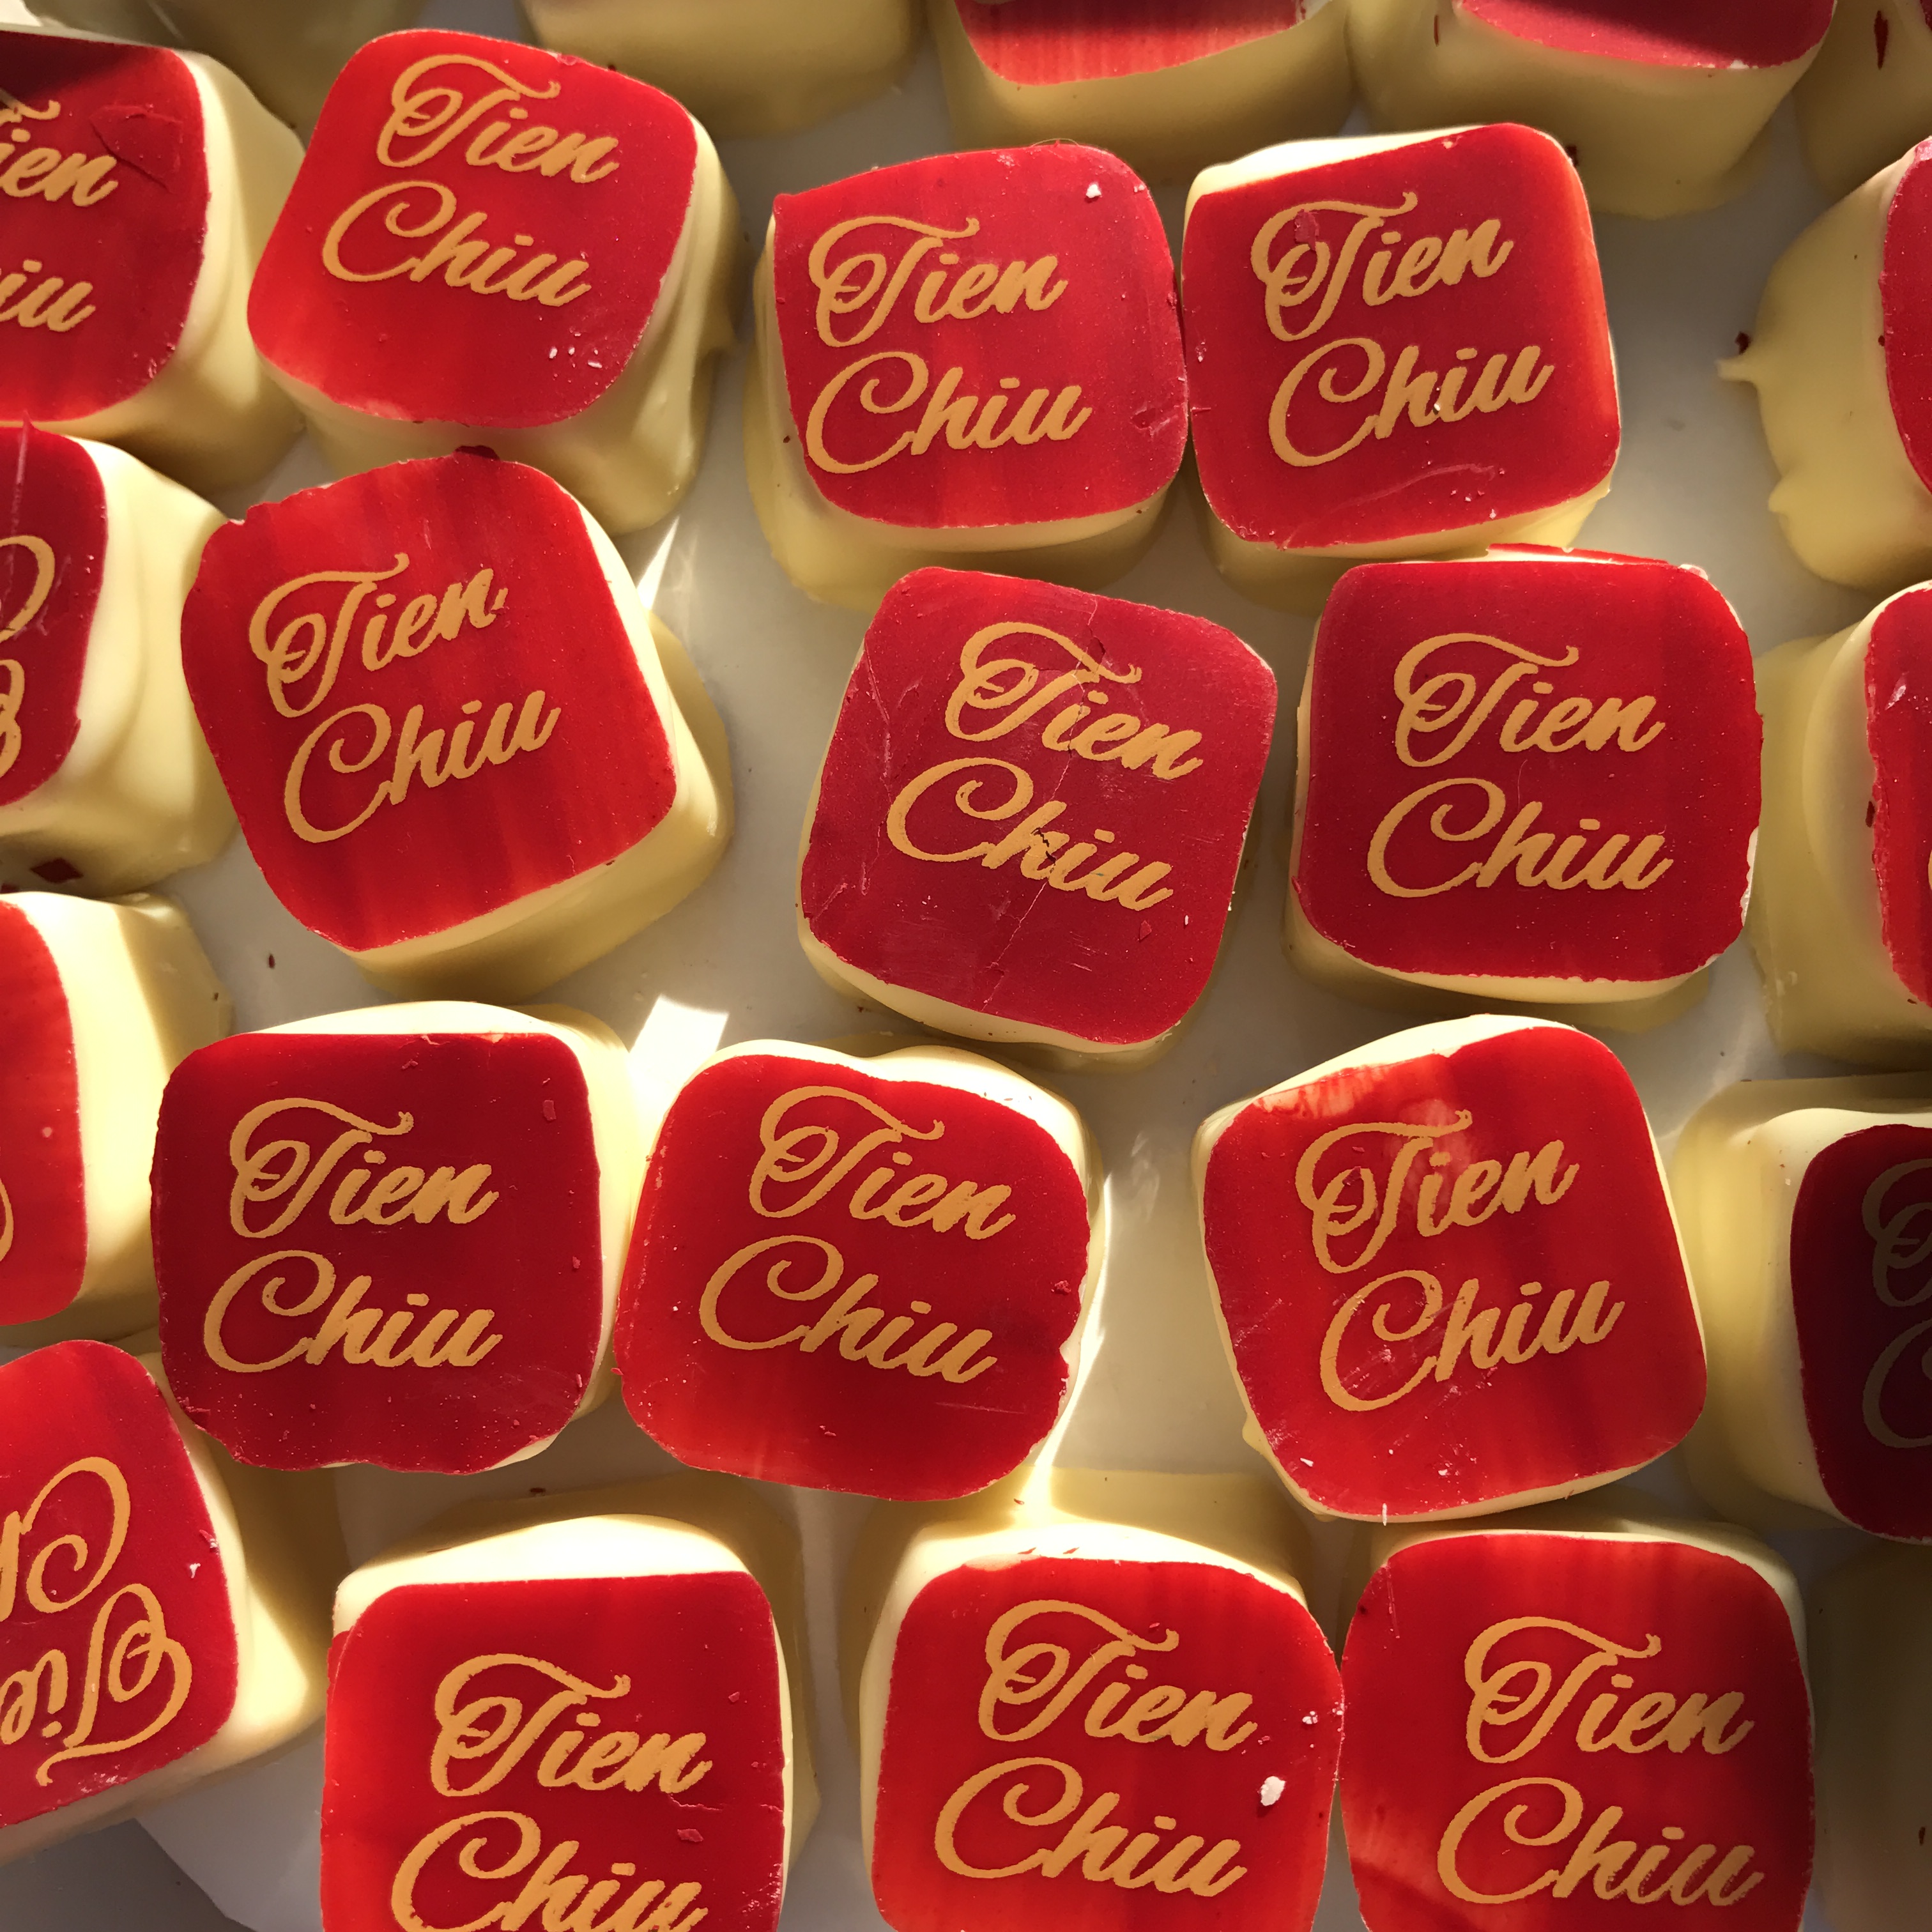
And that’s today’s peek into life in the chocolate mines!

Wonderful! I can almost taste the deliciousness!
I wonder if this takes over your kitchen or if you have a special “Chocolate Studio” to make all this happen!
Diane
Kitchen, ha! It takes over the kitchen AND the dining room…and the chocolate-packing party spills into the living room, too. Chocolate, chocolate everywhere!
Do you sell your chocolates? If so, how do we order some.
Alas, they are all claimed for this year. I do a “Chocolates for Charity” fundraiser once a year – I usually announce it on my blog, and sell out within hours. This year the beneficiary was the San Jose Museum of Quilts and Textiles, and it raised $4670 for the Museum!
How can I buy some?