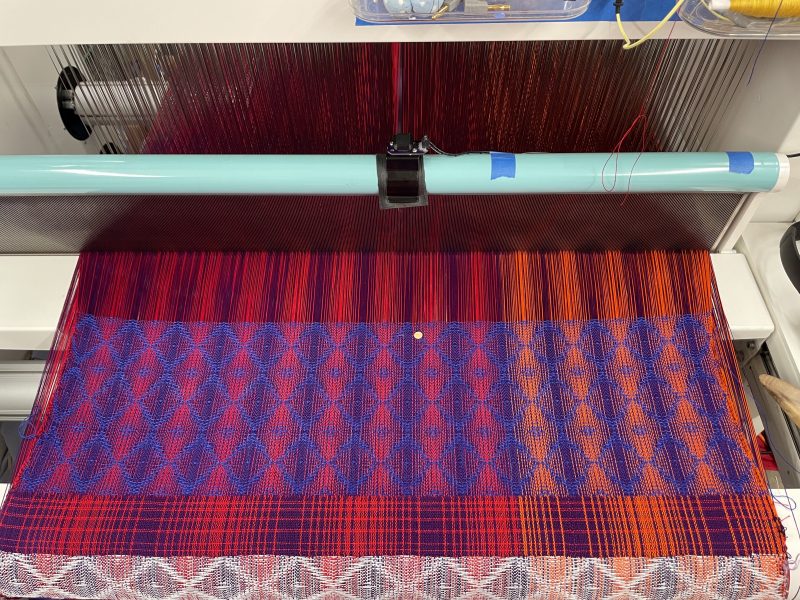
Well! The new warp is dyed. This time, I got a little overenthusiastic with the dye, so while there are no white spots, there’s not much variation in color, either. It’s mostly deep navy blue, almost black, with a few lighter and a few darker spots, and some areas with hints of purple. That’s fine with me.
I am also shockingly far along in the warping process, thanks to a nifty new tool that is the best invention since duct tape (the wheel is sooooo 5000 BC). It’s a Mesdan fisherman’s knotter, and it looks like this:
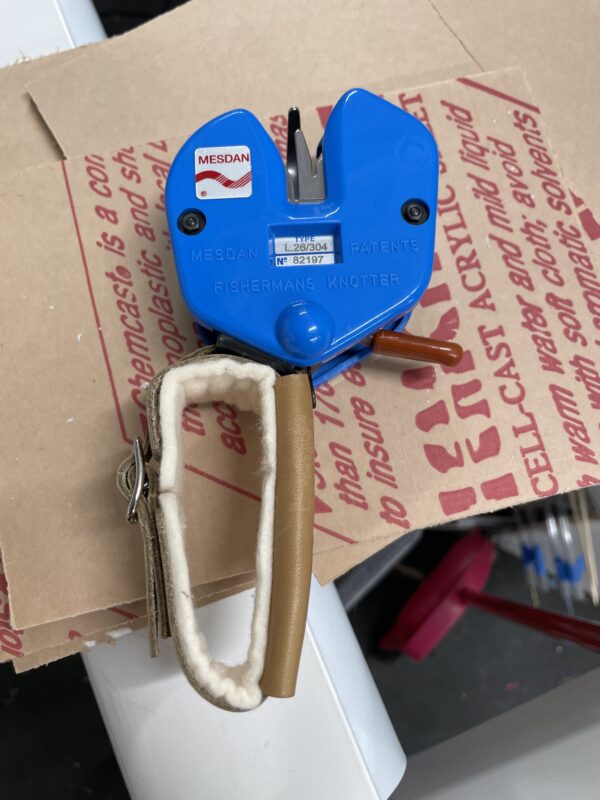
It ties knots. Tight, secure knots with the ends neatly clipped off. A thing of beauty.
(There’s another, better-known-among-weavers, knotter, called the Boyce Weaver’s Knotter, which is now discontinued. You can get them on eBay, but they tend to be worn-out antiques from long-shuttered weaving mills. As a result, they also tend not to work. (I have four, none of which work, to prove it.))
My new Mesdan fisherman’s knotter, on the other hand, is another kettle of fish. This one is brand-new, purchased from A.B. Carter in North Carolina, and works 100% reliably. It has completely revolutionized my warping process. It also does my laundry, whitens my teeth, and irons my morning paper (or would, if I still got a physical newspaper!). PLUS, it slices my bread (take that, sliced bread!).
Well, maybe not quite ALL that…but close?
To put a new warp onto a jacquard loom, one ties each thread of the new warp to a thread of the old warp. This means one knot for every thread in the warp. And there can be a LOT of knots.
B.K. (Before Knotter), I tied all my knots by hand. This is every bit as slow and fussy as you might imagine, and also hard on the hands. By hand, I tie on at about 2 threads/minute. After an hour, I need to break for several hours because my thumbs get sore. So on a good day, working full tilt, I might be able to hand-tie 250 knots or so.
The two warps I’m putting on now require tying over TWO THOUSAND knots. 2,200, to be exact.
For obvious reasons, I was not looking forward to a week and a half of tediously hand-tying knots, followed by another two days of finding and fixing all the places where a knot let loose or a thread got tangled. NO FUN. (Sad face.)
Enter the Mesdan knotter. It ties tighter, much more secure knots than I can, with much less fussing. Lay two threads into the knotter, put them under light tension, pull the trigger, and voila! A nice, tight knot, with the ends neatly clipped off. I don’t even have to test it to make sure it’s secure, unlike my hand-tied knots.
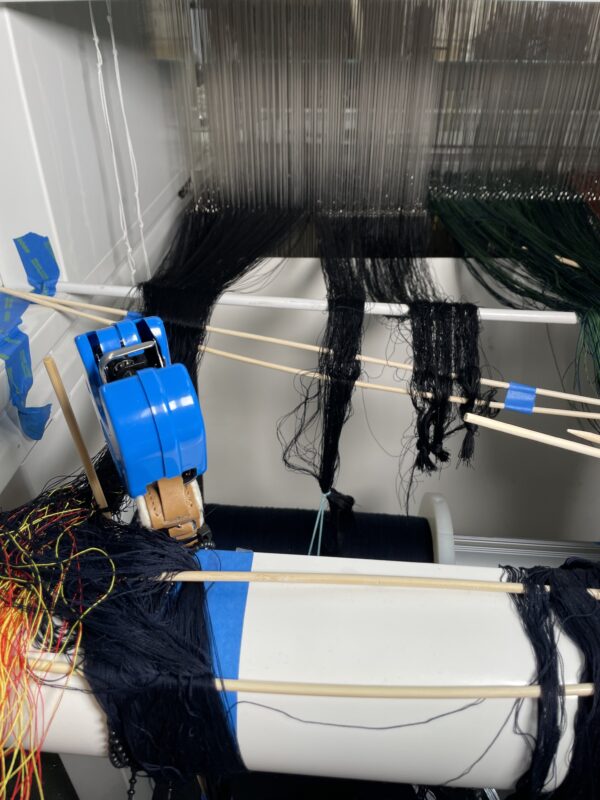
It took me a while to figure out a setup that was both ergonomic and convenient. Here’s a pic of my setup, for anyone who’s interested in using one:
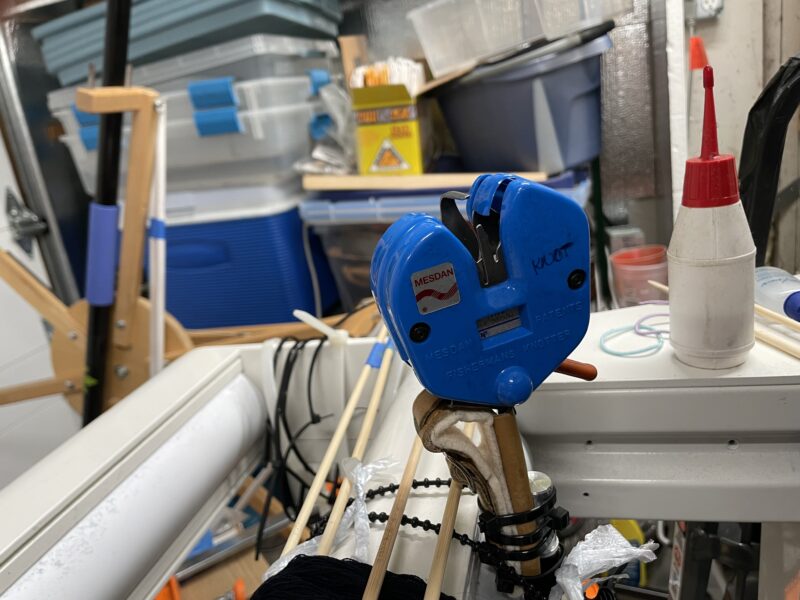
And here’s a video of the knotter in action (if you want to get the gory details of my setup, rewind to the beginning of the video, which explains everything).
Using this knotter, I tied on the ENTIRE painted warp in just a few hours! Four days of tedious, hard-on-the-hands work compressed into a single day. SO much faster. WAY more comfortable. And….dare I say it? Actually FUN!
Hard as it is to believe, this may even be niftier than blue tape.
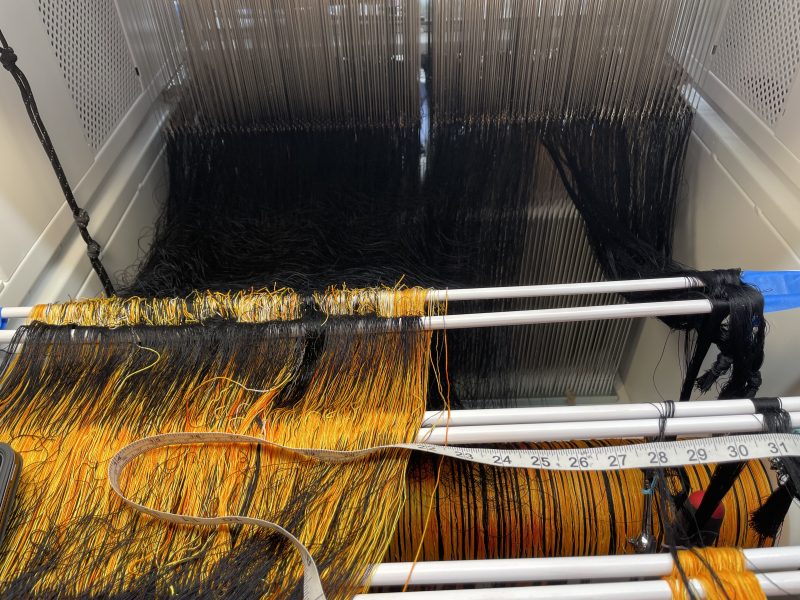
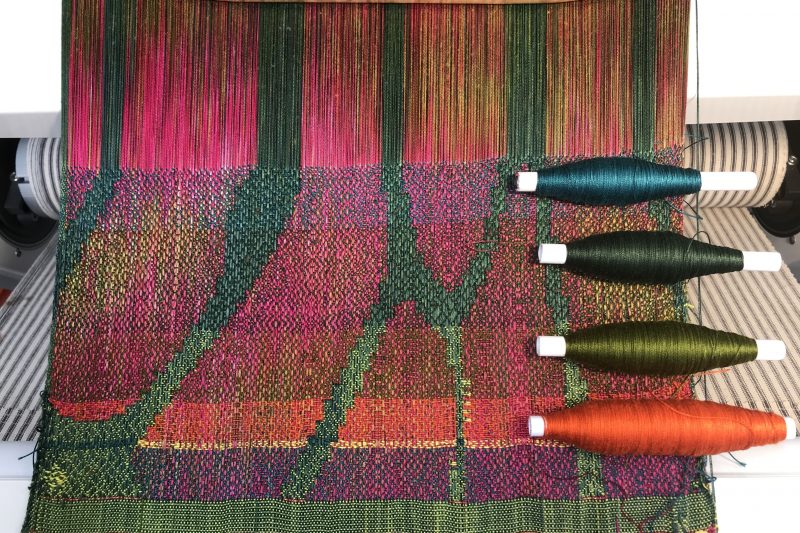
Now I’m hard at work on the velvet warp. This one is going much more slowly, because it requires a precise sequence of threads that would be disastrous to get wrong. So I am checking each small group of threads six times, in six different ways, to make sure all is well. Nevertheless, it’s going faster than I would have believed possible. In only a day and a half, I’m already halfway done:
I expect to finish tomorrow or the day after, cutting my warping time from 14 days to 4 days and removing 90% of the tedium and frustration. WHOOPEE!!!! Warp speed ahead.
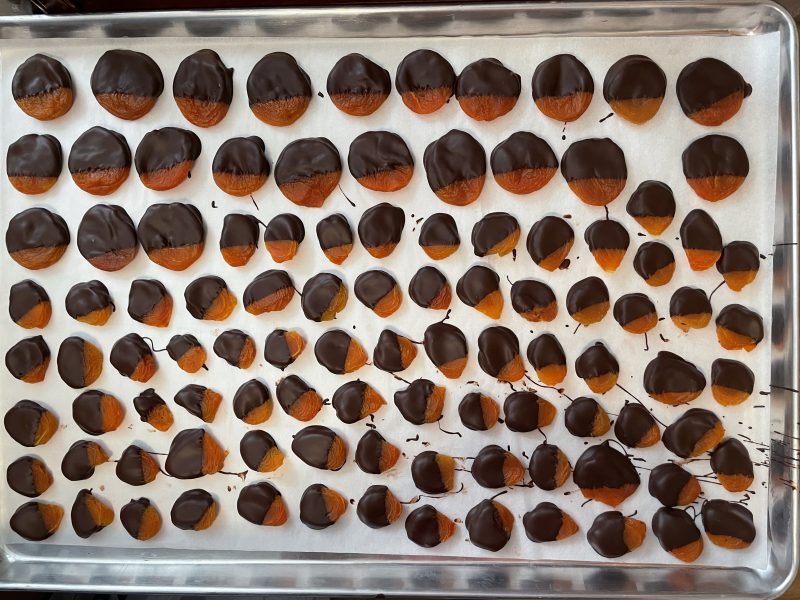
Meanwhile, I know pictures of your food are sooooo 2000’s, but we had a very tasty porchetta for Christmas dinner, and it was so beautiful I can’t resist sharing:
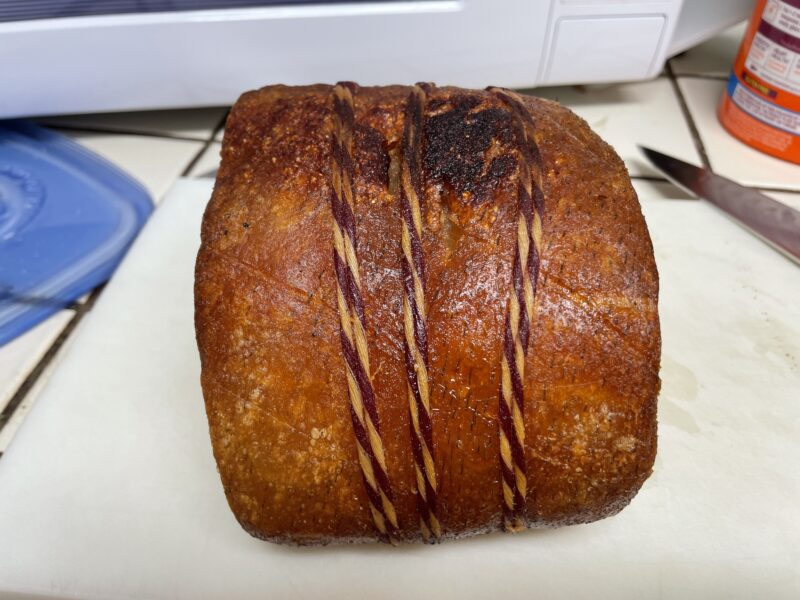
Pork belly, seasoned and tightly tied by The Fatted Calf in San Francisco, cooked in our sous vide cooker for 36 hours, and then deep-fried for 5-10 minutes to crisp the outside. SO GOOD.
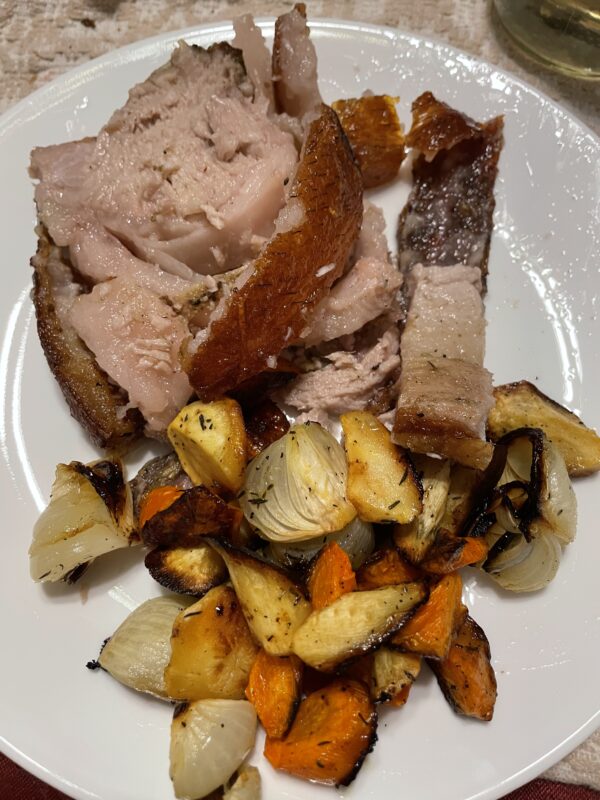
And served with carrots, parsnips, and onions slathered in bacon fat, seasoned with thyme and pepper, and roasted slowly for 45 minutes:
Jamie made a pecan pie as well, but unfortunately I forgot to take a photo. Jamie says it was delicious, though!
The cats did not get porchetta for dinner, but they got extra cat treats and lots of snuggles. A lovely day, for all of us.
Happiness to all, whatever you celebrated!