This year’s chocolate harvest was a bumper crop! We made 38 flavors of fudge, caramels, candied citrus peels, and fruit jellies, totaling 118 pounds, 6 ounces. We ran dangerously low on chocolate at the end – was 106 pounds of chocolate going to be enough? – but it turned out fine; in fact, there was a whole 6 pounds left over.
Here are the finished chocolates, neatly boxed up and ready for packing:
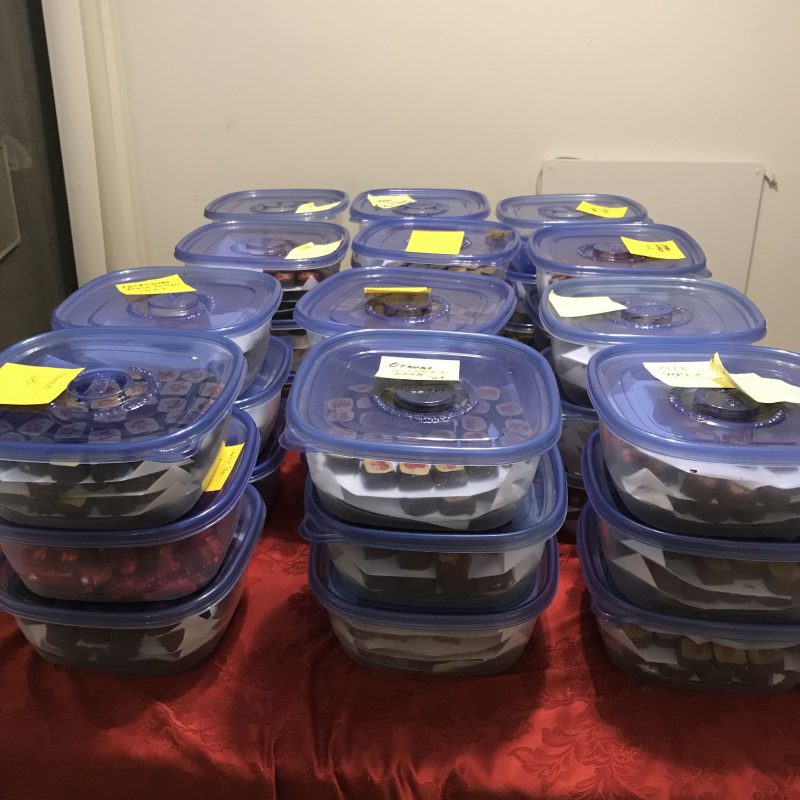
And here is a little bit about the process.
These are the prune, port, cinnamon, and honey caramels (delicious!) midway through the dipping process:
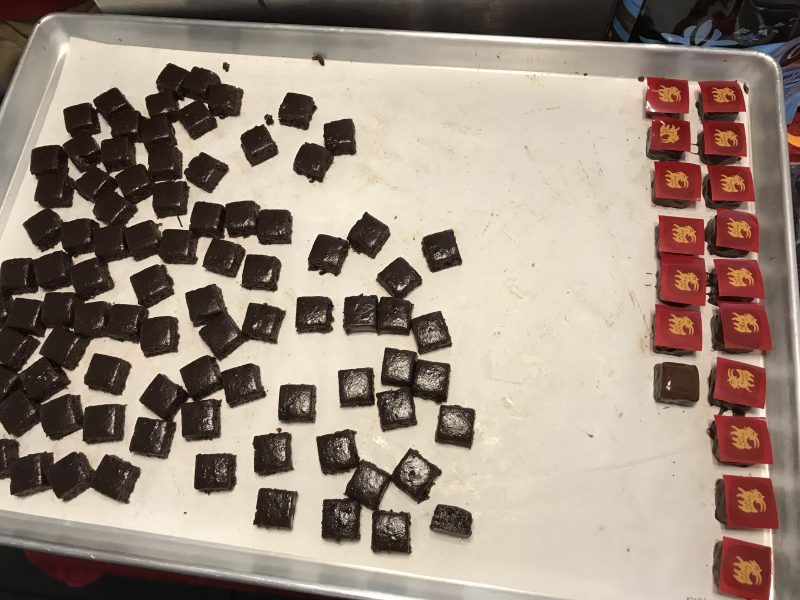
For those not familiar with the chocolatiering process, the chocolates on the right have transfer sheets on top of them (the yellow goat on a red background). Transfer sheets are basically edible decals. A sheet of acetate is printed with an image in colored cocoa butter, then placed on top of a freshly dipped chocolate. The warmth of the chocolate coating melts the cocoa butter, which fuses with the melted chocolate. After the chocolate hardens, you can pull off the transfer sheet, leaving the cocoa butter image behind.
You can buy preprinted chocolate transfer sheets, but because I wanted a distinctive look, I had a set of transfer sheets custom printed with Chinese paper-cut animals. This harkens back to an old family tradition. When I was a kid, every year we would screen print our own Chinese New Year cards, in two colors, using a Chinese paper-cut animal from my parents’ collection as the cover of the card. (The animal, of course, always corresponded to the Chinese Zodiac animal whose year it was: a tiger for the Year of the Tiger, a horse for the Year of the Horse, etc.) The printing process was an all-family job: my mom designed the cards and cut the paper to size, my dad printed the cards, and we kids would tear around all over the house laying the printed cards out to dry on the floor. It was a ton of fun, and I like to think that by sending out holiday chocolates with Chinese paper-cut animals on them, I’m continuing the tradition.
Working with the transfer sheets can be challenging, however. As delivered from the manufacturer, the transfer sheets are just one color:
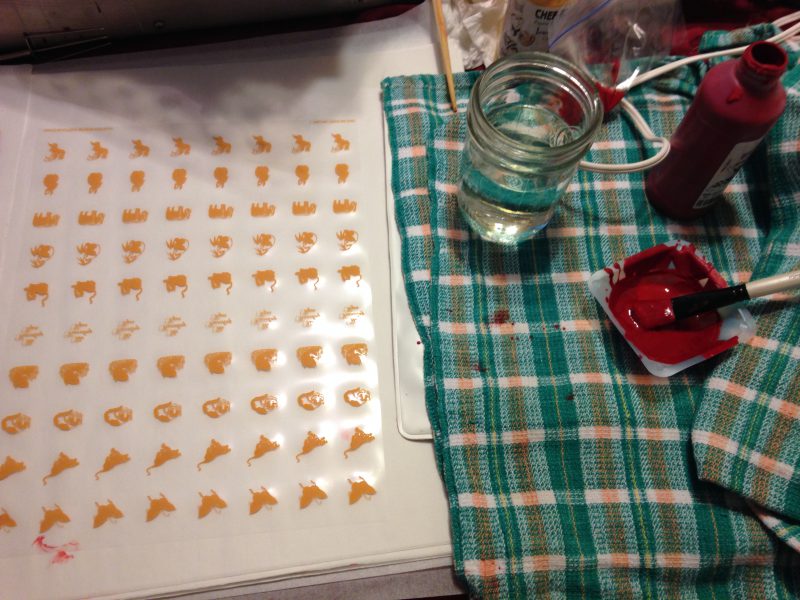
I tried pre-printed two-color transfer sheets in the past, but had trouble getting the image to adhere. So now I hand-paint each transfer sheet with colored cocoa butter:
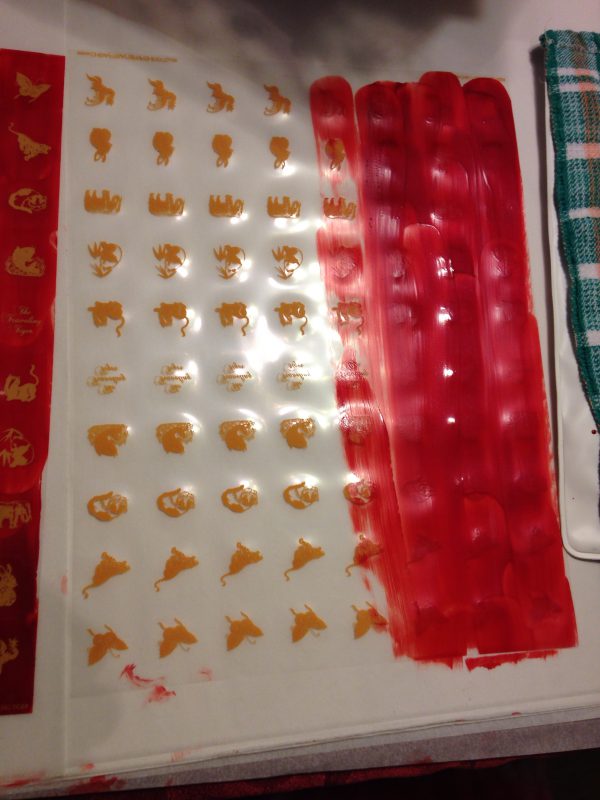
Cocoa butter contracts as it hardens, so the transfer sheets need to be allowed to harden for a day or two with a weight on top to keep them flat.
After that comes the cutting – one sheet at a time, because the acetate shifts and the cocoa butter backgrounds tend to crack if the sheets get stacked:
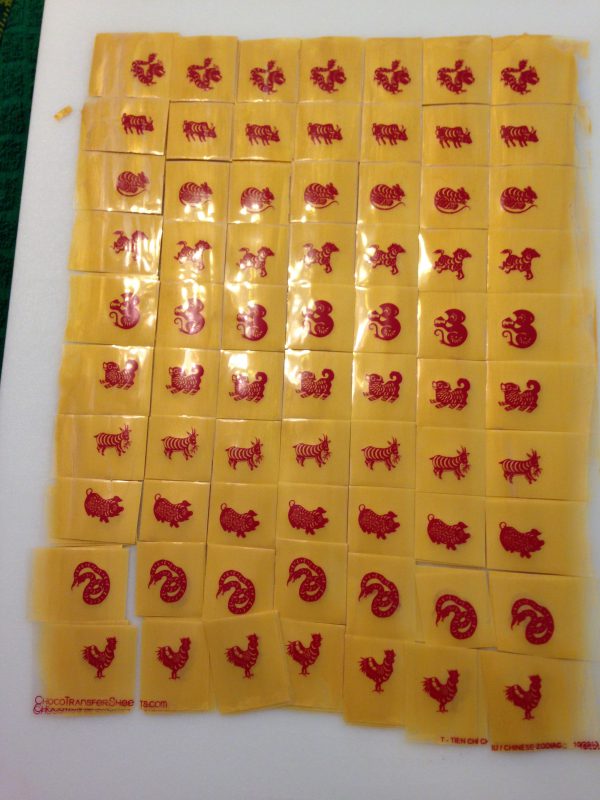
And, finally, the different images need to be separated and stacked, each in its own container, until ready to dip.
This may not sound too awful, but when you consider that I typically use about 120 of any given motif in a batch of chocolates, and that there are 30 different design motifs, that’s a lot of transfer sheets to cut. 3,600 of them, to be exact – each hand-painted and hand-cut, one at a time. (Props to my friend Susan, who does most of the cutting every year.)
Even after all that work, transfer sheets can be tricky. Chocolate is extremely temperature-sensitive, and if the room is too warm, the transfer sheets won’t adhere properly. And the temperature during this year’s chocolate season was abnormally warm. When we started peeling the transfer sheets off the vanilla latte flavor, the room was too hot – about 75 F. The images started peeling away from the chocolates, like this:
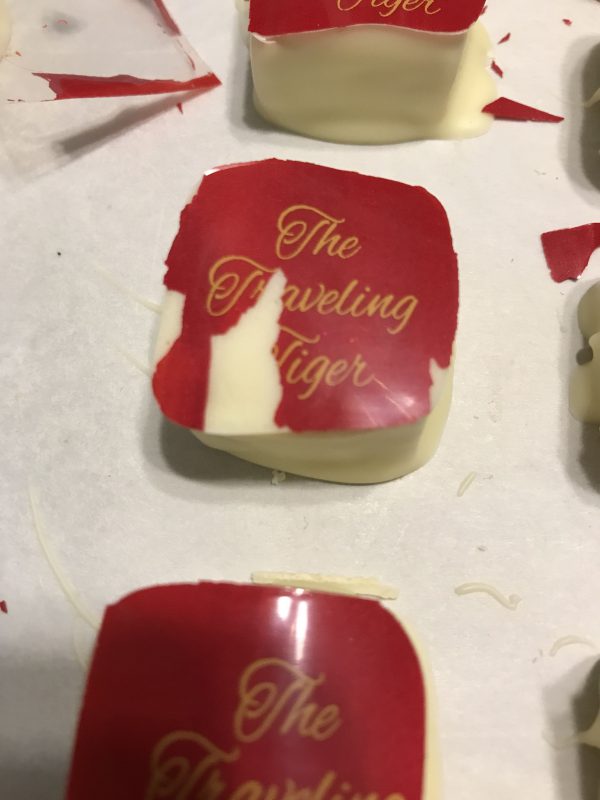
Bad, bad. Very bad. But what could we do? We needed to clear some trays so we could make more chocolates, but the room wasn’t going to cool down any time soon.
Fortunately, Mike and I have a portable air conditioner in the dining room. We hooked up the air conditioner and pointed it at the baker’s cart where the trays of chocolate are stored. That got the temperature down to 65 degrees. After an hour, we tried peeling off the transfer sheets again – and voila!
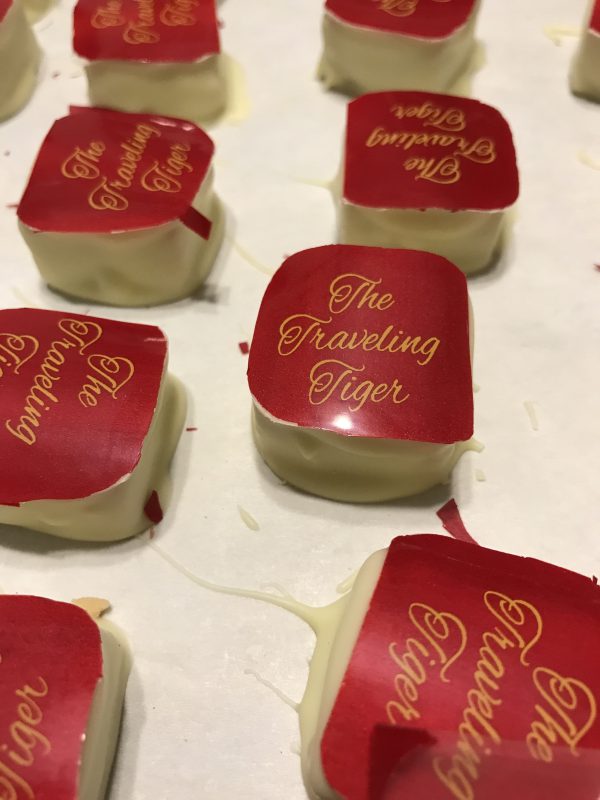
I’ve often said that the challenging part of chocolatiering isn’t making the chocolates taste good. Armed with a good recipe, even a novice can make wonderfully good chocolates. The hard part is making them look good – and that can be challenging indeed.
I took a break midway through chocolate season, as usual, to celebrate Thanksgiving at my friend Carolyn’s house. Of course I brought a few chocolates with me:
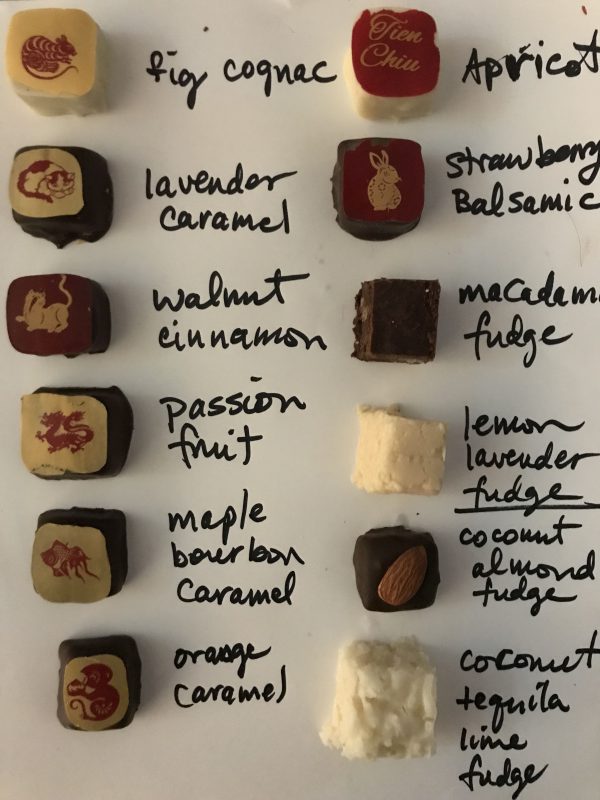
The maple bourbon caramel and orange caramels on bottom left are my favorite new flavors from this year. The maple bourbon caramel has about 3/4 of a bottle of bourbon whiskey in each batch, plus cream and maple sugar, and is delicious. The orange caramel is made with cream, sugar, a ton of mandarin orange zest, mandarin and navel orange juice, and a small shot of lemon juice to give it a bit more acidity. The result is a marvelously buttery, sweet orange flavor with just enough acid “zing” to keep it from being cloyingly sweet. It tastes like the orange curd (similar to lemon curd) that I used to make in college – one of my favorite confections.
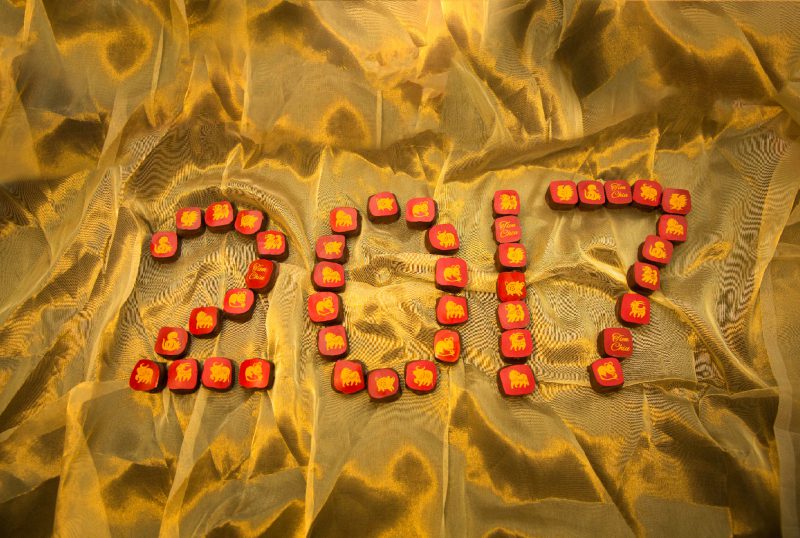
I made 38 flavors this year, expecting to fit in only 37 – but by a miracle of packing and special dispensation from the gods of physics, we managed to fit all 38 flavors into the box. The flavor index will go into a separate blog post, but I’ll leave you with this year’s holiday card. Happy holidays, everyone! May your coming year be beautiful, delicious, and many-flavored.

They look fantastic! Great job.
Oops! I gained a pound just reading about these yummys, LOL!!
Hmmmm…Yummmm…That maple/bourbon/caramel sounds like a true winner to me and my hips! Happy Holidays to you both as well. Hope to see you in Reno in July.
Beautiful job. You are amazing with all you accomplish.
They are excellent!