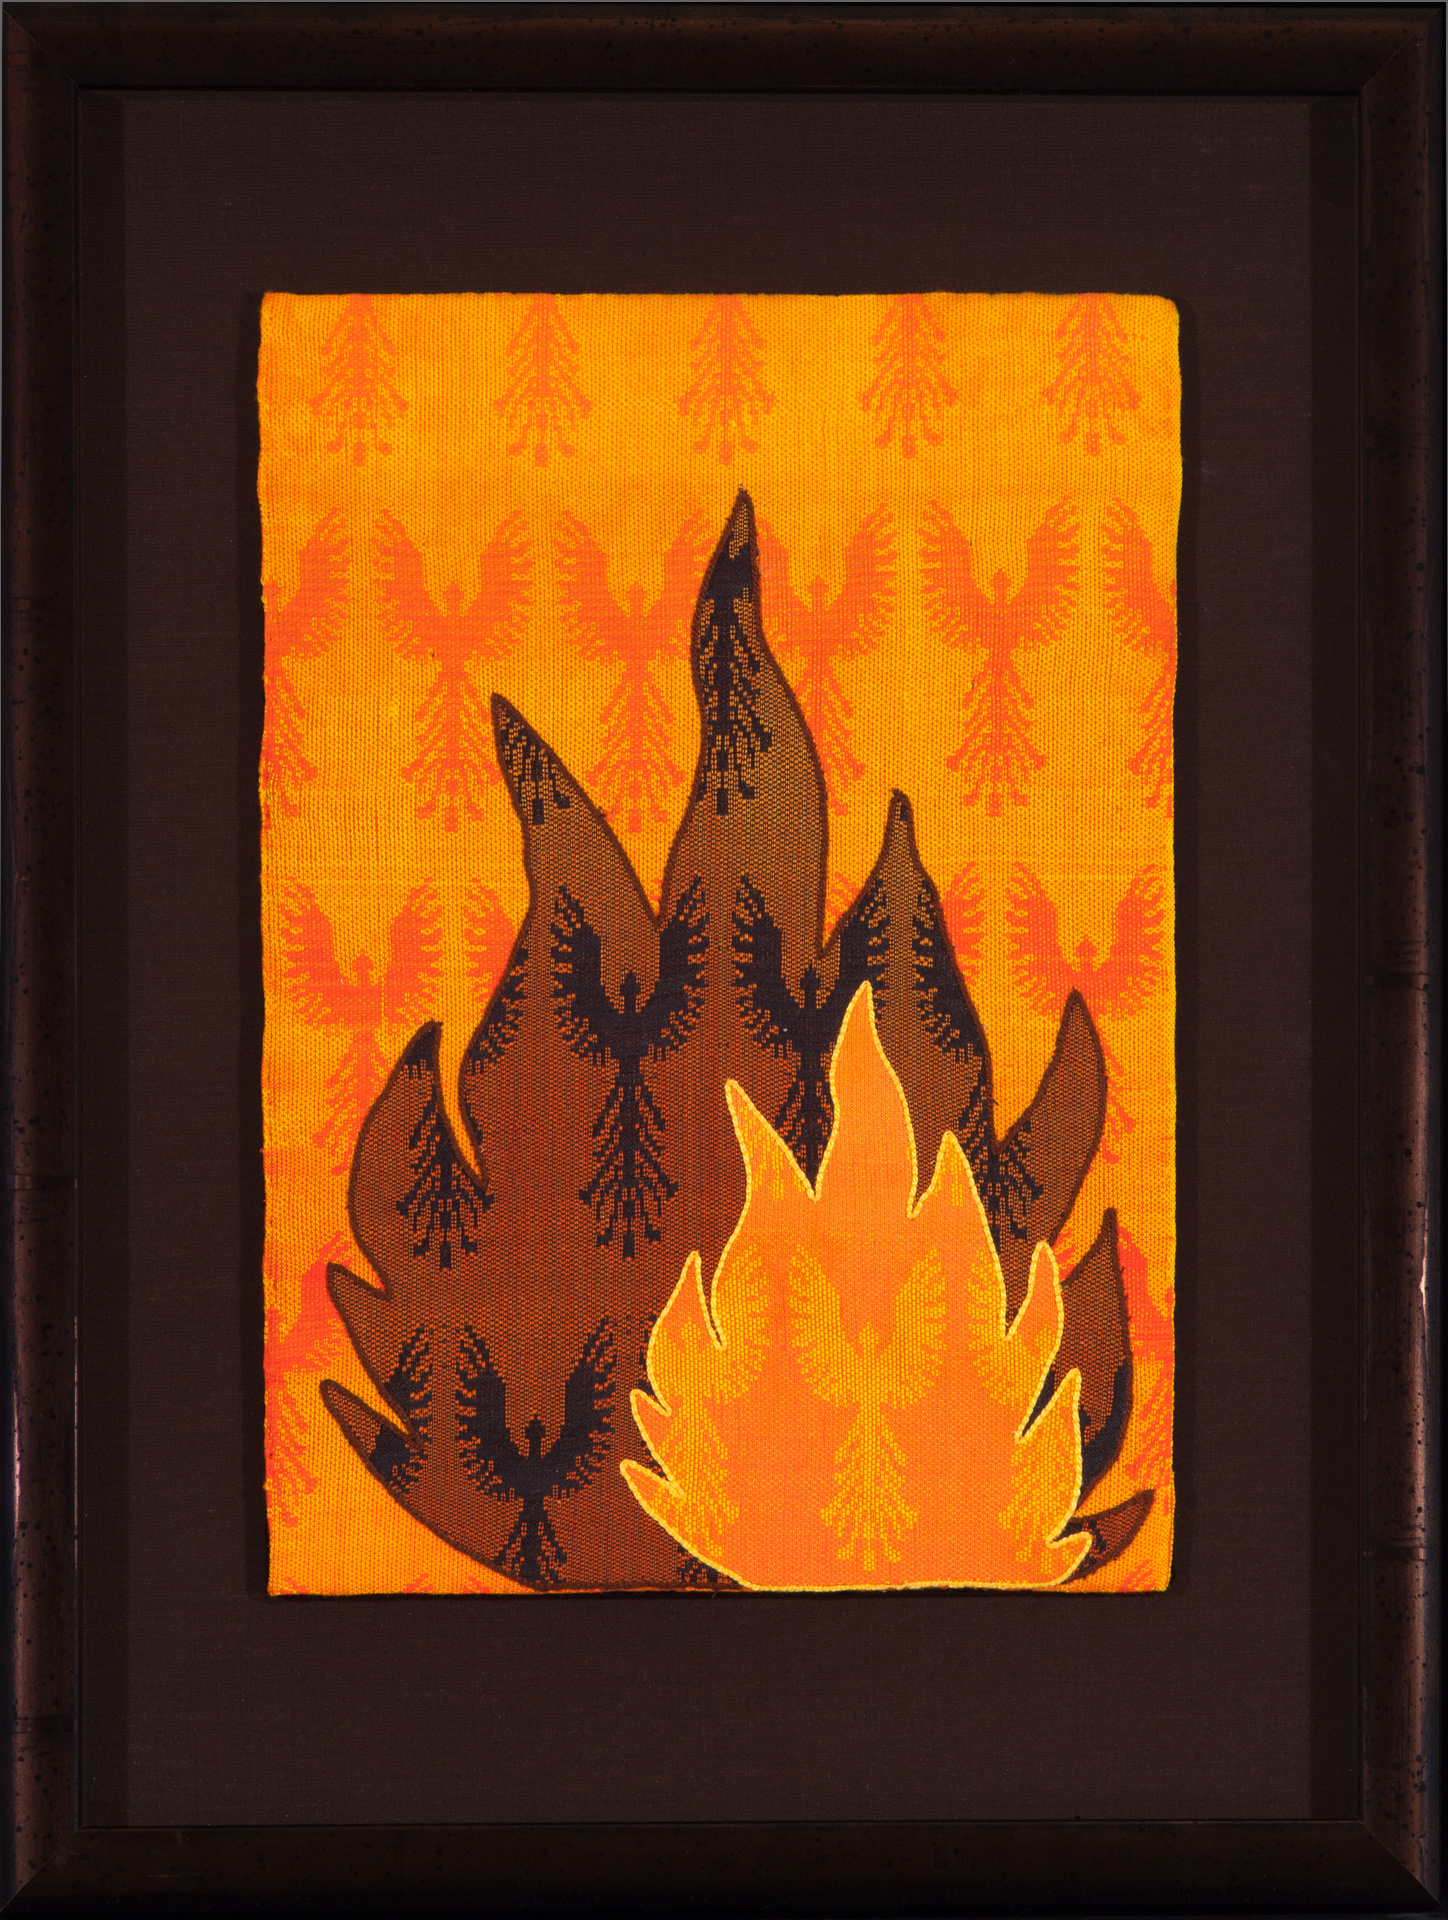
I conceived this piece as part of a series about phoenixes – life, death, and rebirth. I have bipolar disorder, and without medication, my moods cycle between “flying high” – hypomania – and the darkness of depression. This cycle of mood swings has almost killed me twice (read my essay on living with bipolar disorder if you want more details), and I wanted to create a piece that celebrated my breaking free of the cycle ten years ago, when I was finally diagnosed and treated correctly. The phoenix seemed the perfect symbol for this – a bird that dies in flame and is resurrected from its own ashes.
At the outset, I had a theme but no idea what the piece would be – a garment? a wall hanging? a sculpture? I made mood boards, mind maps, and lots of sketches, but wasn’t satisfied with any of them – no matter what I tried, no one design captured the ideas I was striving for. It wasn’t until I realized that I didn’t have to capture all the ideas in a single design, but could work in series, producing multiple works with the same theme, that I felt comfortable moving into a single design.
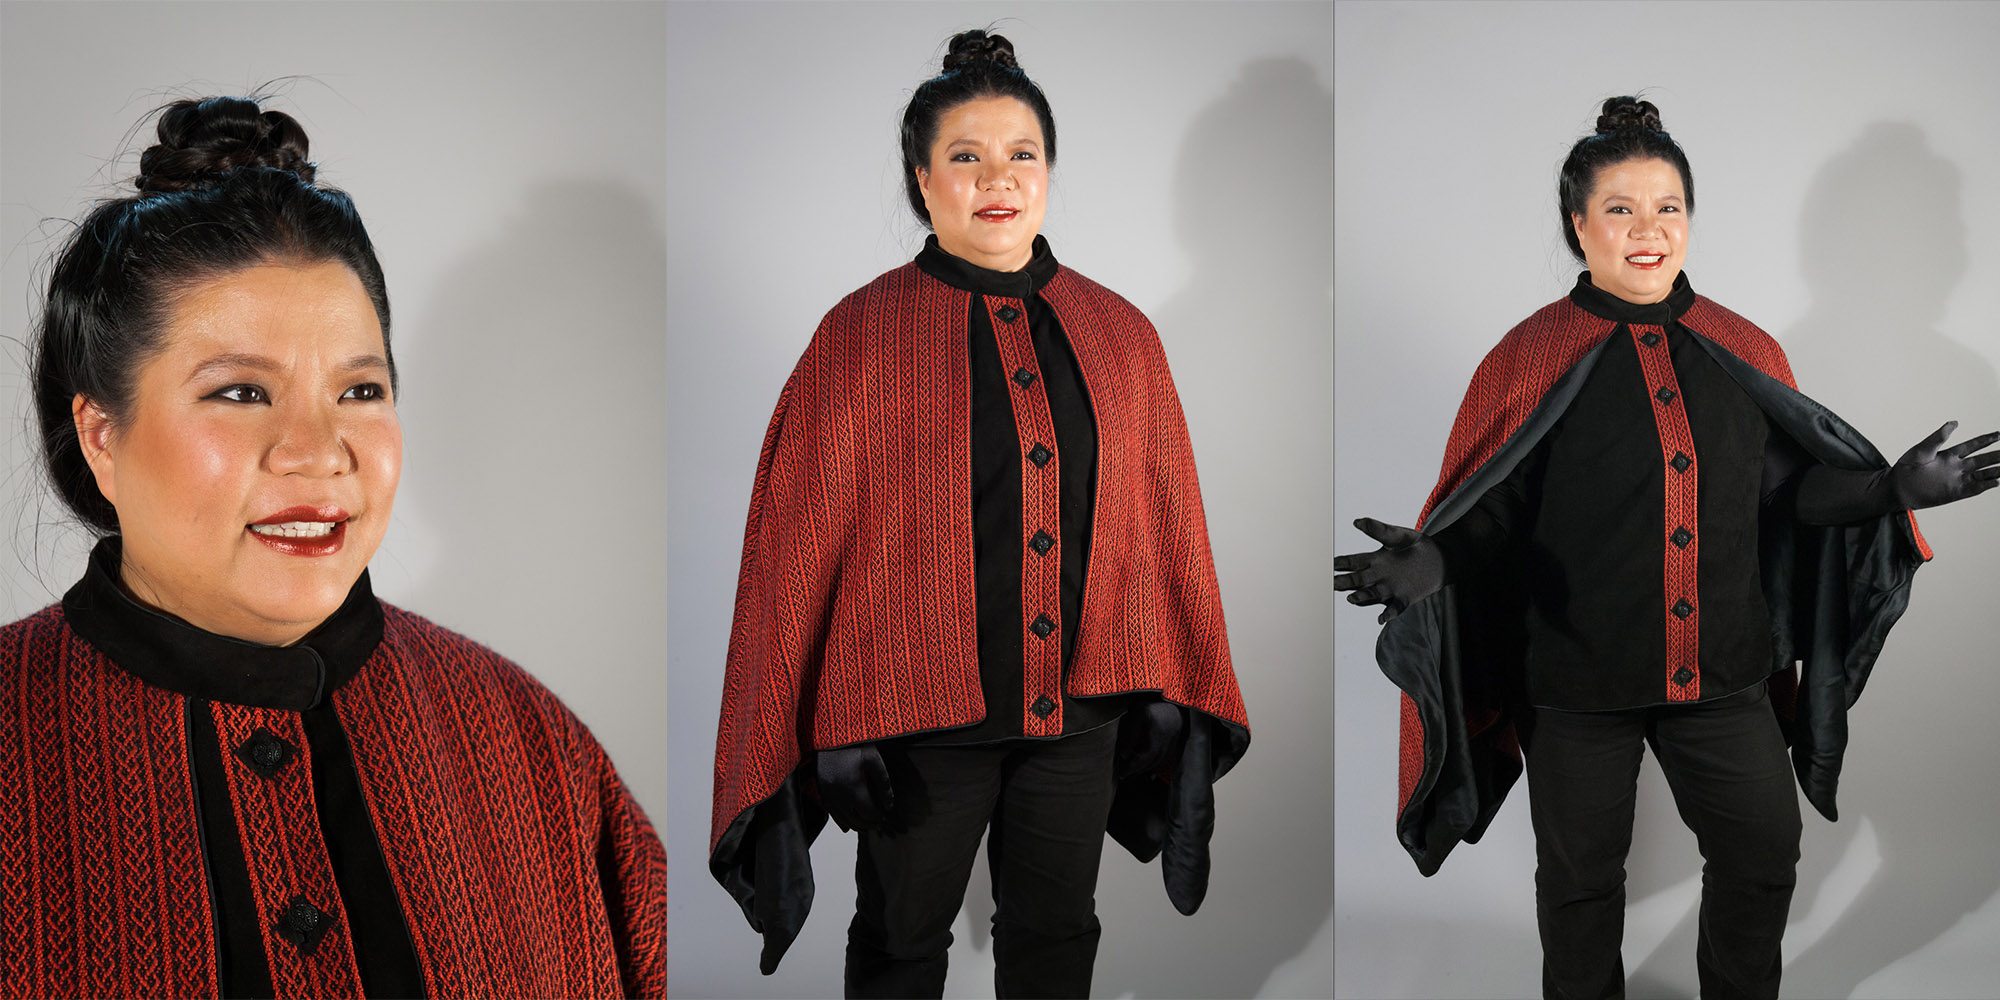
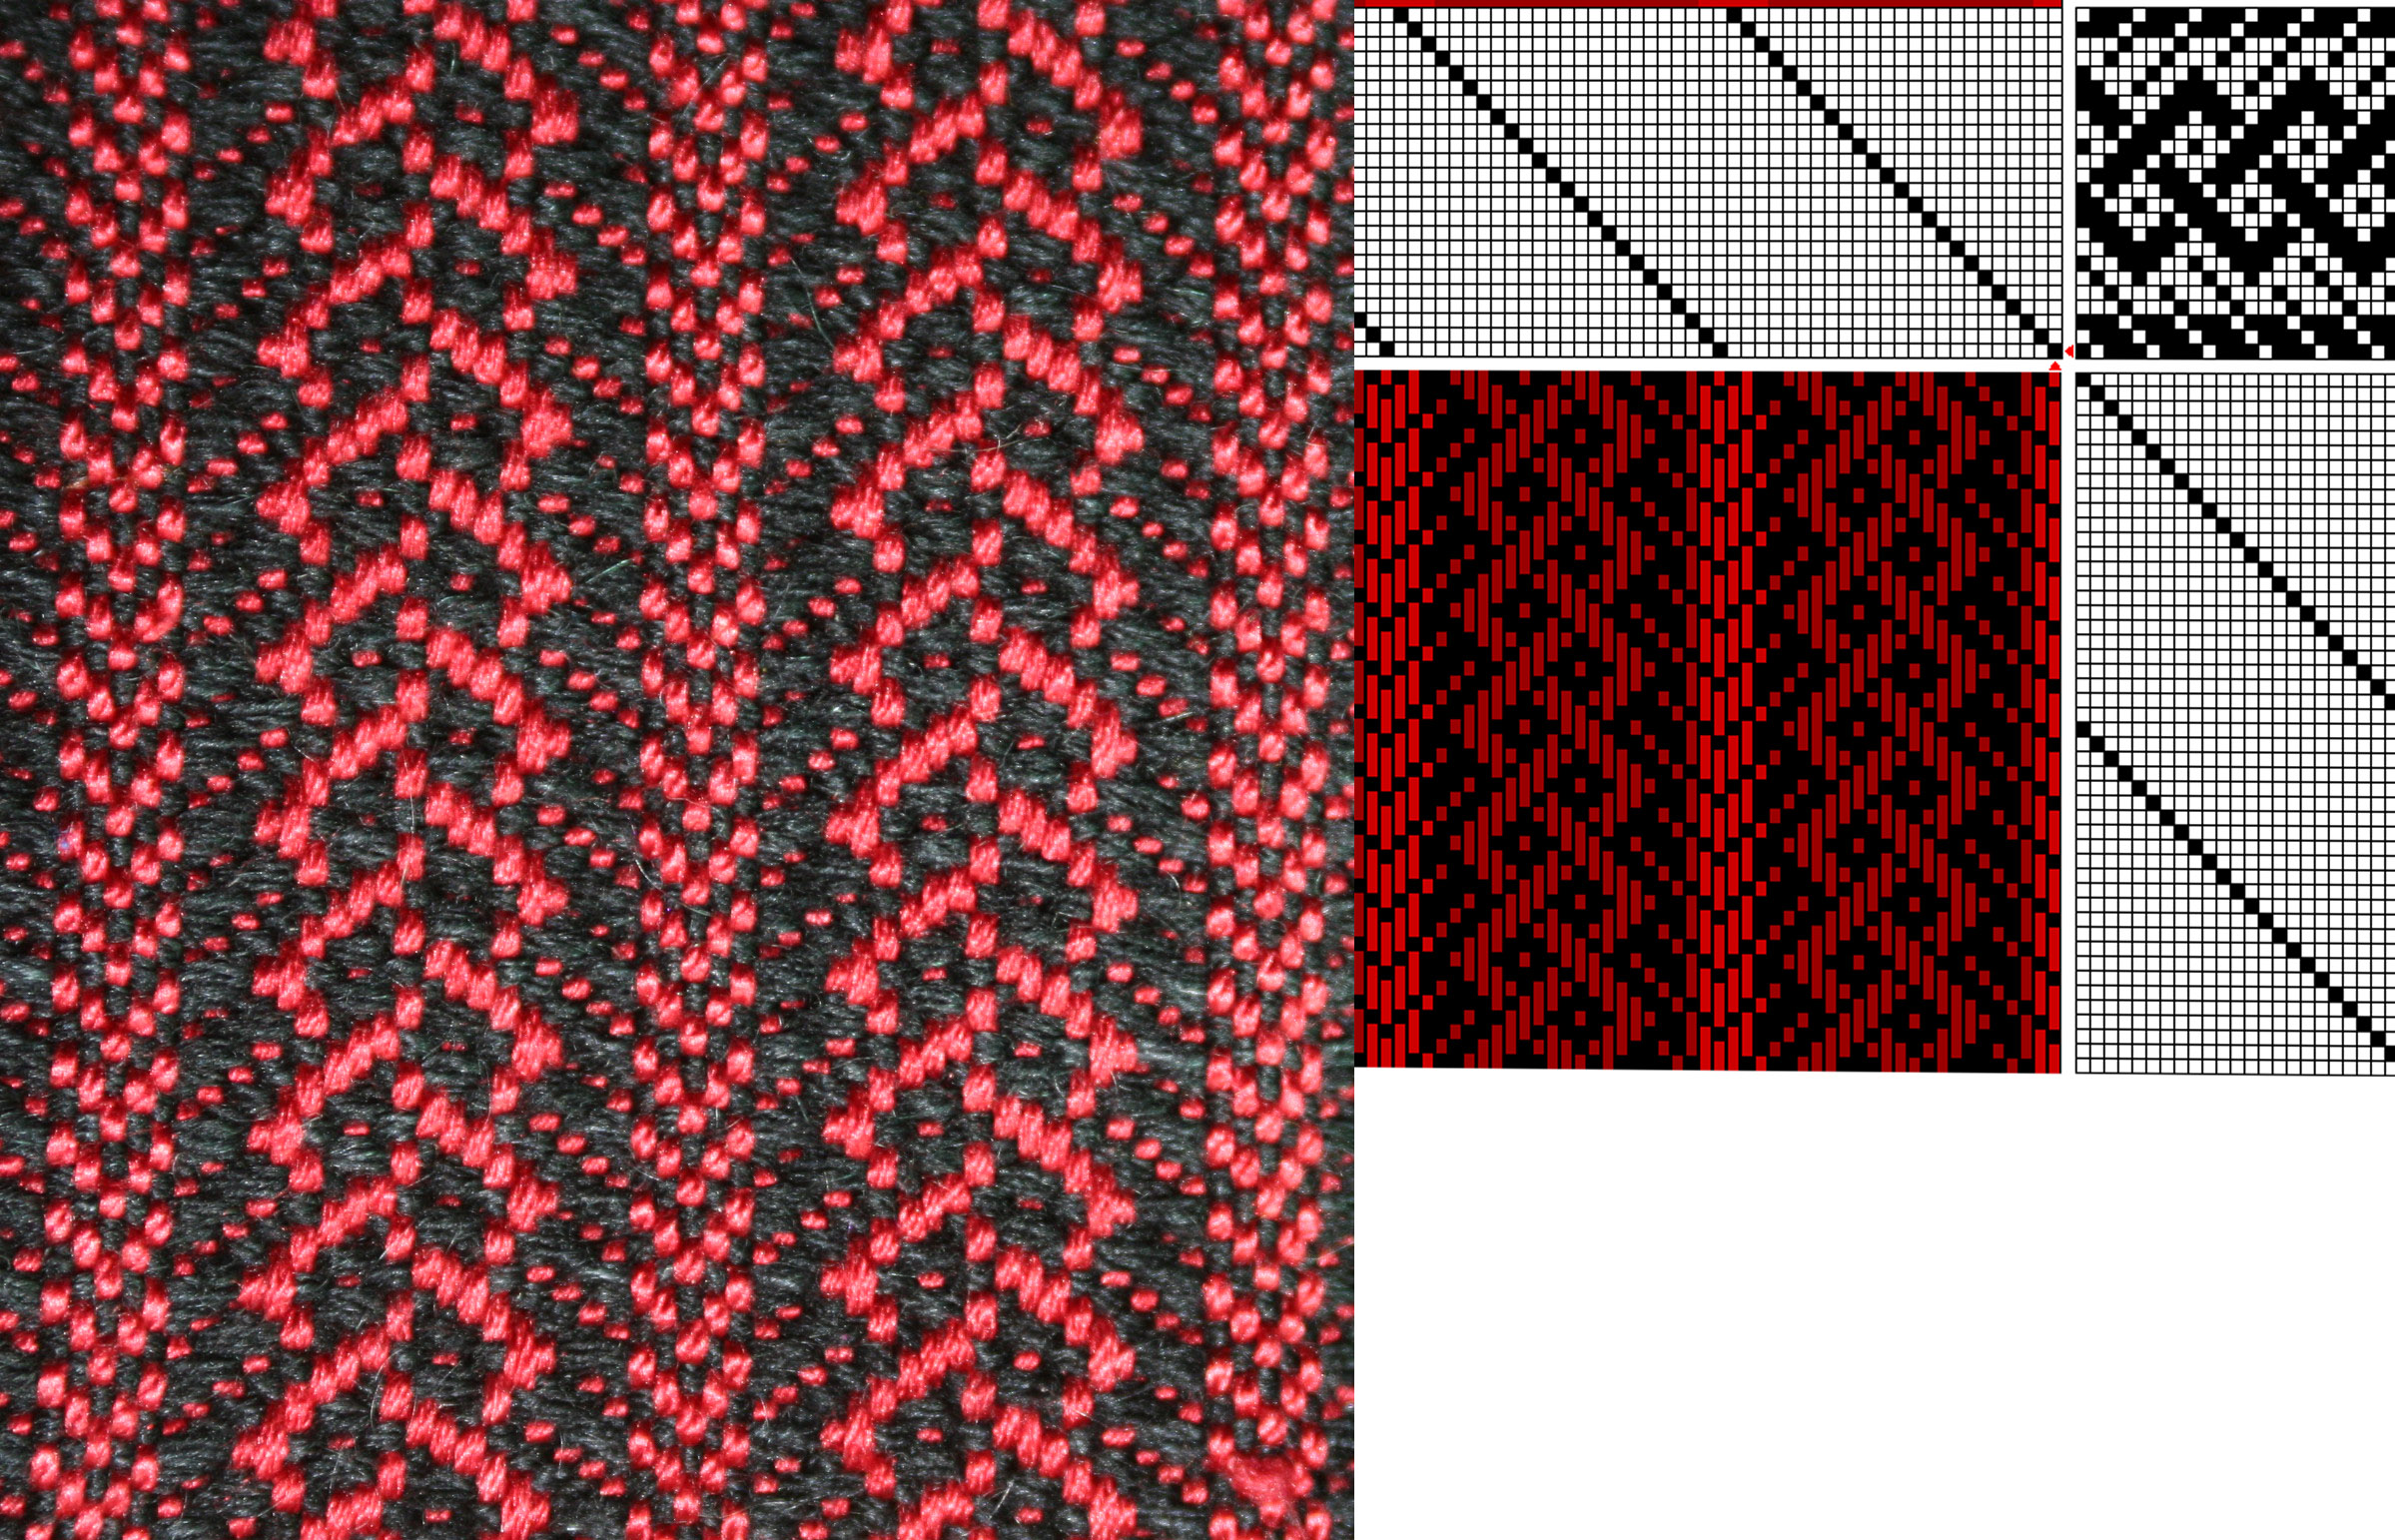
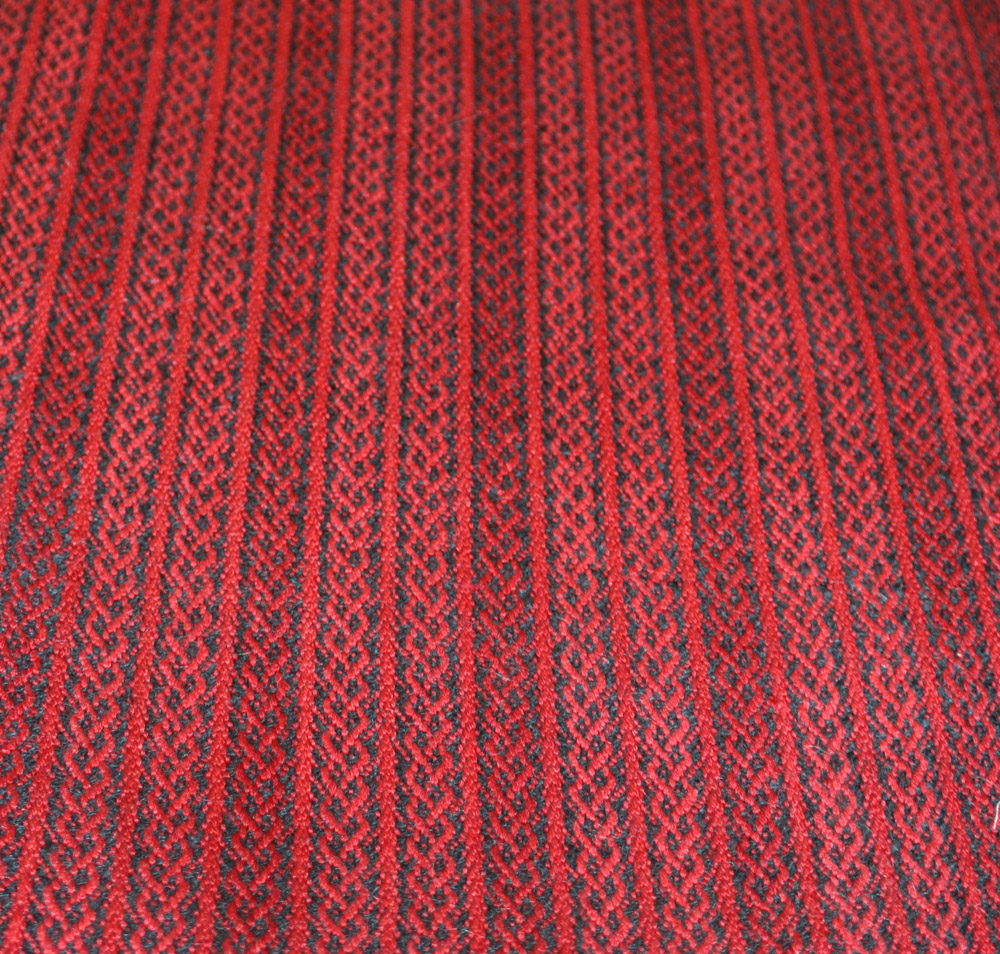
I started by weaving samples – eleven yards of samples! – in very fine threads. I used a turned summer and winter structure with a 120/2 silk ground warp and a 60/2 silk pattern warp. (For the uninitiated, 60/2 silk is slightly finer than sewing thread, and 120/2 silk is about one-third the size of sewing thread. So these were very fine threads indeed!) I painted the warp in different colors and dyed different colors of weft so I could try many combinations. Eventually I settled on two colorways: one in fiery colors, and one with a brightly colored pattern warp and solid black ground warp/weft.
I wove many samples and eventually decided to use two structures: the turned summer and winter I started with, and a mix of double weave and twill (the black phoenixes). I felt that the black phoenixes on the smoky orange background conveyed the idea of “death” nicely, and the fiery-colored phoenixes conveyed the joy of life, but I was puzzling over how to combine them.
What finally saved me was a show deadline! I had planned to enter the Pikes Peak Weavers Guild show Woven Together: Firestorm, commemorating the 2012 Colorado wildfires (some of the worst ever), and was rapidly running out of time to put together an entry. I wanted something to be spot-on for the theme, and eventually it dawned on me that their show was about fire – so why not use flames? I hastily put together a template, and after much rearranging, had the composition I wanted. The two flames on the fiery background show the cycle of death and rebirth – from living phoenixes to dead and desolate phoenixes to vibrant life again.
Many thanks to Thrasher’s Framing for mounting the piece and to Joe Decker for the excellent photography!


")


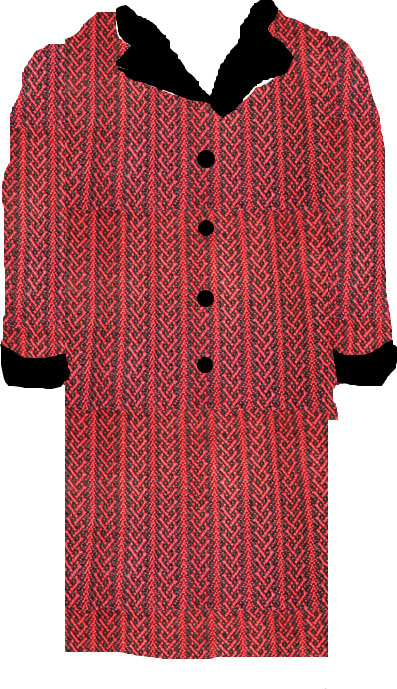
 complete dress")


