Tien Chiu

  • Home
  • About
    • Honors, Awards, and Publications
  • Online Teaching
  • Gallery
  • Essays
  • Book
  • Blog
  • Dye samples
You are here: Home / Archives for phoenix rising yardage

November 19, 2013 by Tien Chiu

To embellish or not to embellish…

…that is the question, isn’t it?

I’ve spent most of the last few days working up some embellishment samples. Here’s a photo of what I’ve done so far (click for the larger photo):

samples of embellishments on Phoenix Rising stenciled-warp sample
samples of embellishments on stenciled-warp pattern

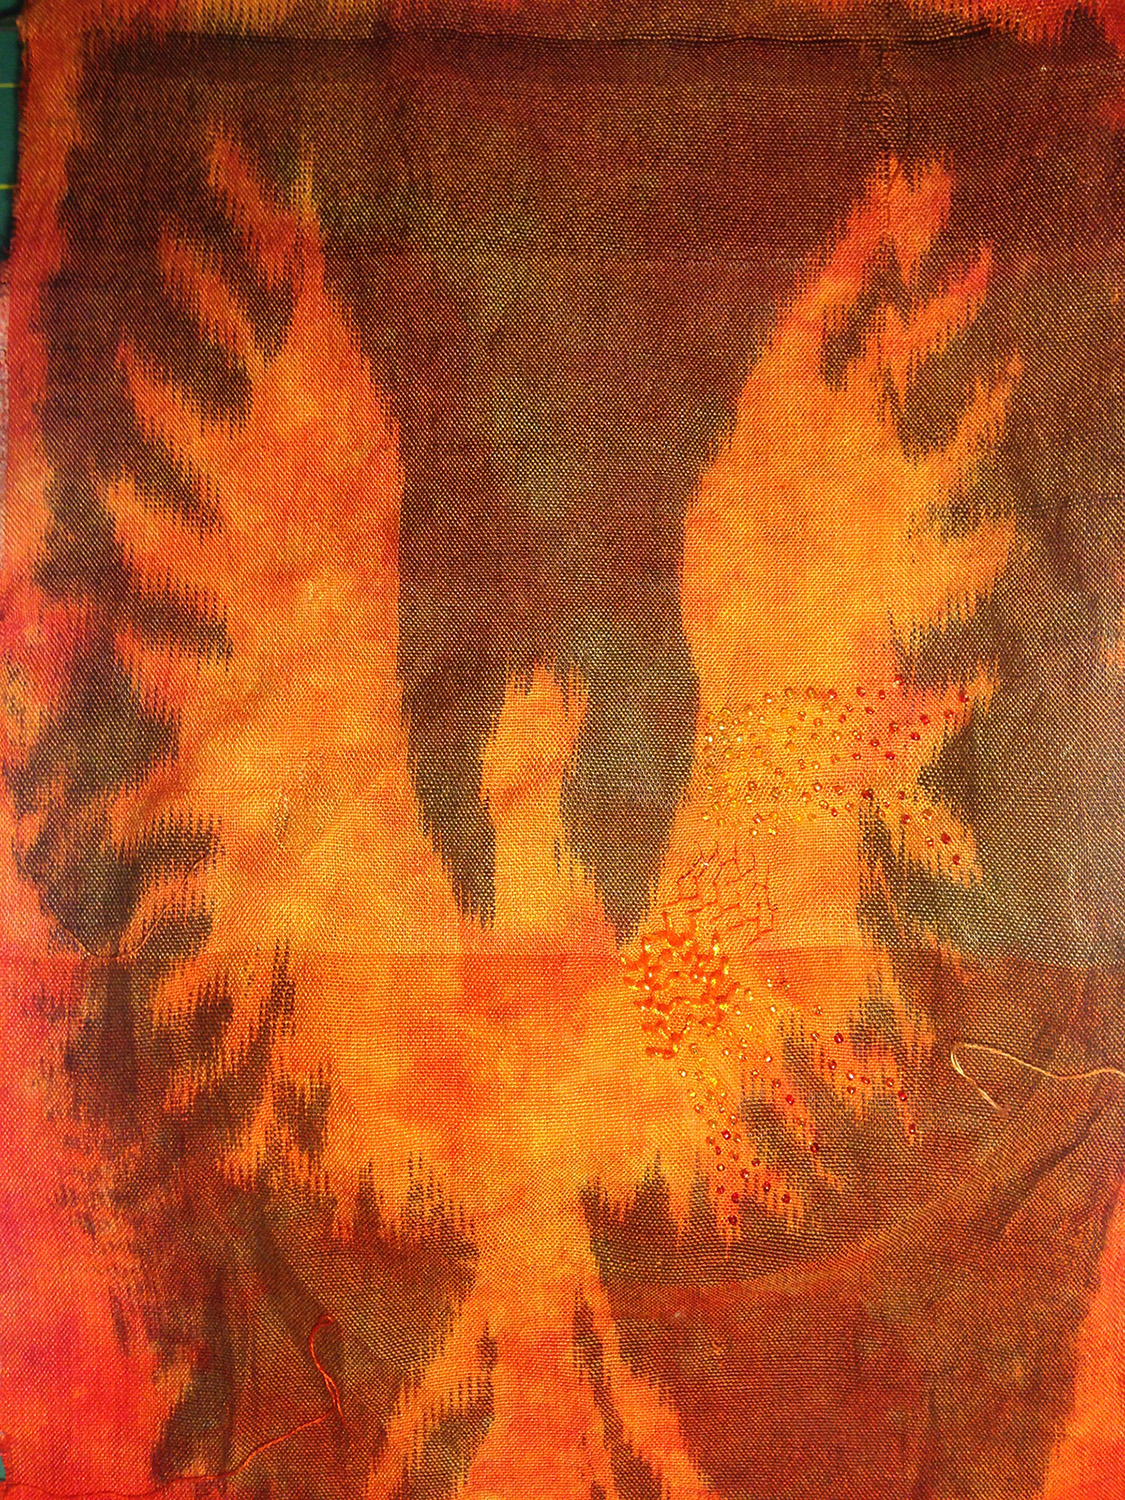
And here’s a closeup:

closeup of embellishment samples

The embroidery is feather stitch using three threads. The bottom one is a sheer knitted tube (orange) with a gold cord running through it. The middle one is a silk embroidery floss, and the top one is a metallic blending filament.

The beading is mostly experiments with size 14 seed beads – varying the color along the length of the “feathers” in the wing. I also experimented with density a bit in the top sample – denser beads near the front edge of the wing, becoming gradually more spaced as they flutter out to the ends of the feathers.

The photo unfortunately really doesn’t do the sample justice. The embellishments are much nicer than they appear in the photo. I’ve been showing them to people to collect opinions – most people like the thicker thread combined with the beads on the feathers, as in the bottom of the sample. The thicker thread gives some three-dimensionality and texture, the beads add glitter. Using both gives definition to the different parts of the wing, and provides variety in texture. Compared with the beads-only version near the top, you can see that it’s more interesting.

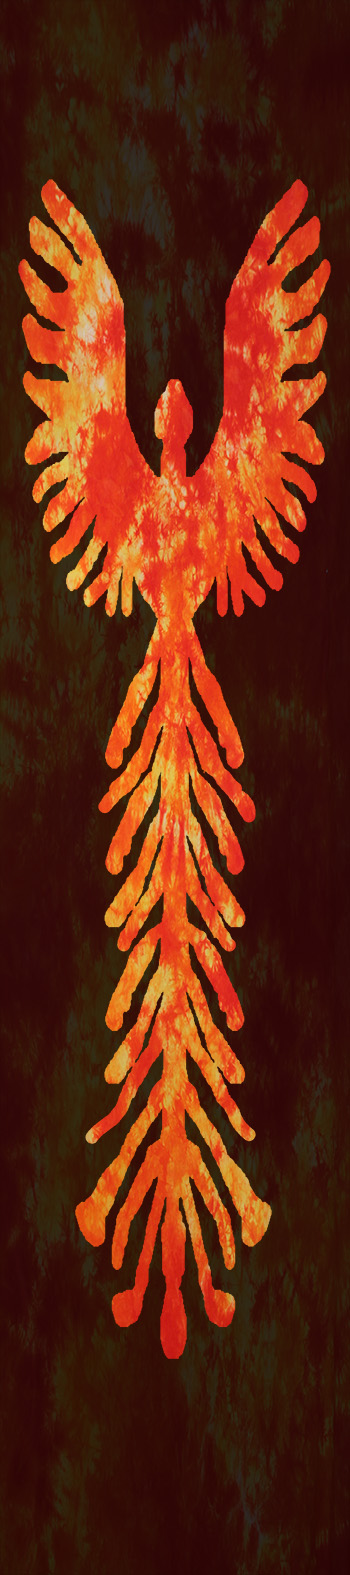
But do the embellishments actually add anything to the design? They are pretty, but what is the central focus of the design? What is the piece about?

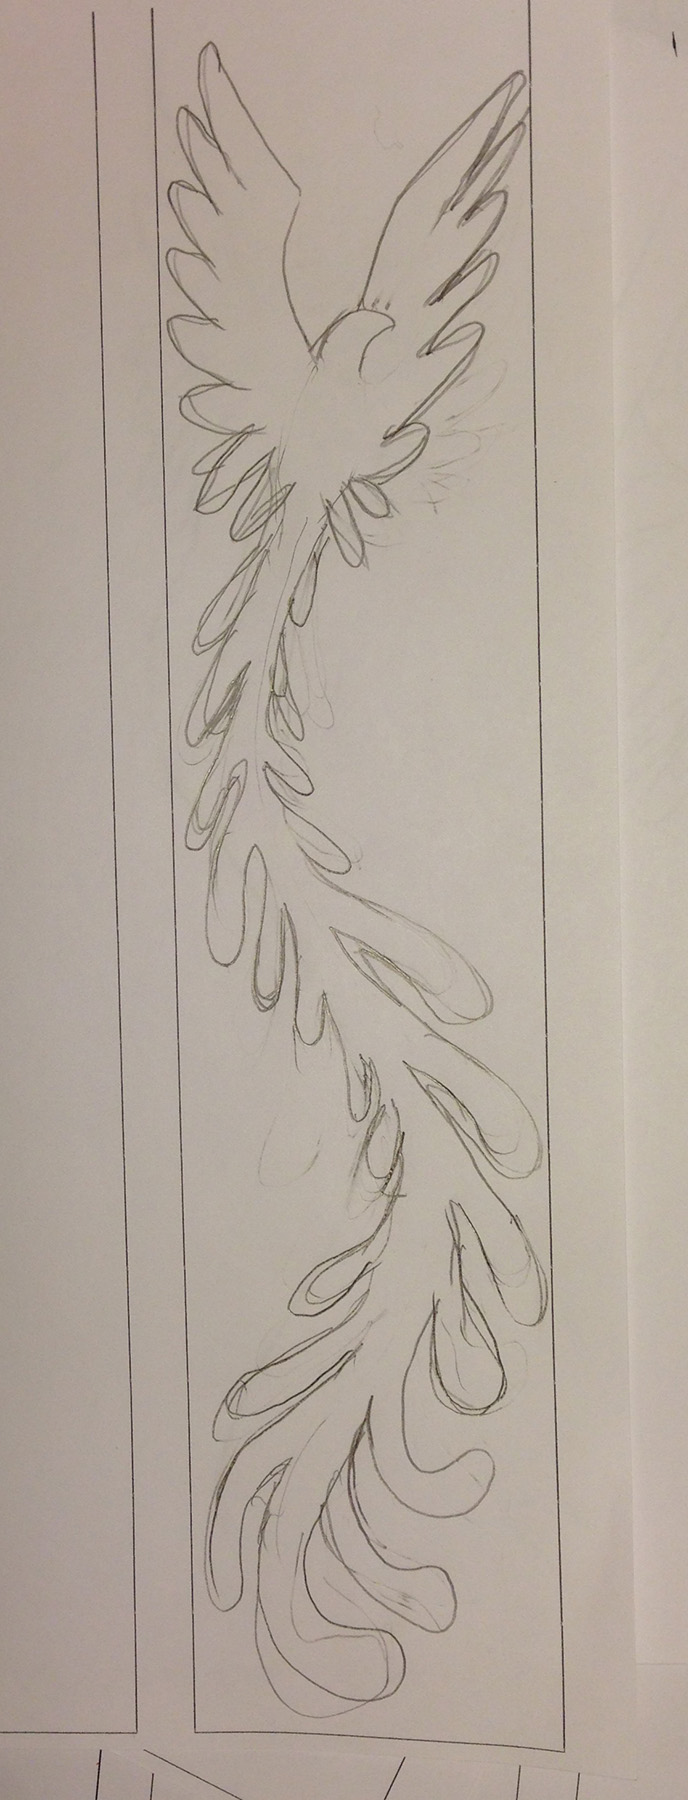
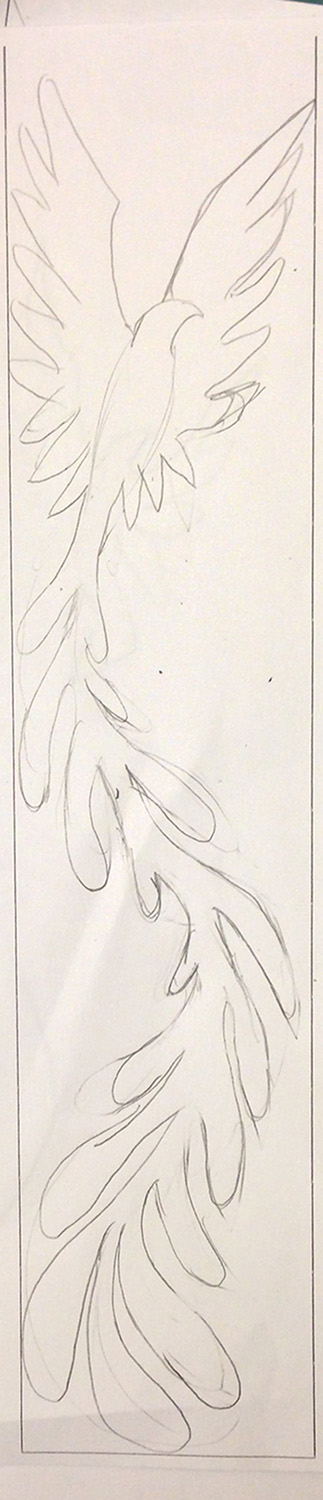
I’m still on the fence about whether to use embellishments at all. At the scale of the sample, it almost seems like gilding the lily. The power of the piece is in the evocative phoenix and the feathering around the edges, reminiscent of flame.  Do the embellishments add to this? I’m not sure. I talked about this at length with my critique partner last night – he felt that the piece didn’t really need embellishment, and I am leaning that way as well. But since the actual piece will be at a different scale, I’ll need to re-evaluate once it’s woven and dyed.

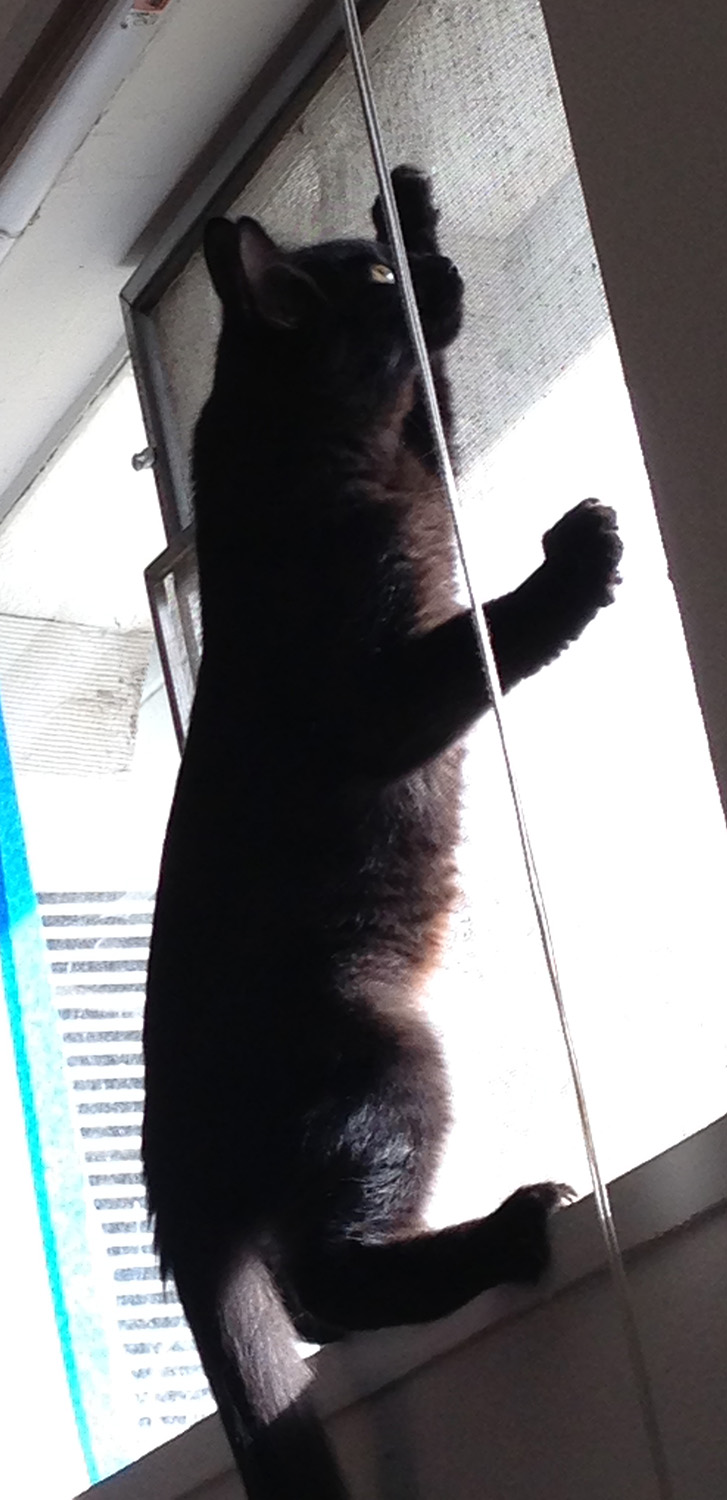
Meanwhile, I was watching Ana Lisa Hedstrom’s DVD “Stitch Resist Reconsidered” over the weekend, but I only got eight minutes into it before the rest of the theater-goers arrived:

Cat TV?
Cat TV!

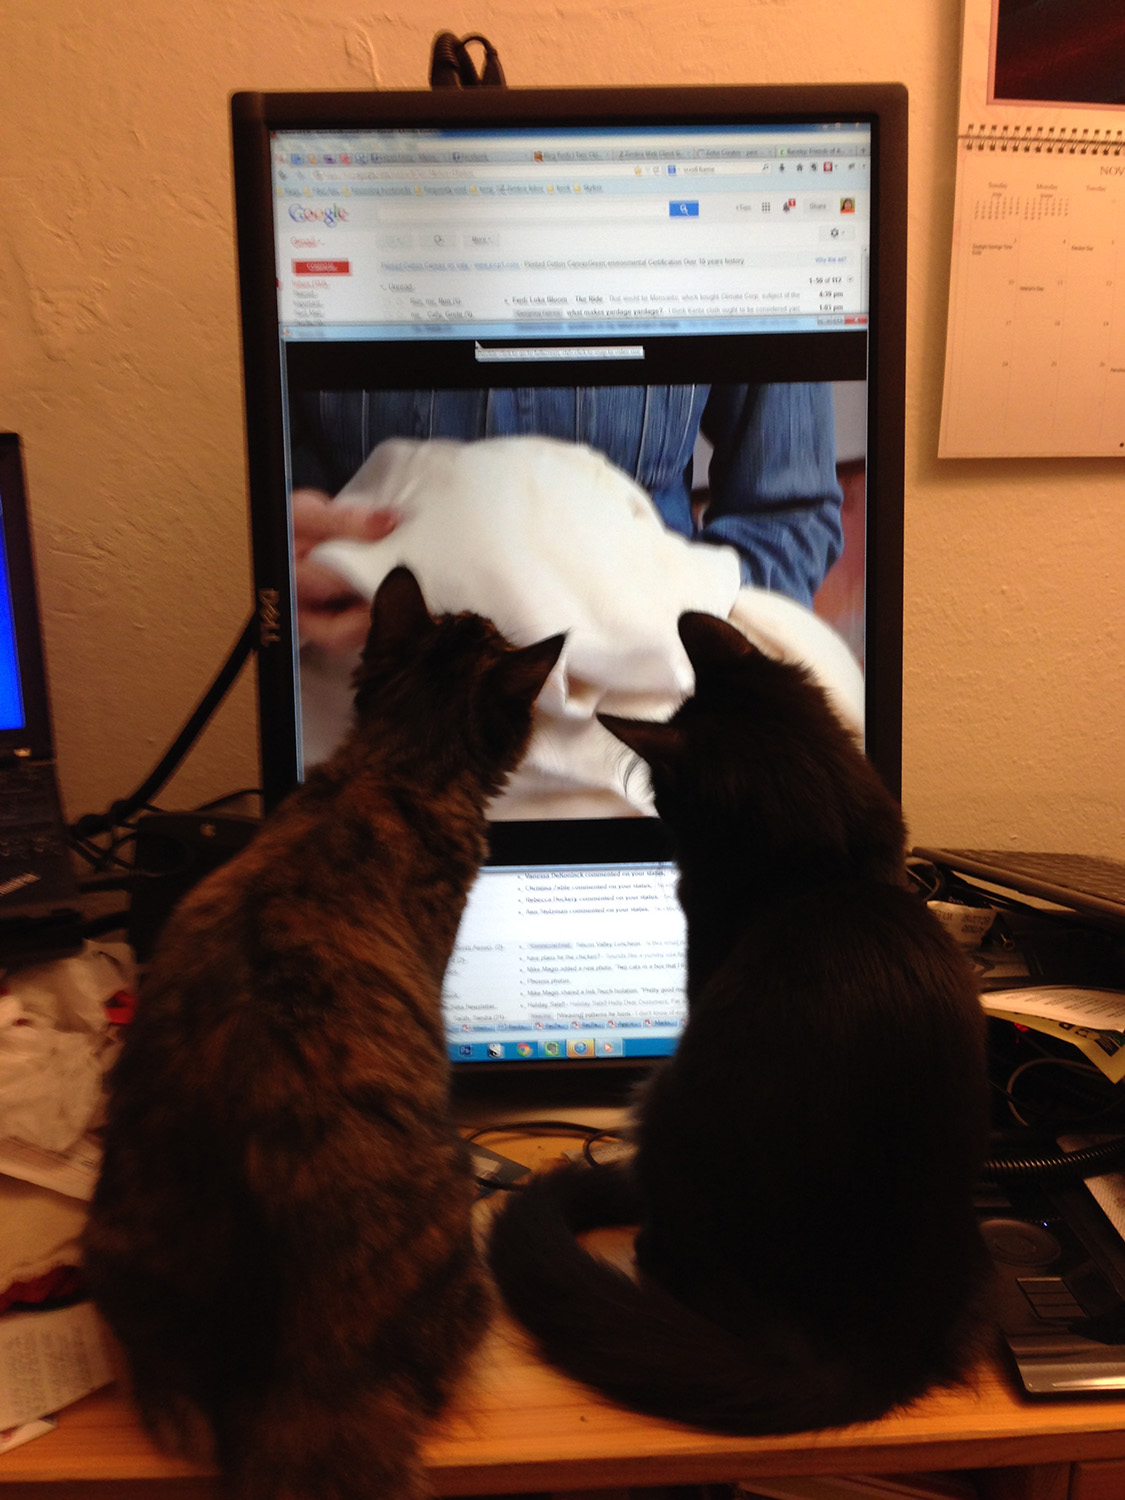
Shouting “Down in front!”, had no visible effect, so I retired to work on other things.

Filed Under: All blog posts, textiles, dyeing, surface design, weaving Tagged With: phoenix rising, phoenix rising yardage

November 15, 2013 by Tien Chiu

Revisiting the phoenix design

Up until now, I’ve been using a symmetric design for the phoenix, a holdover from the original weaving draft. That had to be symmetric because I had only 24 shafts to play with, and needed the symmetry to make a wider design on a point threading.

But since I’ve shifted to using surface design, symmetry is no longer necessary – and too much symmetry comes across as boring and rigid. So I decided to design an asymmetrical phoenix. Not easy since my drawing skills are rudimentary at best. (Not to mention my 3-D spatial visualization, which is awful.)

However, with patience and pigheaded determination, many things are possible. I started by sketching a few preliminary ideas:

first rough sketches for Phoenix Rising yardage

Because of the very long aspect ratio, I thought two birds might fill the space better than one. But after seeing them, I decided I wanted to stick with a single phoenix – the two-ness of the birds bothered me, because now the “story” in the photo was about two birds and their interactions, rather than the single phoenix.

So I decided to work with the single bird. I felt the tail was still a bit boring, so I tried a sketch with two curves in the tail instead of one:

second sketch for Phoenix Rising yardage

This looked much better, to me at least – it filled the space nicely, gave the impression of a flaming trail, and was more interesting than a single curve.

However, some things still needed tweaking. The tail didn’t feel realistic – parts of it were flat, parts three-dimensional. I wasn’t drawing things with enough three-dimensional awareness. And the body felt too short in comparison to the tail. Back to the drawing board for some minor changes:

third sketch for Phoenix Rising yardage

This one I liked, so I put it into Photoshop to see how it would work in the simulated version:

simulated phoenix rising yardage
simulated “Phoenix Rising” yardage

This works!! I like it a lot, and will start carving some stencils today.

Compare it with the version I started with:

extended phoenix for yardageWhile both have their pros and cons, the new version is much more dynamic and interesting (I think) than the old one.

Not bad for a day’s work!

Meanwhile, feline paws have not been idle. Fritz, for example, has discovered the joy of window screens:

Fritz, climbing the window screen

Tigress, on the other hand, seems to be mellowing out from her tear-around-the-house rambunctiousness. Here she is on the bed, showing off her regal beauty.

Tigress, relaxing
Tigress, relaxing


Filed Under: All blog posts, textiles, dyeing, surface design, weaving Tagged With: phoenix rising, phoenix rising yardage

November 14, 2013 by Tien Chiu

Phoenix yardage

I’m now intrigued by the idea of entering the Convergence yardage exhibit, so I spent some time this morning mocking up phoenix yardage in Photoshop. While highly preliminary, the experiment does suggest that working with my anticipated aspect ratio (23″ wide x 3 yards long) will work:

phoenix, extended for yardage

Obviously, this needs tweaking: the tail is repetitive and boring, for one thing. (Not too surprising, since I created it by cutting and pasting part of the original tail!) But reworking that should be relatively easy.

I’ve also started experimenting with embroidering the surface of my sample, adding ribbon, embroidery floss, seed beads, and other embellishments to enhance the design. I don’t want to go whole hog into it yet, as the embellishment requirements will change as the image gets larger. But the results so far are promising (sorry, no pictures yet!).

From here? My first step will be to play with, rework, etc. the phoenix design until I’m satisfied with the overall pattern. Then I will create a smaller stencil so I can test the design at scale, and work out some technical issues, before committing to a larger version of the piece. (I will probably also test out embellishment designs on the smaller piece.) After that I will start weaving the final version.

That is still quite a bit to complete by the February 5 deadline, but feels much more do-able.

And here are Fritz and Tigress, gradually pushing me out of my chair:

Fritz and Tigress helping me work at the computer
Fritz and Tigress encouraging me to take a break (and give up the chair to them!)

Apparently I make a good kitten backrest. Who knew?

Filed Under: All blog posts, textiles, dyeing, weaving Tagged With: phoenix rising, phoenix rising yardage

Subscribe to Blog via Email

Information resources

  • Dye samples
    • Procion MX fiber-reactive dye samples on cotton
    • How to "read" the dye sample sets
    • Dye sample strategy - the "Cube" method
  • How-Tos
    • Dyeing and surface design
    • Weaving
    • Designing handwoven cloth
    • Sewing

Blog posts

  • All blog posts
    • food
      • chocolate
    • musings
    • textiles
      • dyeing
      • knitting
      • sewing
      • surface design
      • weaving
    • writing

Archives

Photos from my travels

  • Dye samples
    • Procion MX fiber-reactive dye samples on cotton
    • How to "read" the dye sample sets
    • Dye sample strategy - the "Cube" method
  • Travels
    • Thailand
    • Cambodia
    • Vietnam
    • Laos
    • India
    • Ghana
    • China

Travel Blog

Entertaining miscellanies

© Copyright 2016 Tien Chiu · All Rights Reserved ·


Loading Comments...