The air is warm, the flowers are blooming…but nothing really says “spring” like a dump truck full of potting soil!
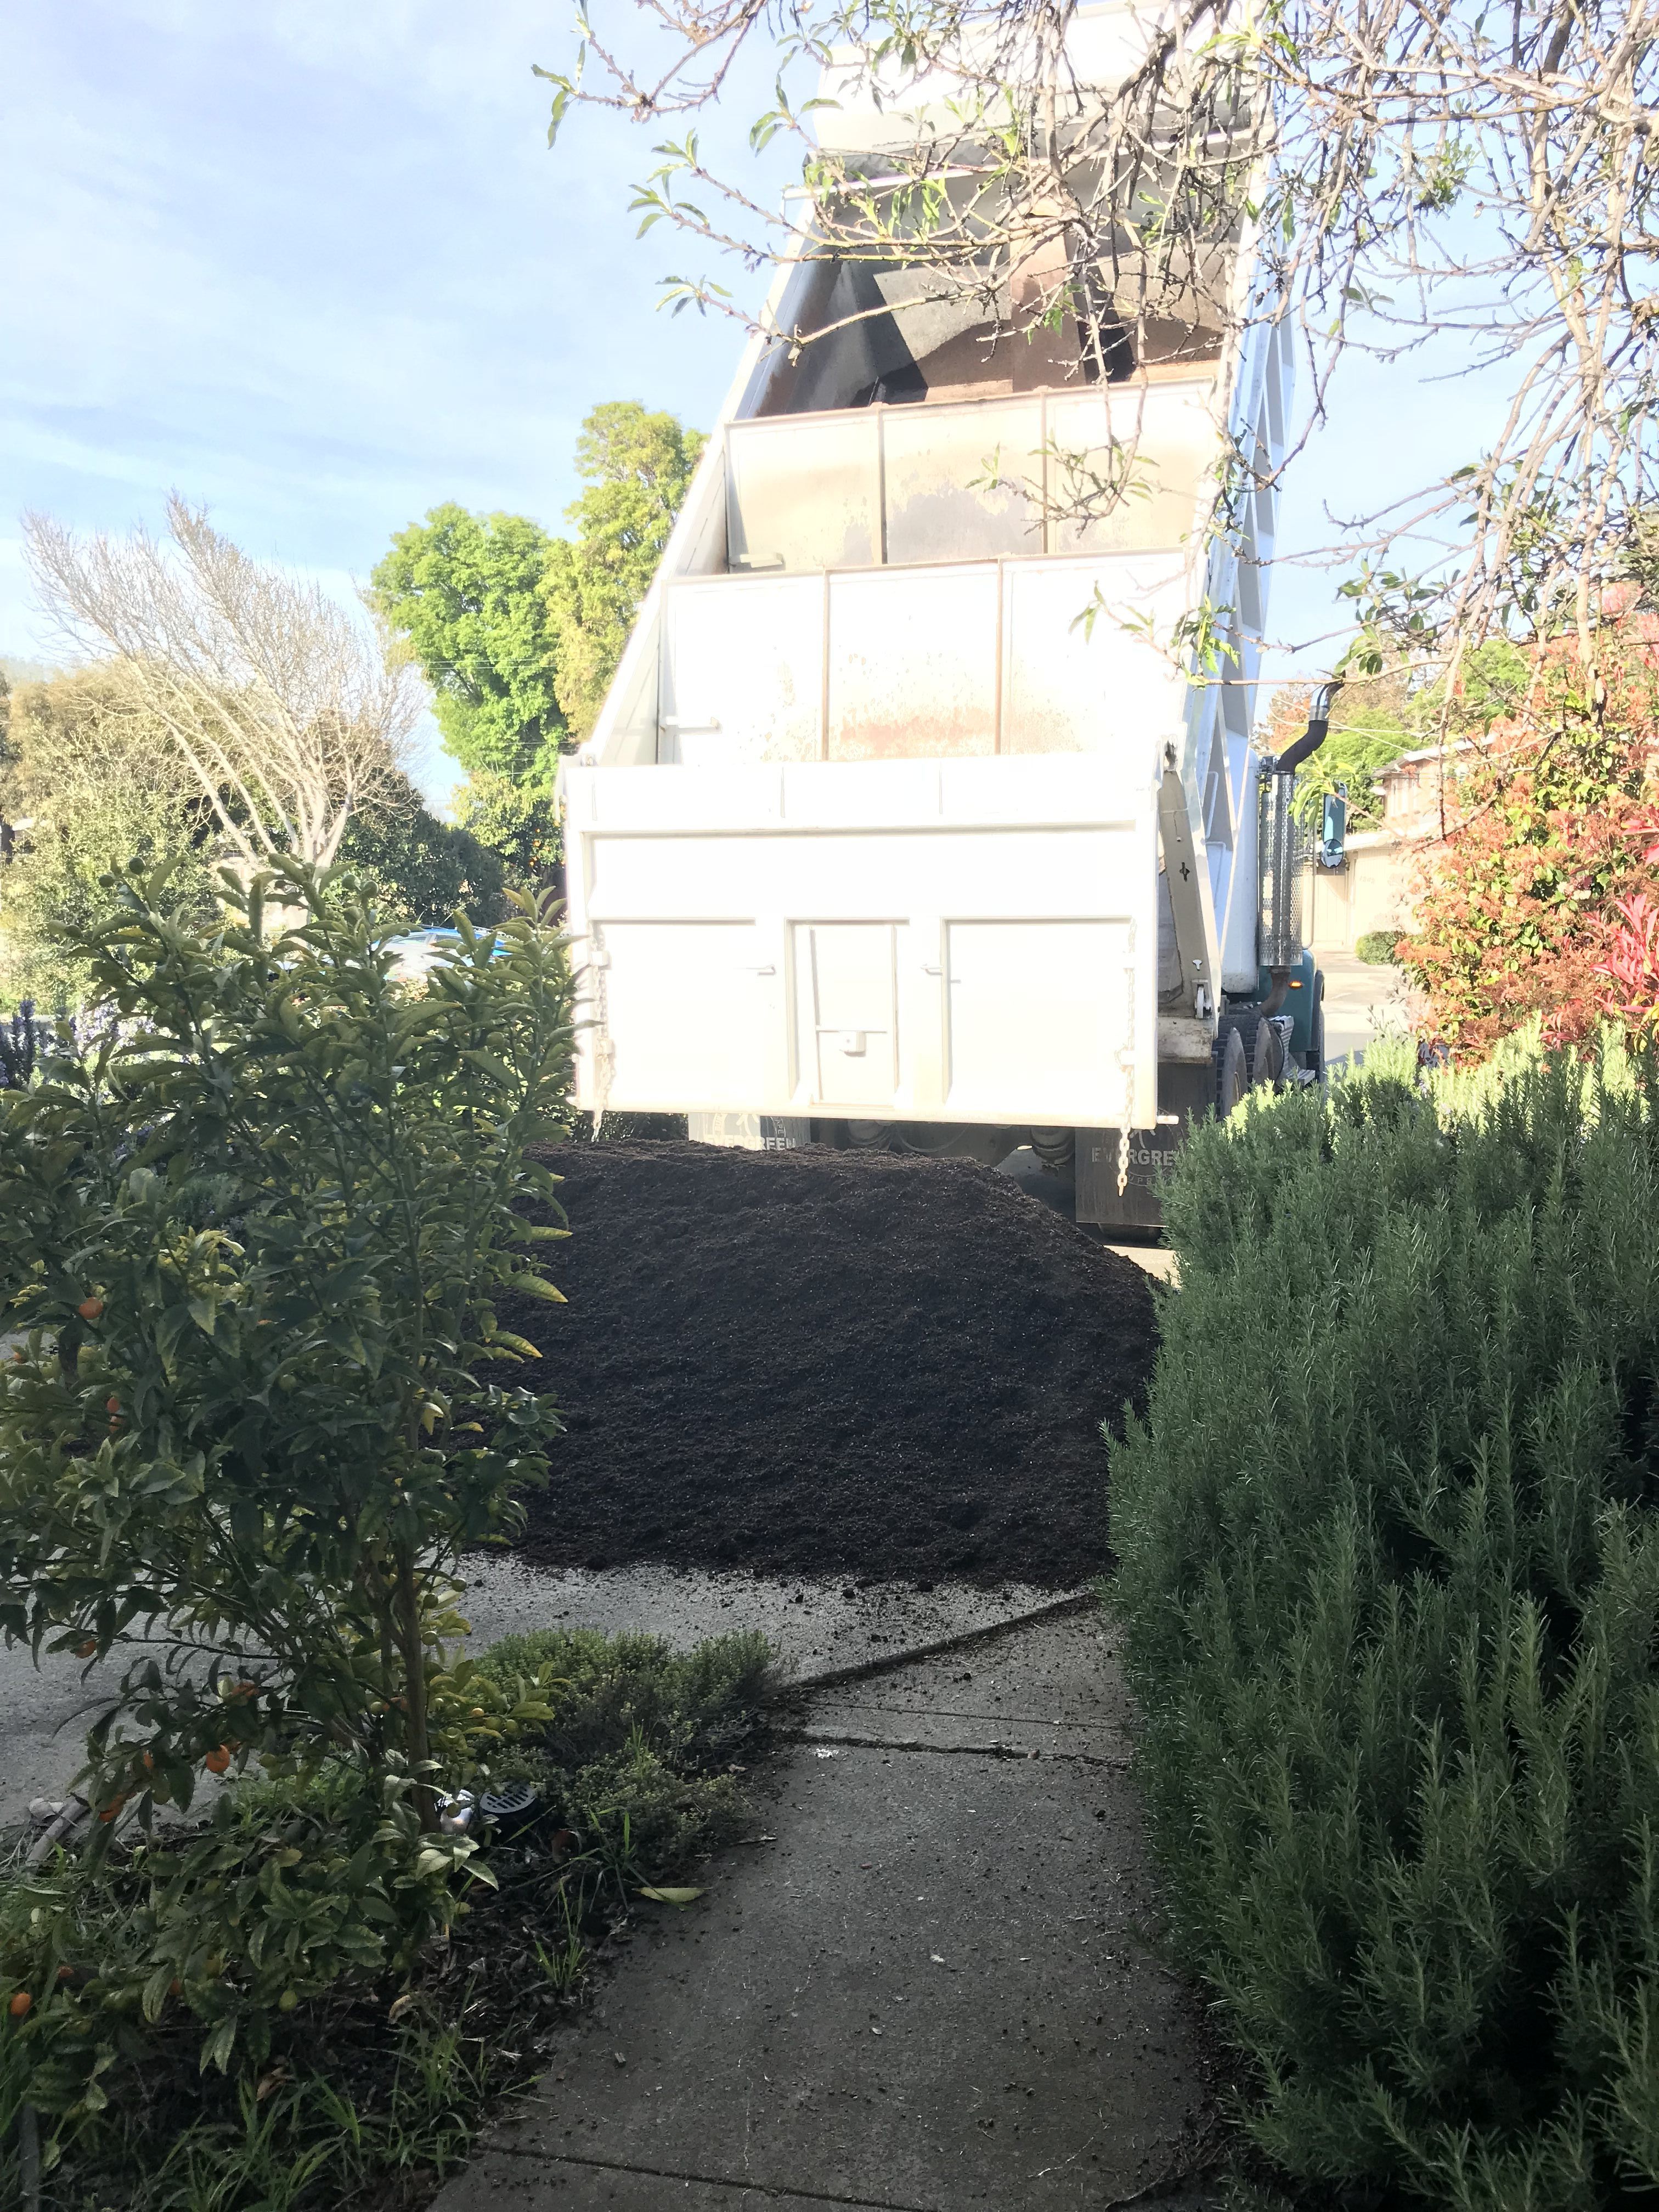
This was, by Tien standards, a very modest amount of soil – three cubic yards, delivered in a cute little dump truck. (The ten cubic yards of compost that I ordered the last time I had a tomato farm made a much bigger pile, and arrived in a big-daddy dump truck.)
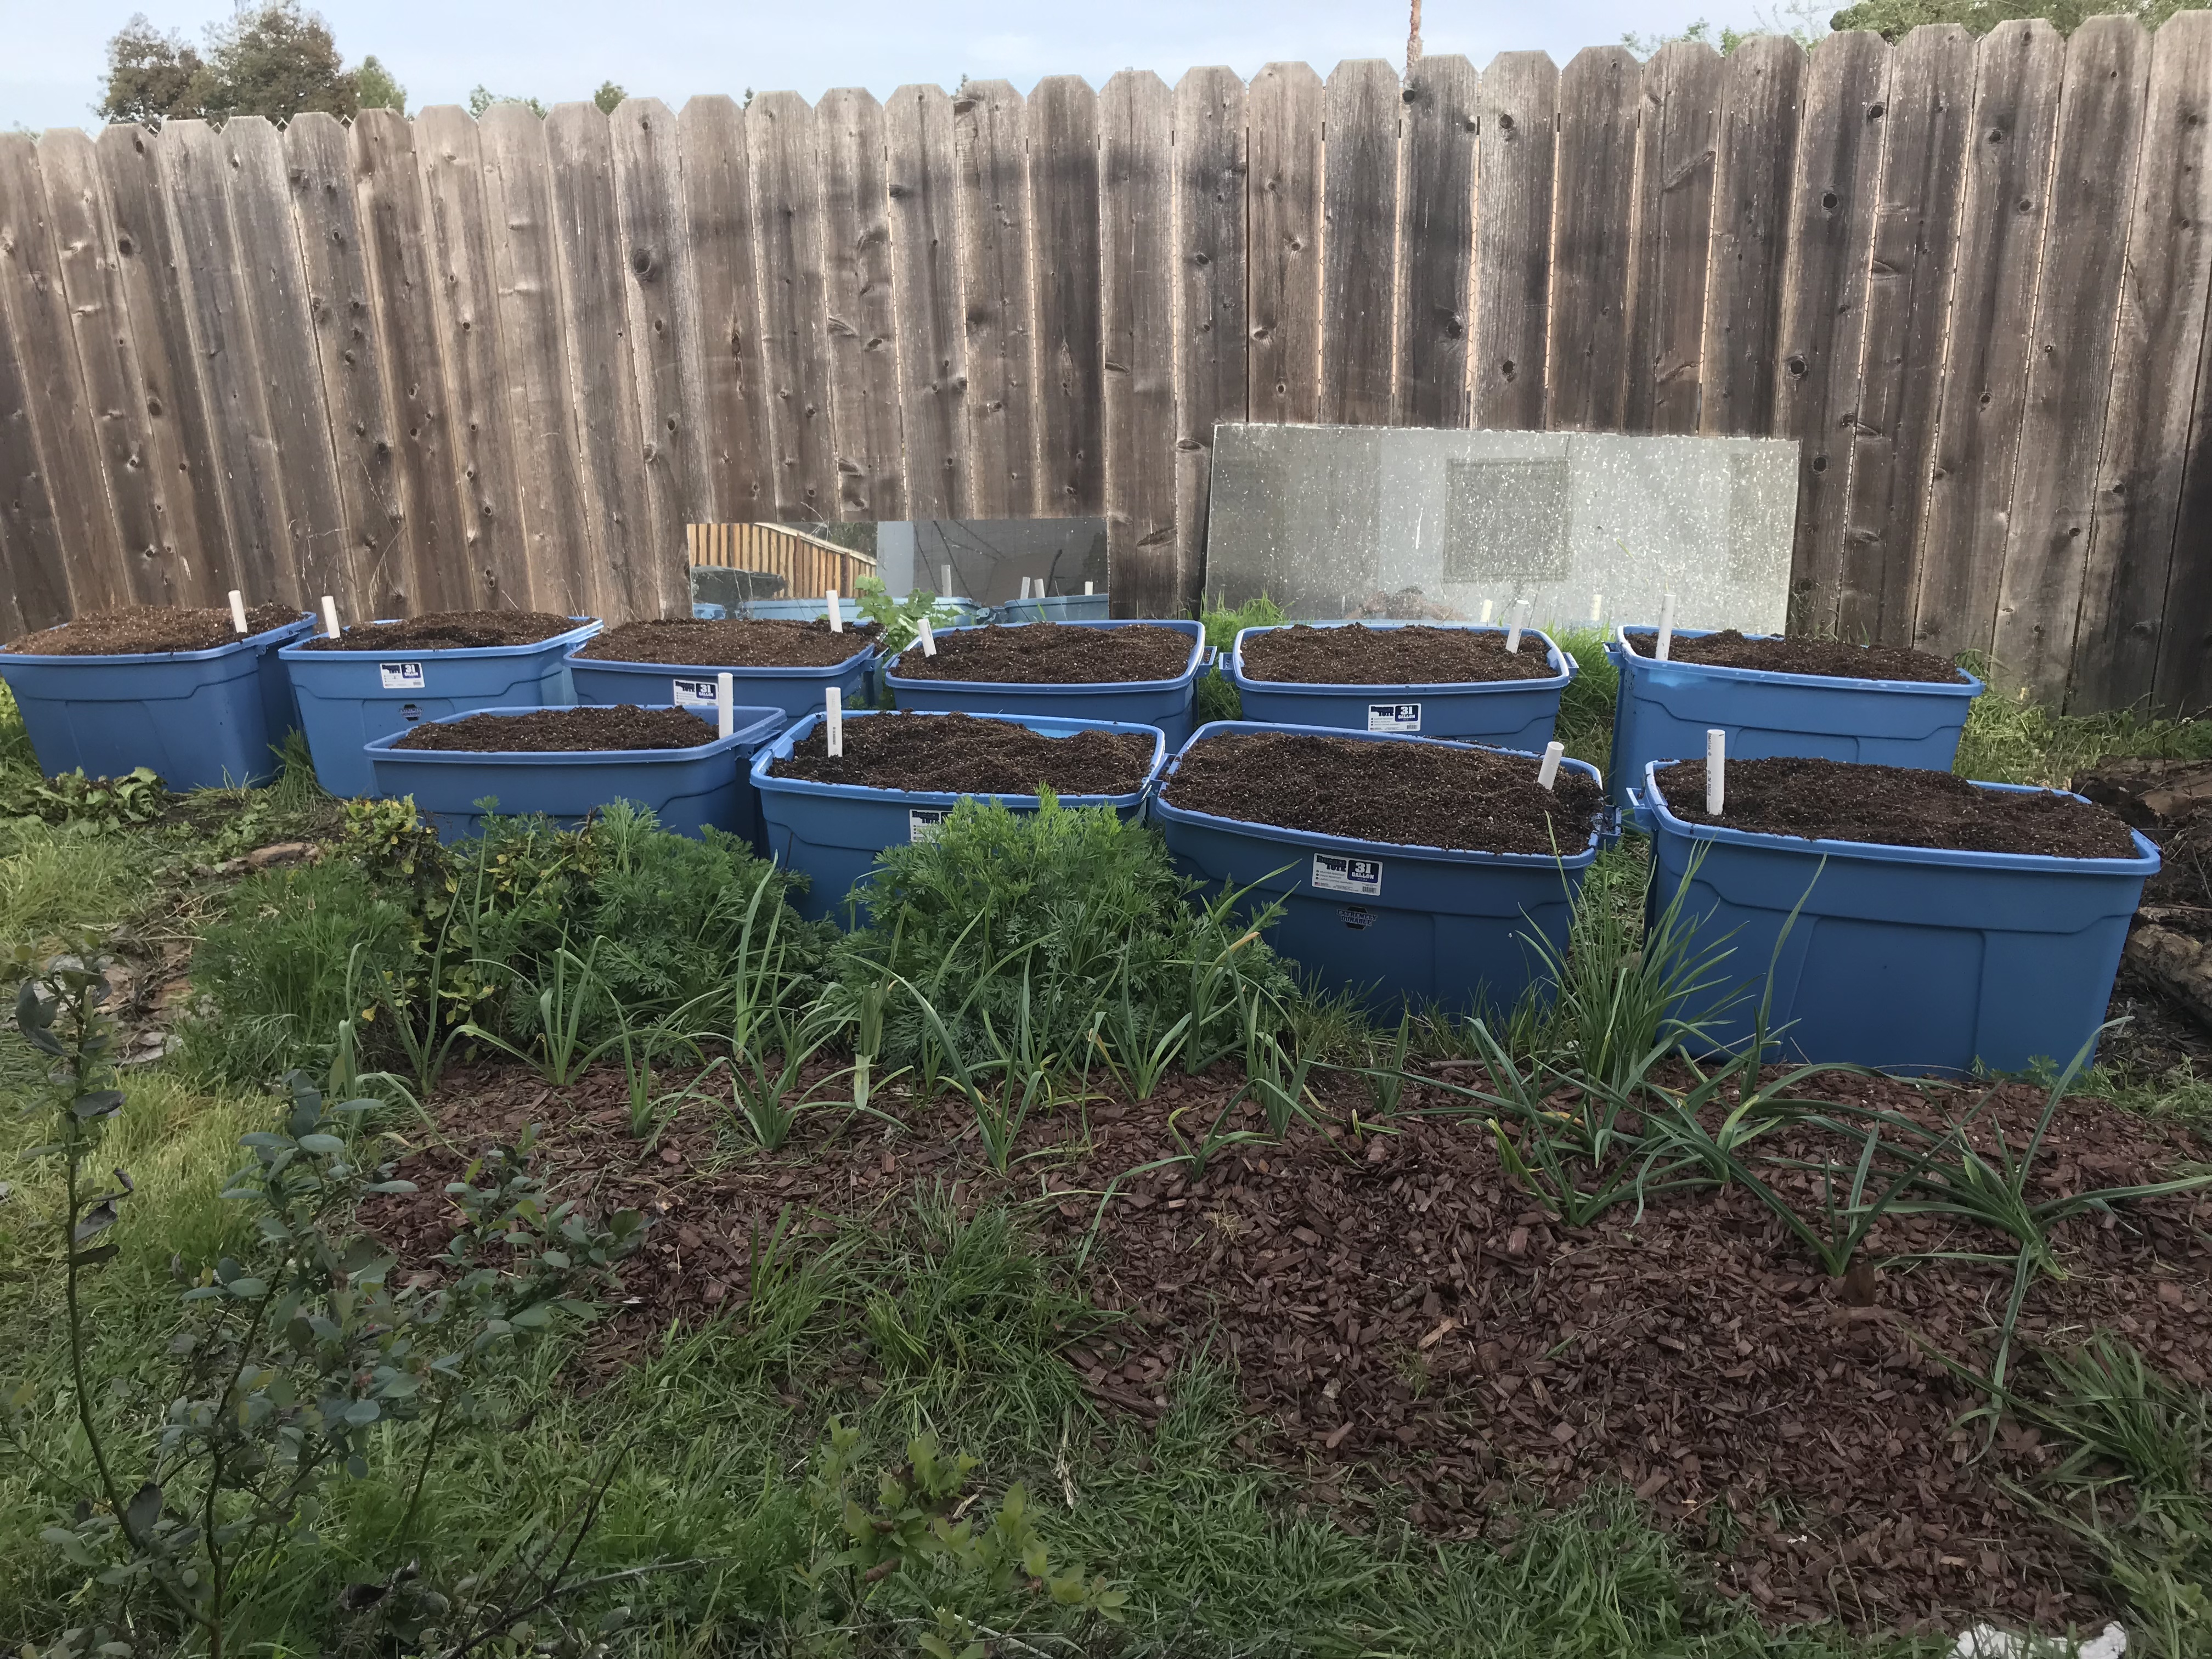
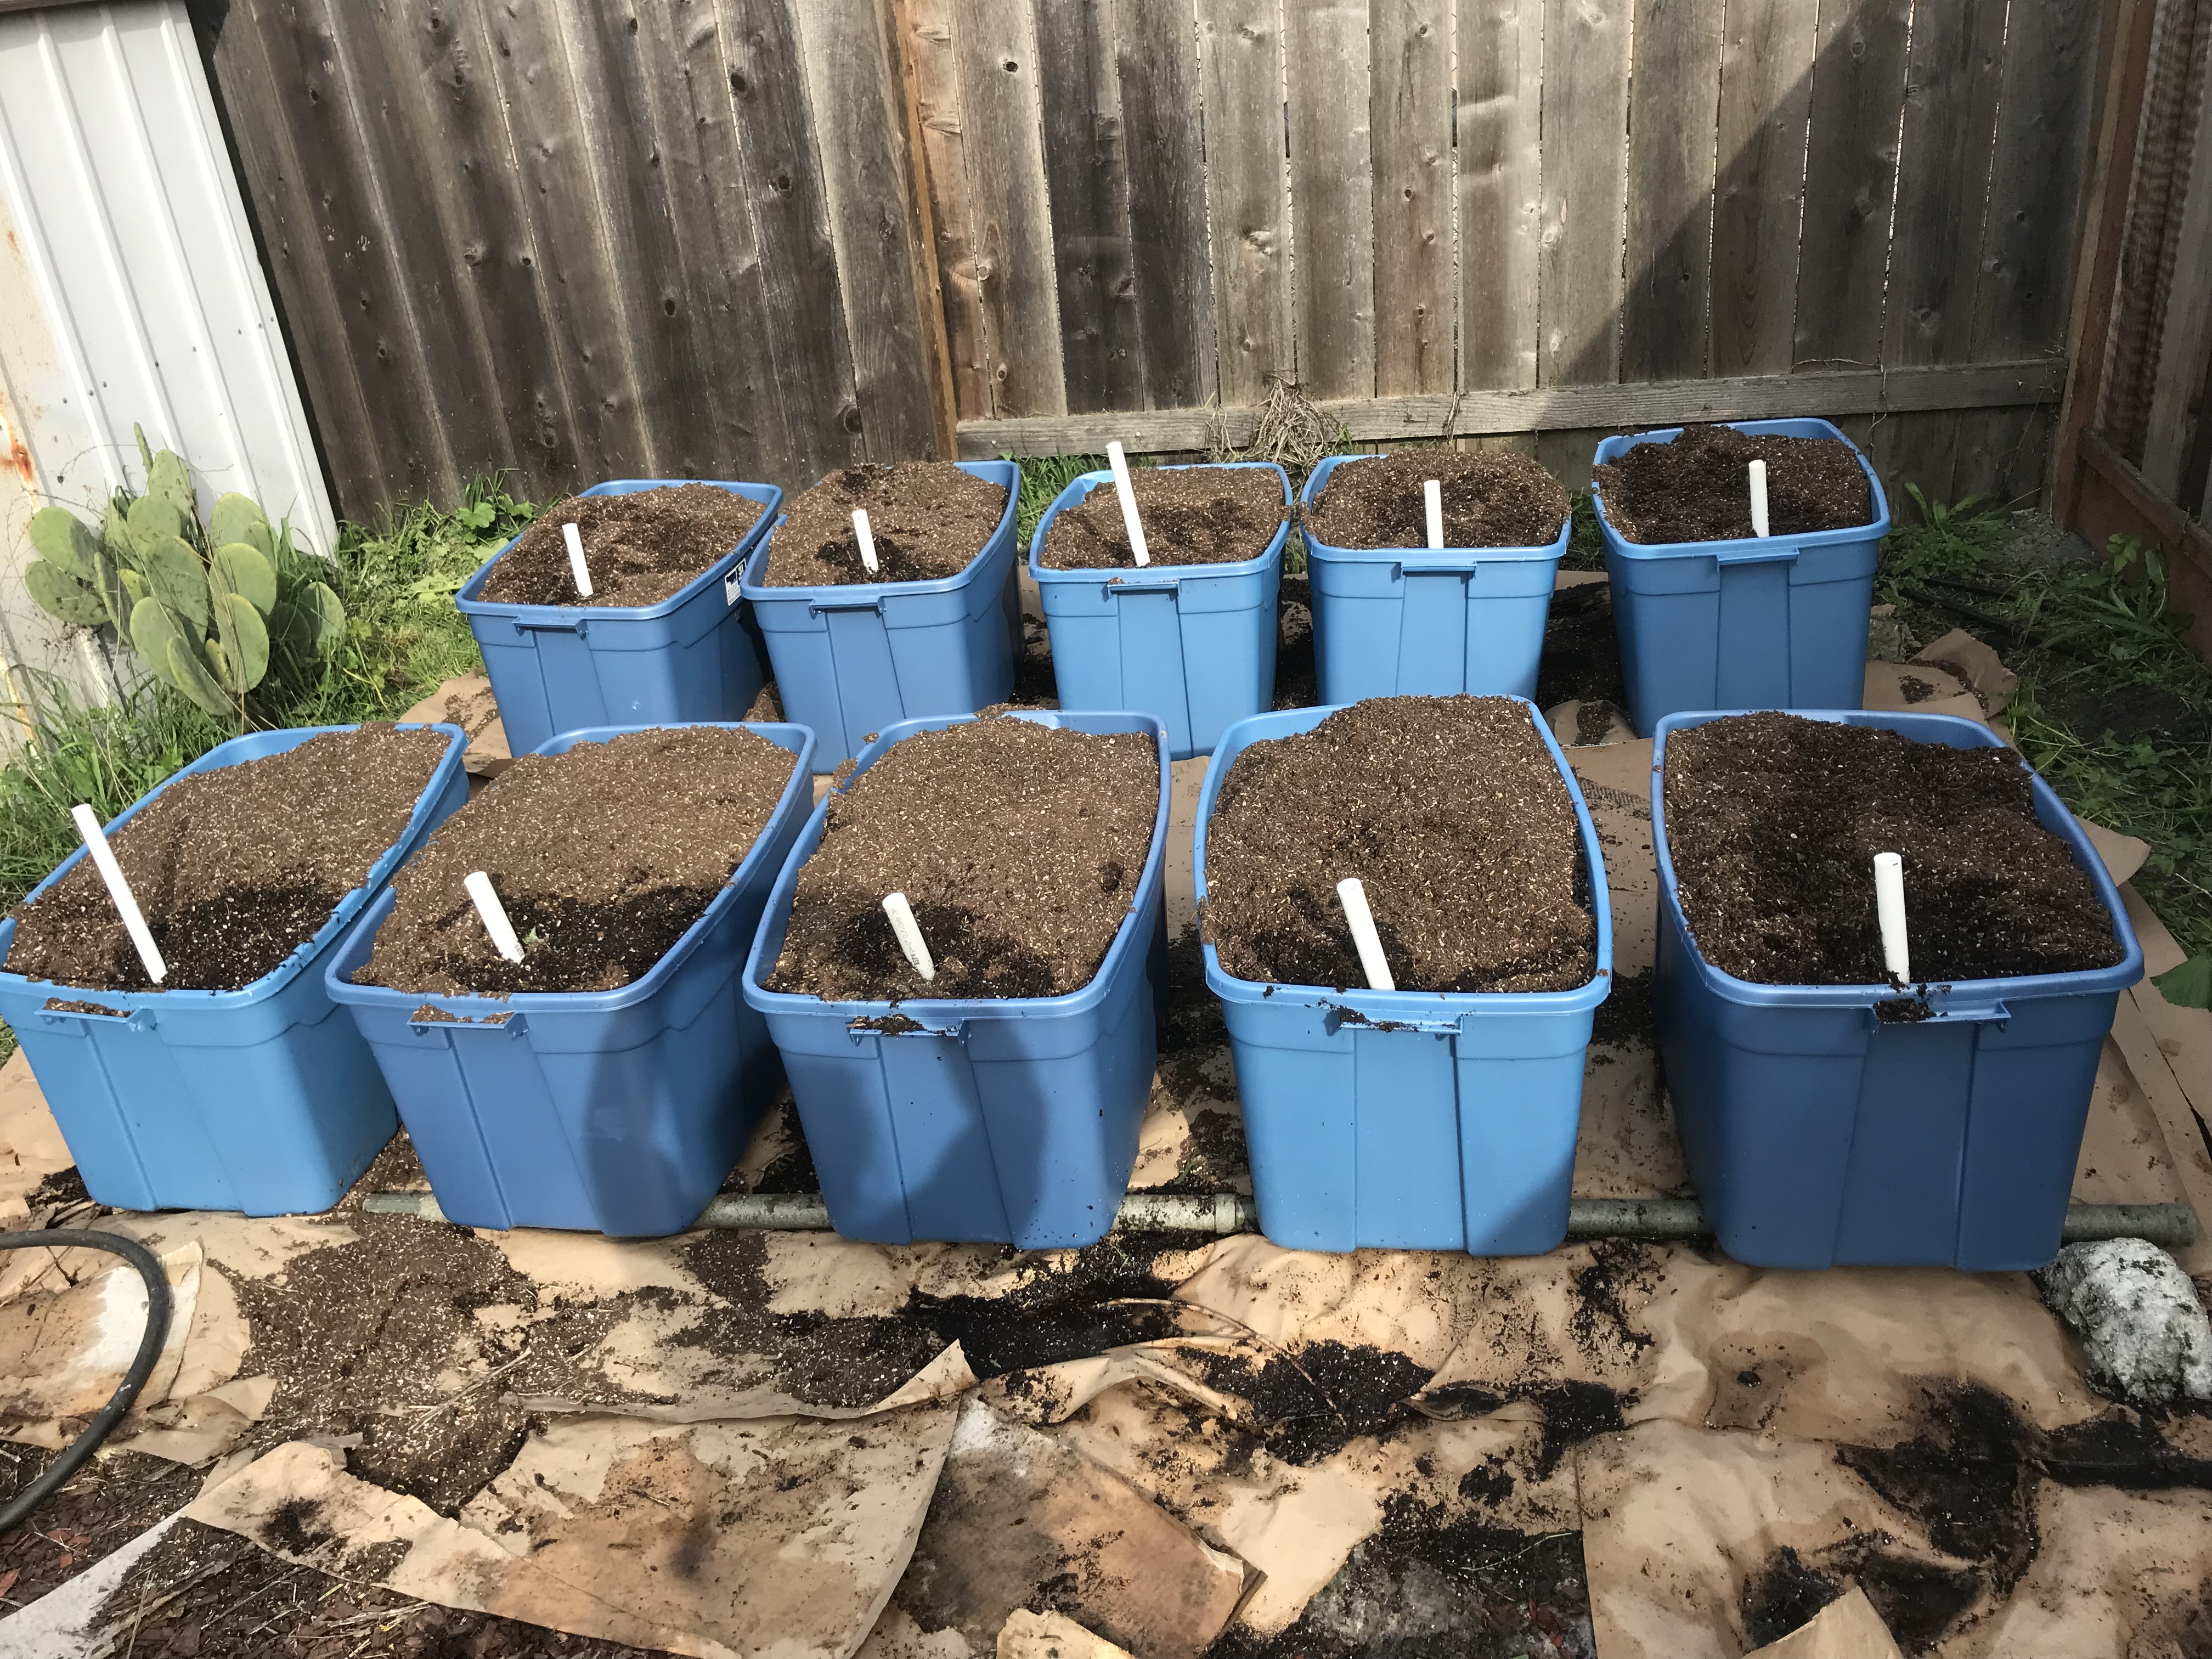
Nonetheless, this tiny pile of potting soil was still enough to fill twenty 31-gallon self-watering totes:
And 21 self-watering 5-gallon pots:
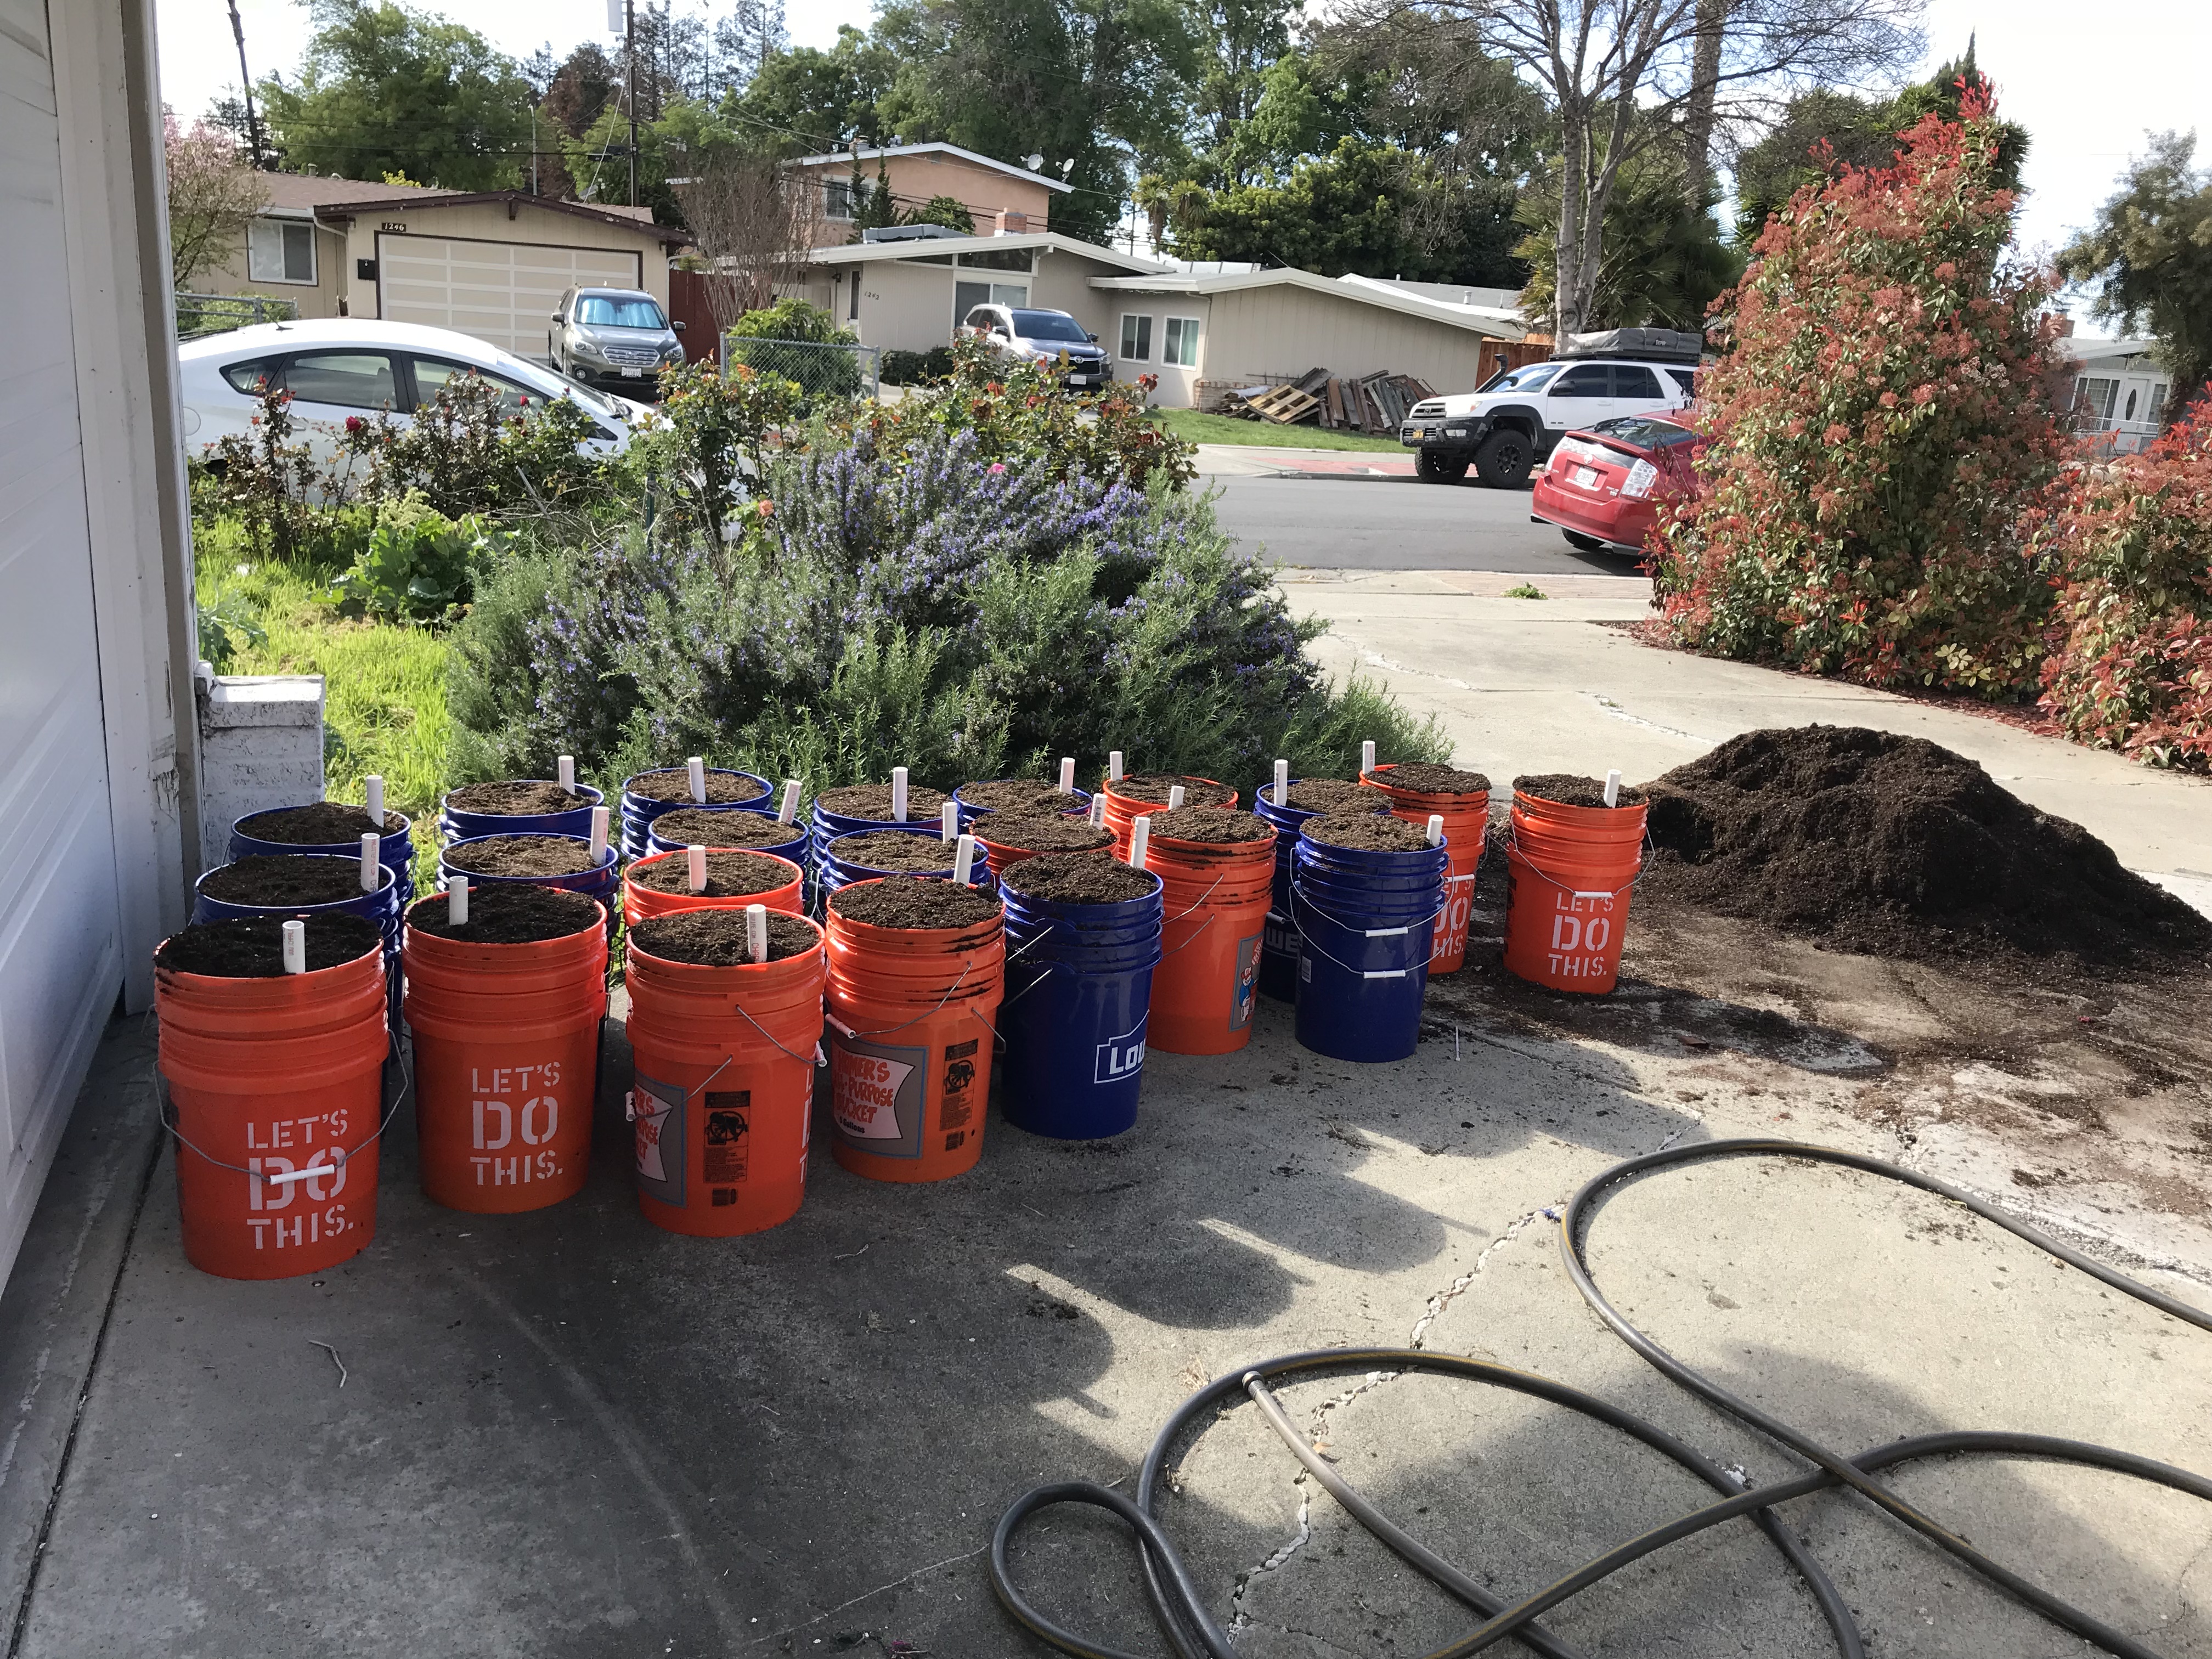
You’ll notice that there is still some potting soil left! Yay! I’m going to make two more of the big blue totes and fill it with the leftover soil. And plant more tomatoes in it, of course. (Because anything worth doing is worth…oh, you know the drill. 😉 )
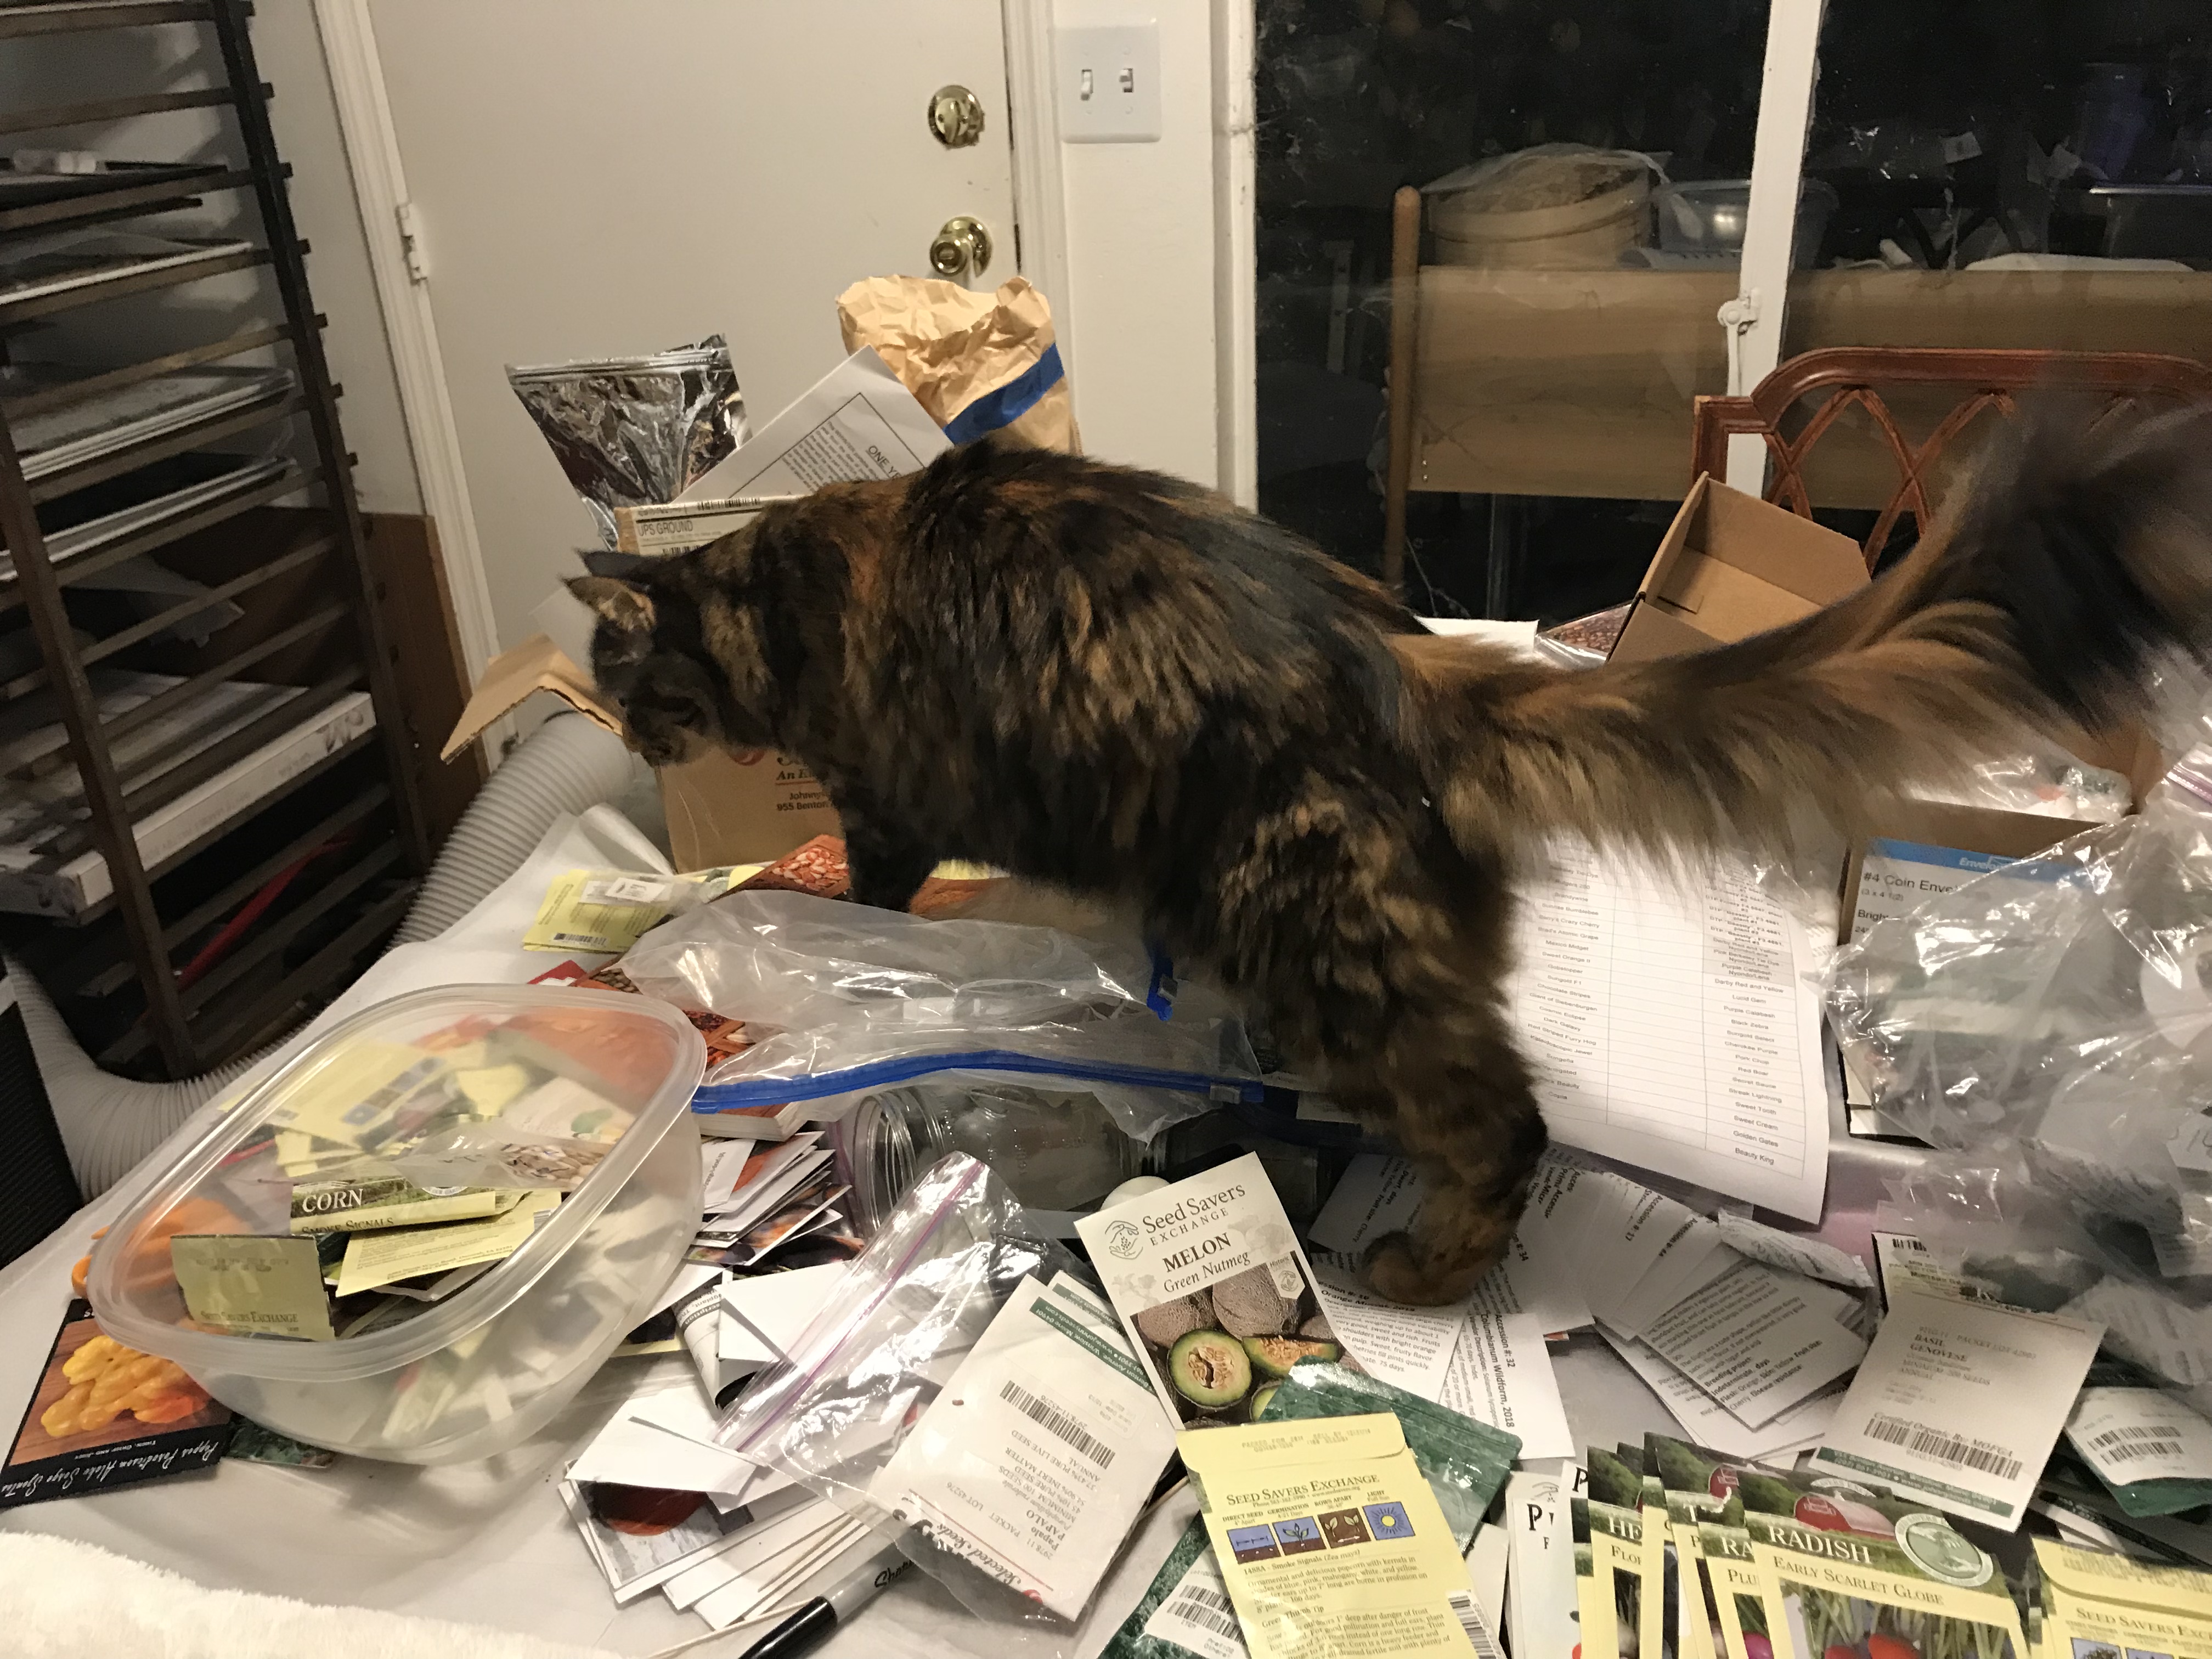
I sorted out my seeds last week – not just the tomato seeds but all the seeds we’ve bought over the last six years. It was a monumental task to get everything straight – so of course I needed help:
After sorting through all the seeds, I planted all the tomato seeds into soil blocks on Tuesday (the 20th):

A few words of explanation:
First, soil blocks are great for growing seedlings because they’re inexpensive and the roots come out healthier than they do in small pots. Roots trapped in small plastic pots rapidly start going around and around the edges of the pot, creating a “root-bound” plant. However, in soil blocks, the roots reach the boundaries and stop naturally because they are exposed to air. Nurseries don’t use them because the soil blocks are too delicate to manage commercially, but I like them better. To make soil blocks, you take your seed starting mix, wet it down thoroughly, and (using your soil block mold) stamp out a bunch of blocks into your seedling tray.
Second, you may have noticed the unusual names on the labels in the foreground. These are the seeds that I’m growing for the Dwarf Tomato Breeding Project. It’s an intriguing project to breed tomato varieties that are well-suited for small-space gardeners. Most tomatoes have one of two growth habits. Indeterminate tomatoes never stop growing, and ripen their fruit gradually over the course of the summer. They’re not well-suited to container growing because they’re huge.
Determinate tomatoes, on the other hand, stop growing partway through the season, and ripen their fruit all at once. Because their size is self-limiting, they’re often recommended for container gardening. Unfortunately, determinate tomatoes don’t generally taste as good as indeterminate tomatoes. That’s because indeterminate tomatoes have a ton of leaves and a few fruit ripening at any given time, while determinate tomatoes have less leaf surface area and ripen all their fruit at once. Since foliage is where tomato plants get the energy to make sugar and flavor compounds, a lower ratio of foliage to fruit typically produces tomatoes that are not as sweet or flavorful.
From the perspective of the home gardener, the other disadvantage of determinate tomatoes is that you get your entire tomato harvest at once. Determinate tomatoes were mostly developed for industrial tomato farmers to make harvesting more efficient. Commercially grown canning tomatoes are harvested by spraying herbicide to kill the plants once the tomatoes are starting to ripen, then coming back a week or so later with a mechanical harvester that strips the partially-ripe tomatoes off the dried-out vines and takes them off to the factory. Obviously this works much more efficiently if the entire crop ripens at once.
However, most home gardeners would rather have a few tomatoes at a time over a long growing season than a two-week avalanche, then nothing. So determinate tomatoes aren’t great for container gardeners either.
And that’s where dwarf tomatoes come in. Dwarf tomatoes are indeterminate tomatoes with a gene that makes them short. So they are container sized, but they produce their fruits over a long season. They also have a higher ratio of foliage to fruit, so the tomatoes taste better.
However, there weren’t many dwarf varieties ten years ago. So Craig LeHoullier and Patricia Nunske Small started the Dwarf Tomato Breeding Project, enlisting tomato growers from around the world to help develop new varieties. This help basically consists of growing out the children of various crosses, reporting on their growth habits and fruit flavor, appearance, etc., and sending back seeds. This sounded like fun to me! so I signed up and will be growing three plants each of three breeding lines, to see what happens.
If you are looking for container tomatoes, there are already 70 varieties available through the Dwarf Tomato Breeding Project – a list of vendors selling seeds is here.

What is a “self-watering tote”? Can you explain how to make one? Many Thanks.
Hi Kate,
It’s a container with a reservoir of water in the bottom and some kind of wick to bring up water from the reservoir into the soil.
I actually talked a lot more about it in the immediately previous blog post: https://tienchiu.com/2018/03/uh-tomato-growers-anonymous-i-think-i-may-have-a-problem/
Hope that helps!
Tien – not content with inspiring my weaving you are now getting me going in the garden. I have just moved up to Port Angeles, WA and have a wreck of a house and garden to restore (along with another weaver and fiber freak – no, she doesn’t need restoring) and your info on self-watering and soil blocks are hitting the spot. Plus my knowledge of tomatoes has grown a zillion-fold thanks to your articles. No “big boy” or “better boy” for me! Thank you for the inspiration!
I live in North Dakota and I am always looking for more efficient methods to grow veggies in the winter- do you know of anyone using this tote method you are doing with grow lights for situations such as ours where we can’t grow outside in the winter? thanks for any resource suggestions.
Hi Michelle,
The method should work just fine, BUT you will need some way to handle the overflow from the drainage hole if you fill the pot beyond the reservoir capacity. Of course you would need to be able to deal with that using a standard pot, anyway. I don’t know anyone who’s doing that in cold areas, but there’s no reason it shouldn’t work for you. Let me know what happens!
why do the totes need to be that deep? would less deep work – what about half that deep with smaller sized tubing? how much space do the roots really need? as long as they have the ability to self feed the water, could a tote 1/2 that deep work?
They don’t need to be that deep. The method works regardless of the container size – all you need is a container up top, with holes in the bottom to let excess water drain, a second container that contains a reservoir of water, and a wick that draws the water from the bottom container to the top one. That’s really all there is to it. If you look at the bazillion designs out there (google “self-watering container”) every one of them has that design.
As far as the amount of space – you could theoretically go all the way down to hydroponic using this approach, but I don’t know anything about that, so try Googling! Would be interesting to see how much space you *really* need.